I was pretty enthusiastic about homemade egg pasta dough back when hosting a great dinner party was my biggest concern. That enthusiasm faded pretty quickly once I had three kids and decent fresh egg pasta started showing up at the supermarket. Eventually, my benchtop pasta roller found its way to the thrift store.
But lately, I’ve been revisiting my egg pasta dough recipe. Not for nostalgia’s sake, but because I need a silky, elastic dough that could handle being rolled whisper-thin. I wanted pasta sheets delicate enough for truffled mushroom cannelloni I’ve been working on. Also, thin enough to squeeze an extra layer into my My Best Lasagna Yet recipe.
Full disclosure: I’m very much a hands-off pasta maker these days. Call it lazy if you want—I call it efficient. I use the food processor with a dough blade to bring the dough together, then switch to the pasta roller attachment on my KitchenAid stand mixer to knead and roll. A hand roller is totally fine. And good on you if you love the feel of flour under your fingernails and want to do it all by hand, but personally? I like to swoop in when the dough is already halfway there.
Easy homemade egg pasta ingredients
This is a two-ingredient pasta dough—just eggs and 00 flour. Do we count the pinch of salt? Let’s say no. That makes it officially simple.
My standard batch uses 400g ‘00’ flour and 200g of whole eggs (about 5 large eggs), plus that not-counted pinch of salt. This gives you around 600g of pasta dough—enough homemade pasta sheets for one large lasagne or 12 cannelloni. If you’re rolling it into spaghetti or fettuccine, it makes six portions.
The ratio is 2:1 (100g flour to 50g egg), which means it’s super easy to scale up. You’ll only be limited by how much work you want to put in by hand, or by the size of your food processor and its motor.
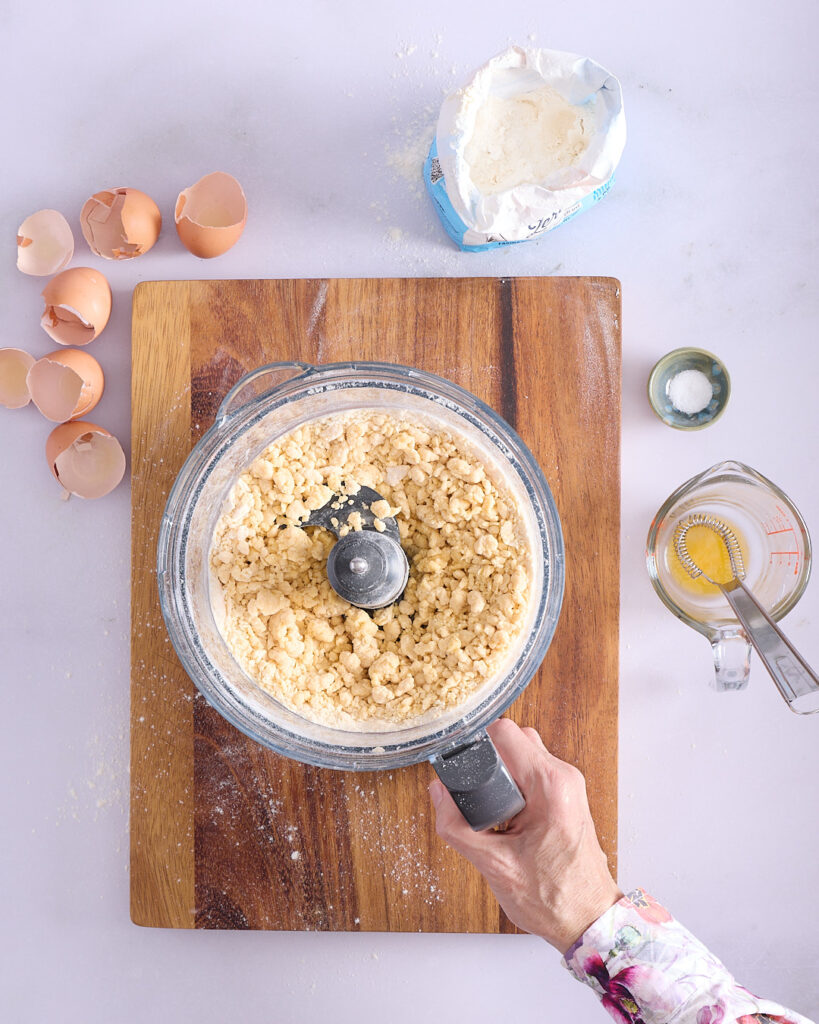
I use the food processor with a dough blade to bring this egg pasta dough together quickly. It takes all of 60 seconds and saves you from dealing with sticky hands or chasing flour across the bench. Pulse the ‘00’ flour and eggs until the mix looks like coarse breadcrumbs or chunky crumbs.
Depending on your processor, the dough might clump into a ball—or stay crumbly. Either is fine.
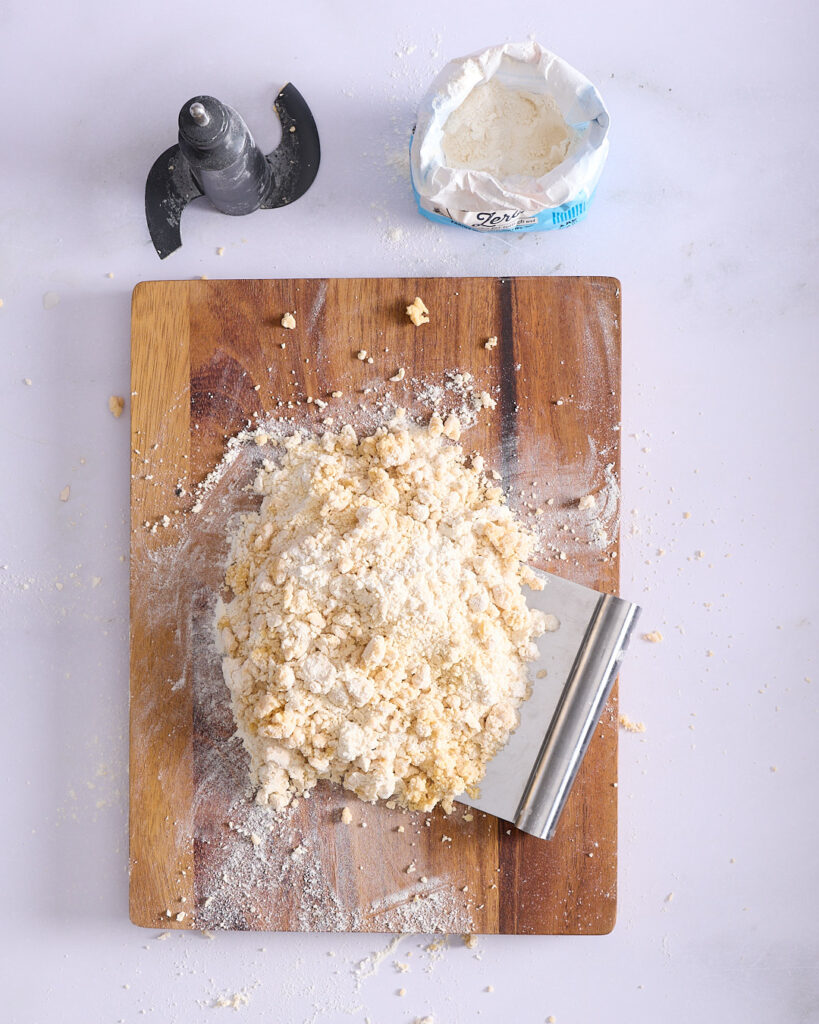
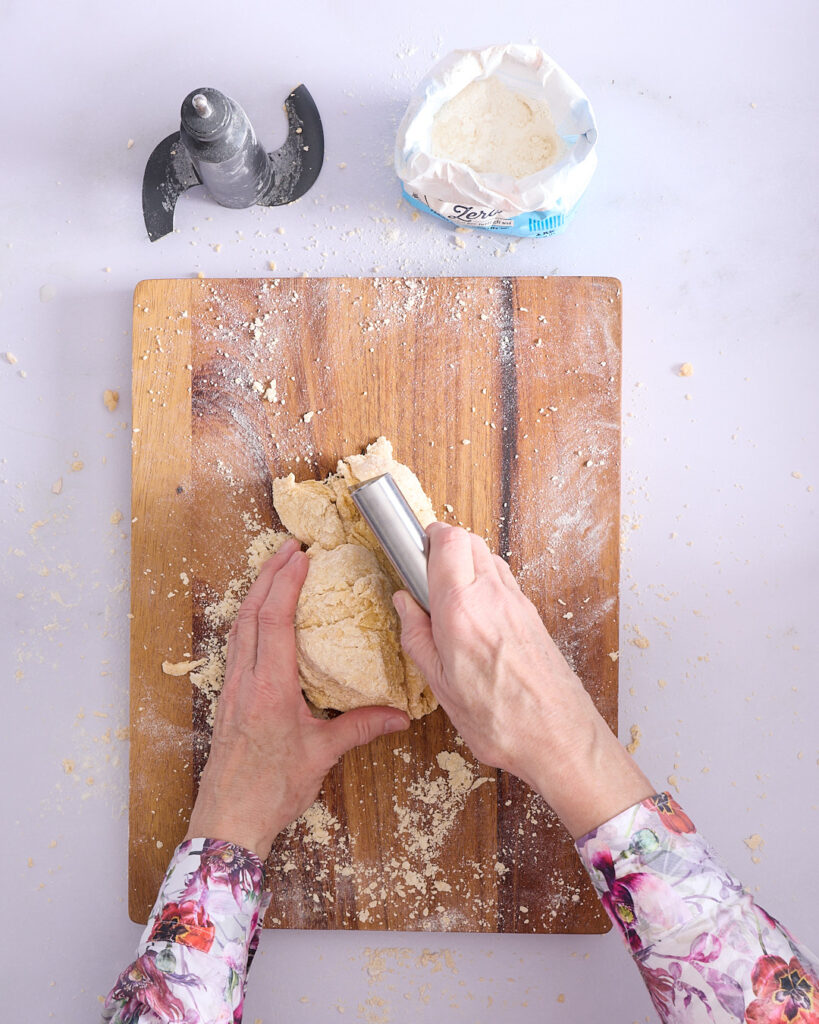
If it’s still crumbly, just tip it out onto the bench. I use a bench scraper (or pastry scraper) to manage the dough from here.
Trust the process – your pasta dough will come together
Yes, the dough you just dumped out of the food processor does actually look like chunky crumbs. I wasn’t joking. That’s when the bench scraper saves the day. It’s the best tool for gathering up those dry bits and starting to press the dough into a cohesive mound.
From there, I use the scraper to cut the dough in half, stack the halves, and press them together again. With each round of cutting and pressing, the dough becomes more homogeneous—and starts to feel like actual dough rather than something you’d sweep into the bin.
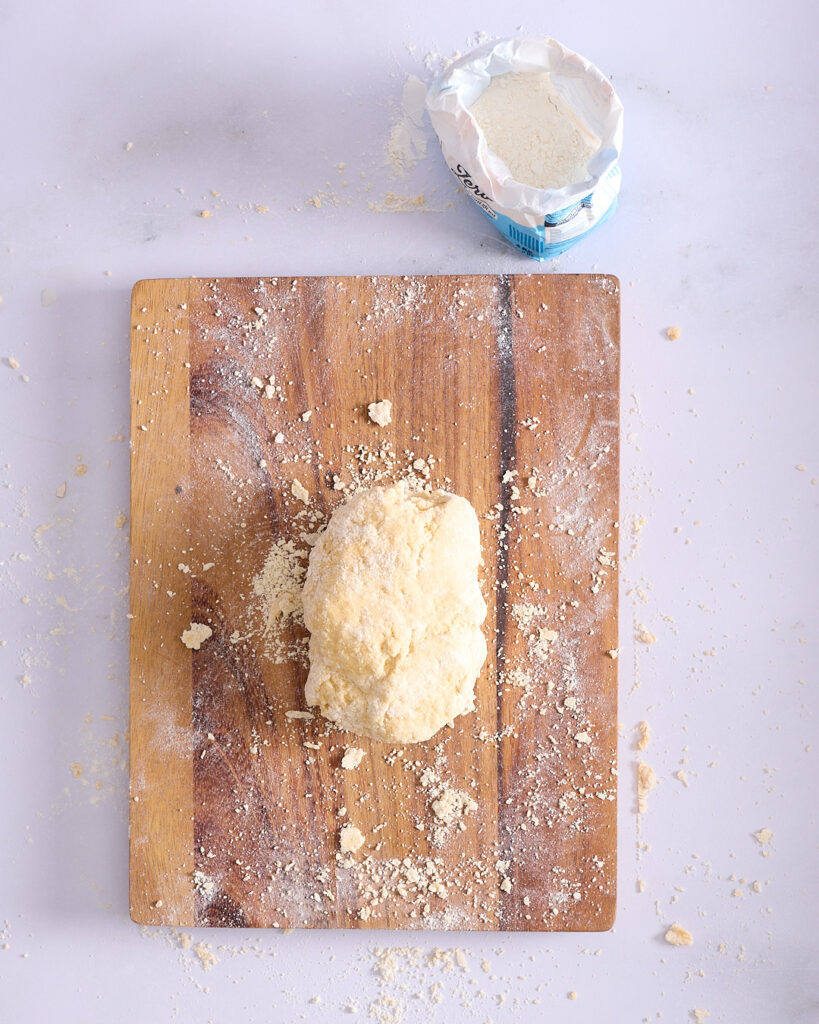
But as you can see, my ‘finished’ homemade egg pasta dough is still looking a bit rough around the edges. And that’s exactly when you stop. Wrap it in plastic wrap—yes, I said it, plastic. Or sure, pop it into a sealed container. But I’m not wrapping my dough in beeswaxed cloth. That cannot be hygienic.
Anyway—rest your dough at room temperature for at least 30 minutes. That time lets the gluten relax and gives those egg proteins a chance to bond with the ‘00’ flour. Hydration magic is about to happen
Starting to roll the pasta dough
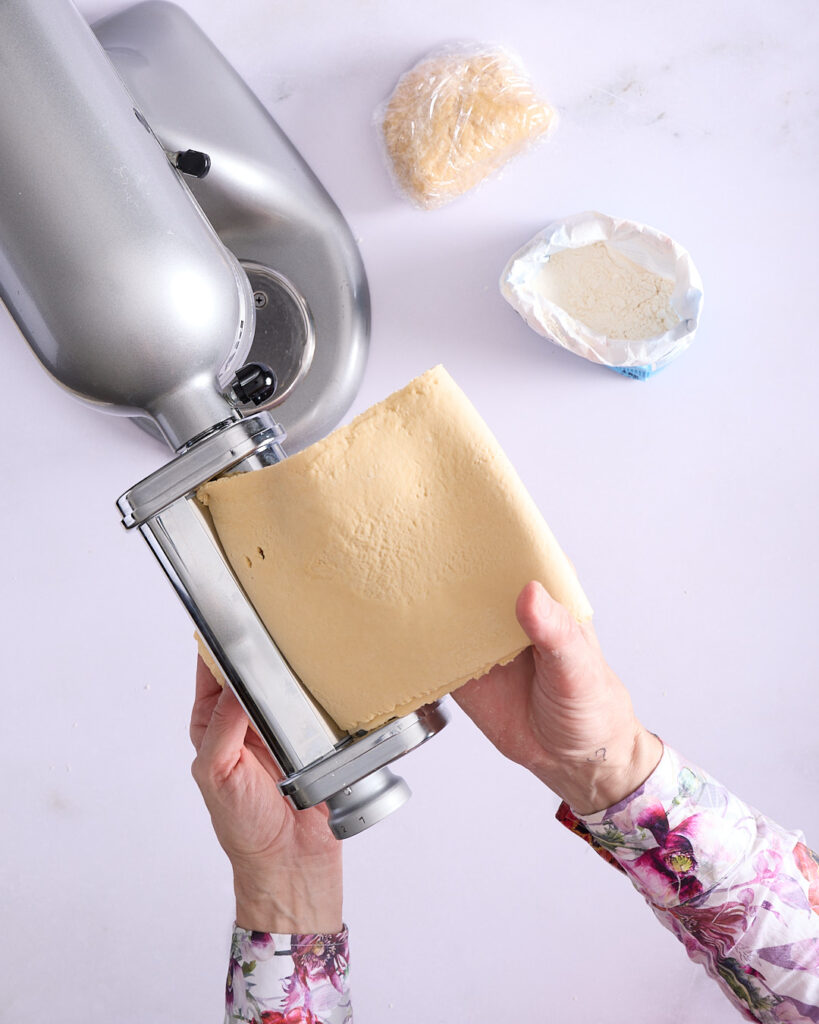
Once the homemade egg pasta dough has rested, it’s time to start rolling. I divide the dough in half, keep one piece wrapped, and flatten the other into a thick slab. Using the widest setting on the pasta roller, I feed the dough through to begin smoothing and shaping it into a workable sheet.
But here’s the step I never skip—folding the dough in on itself like a book after the first or second pass. This helps even out the ends and square off the sheet, which matters when you’re aiming for long, uniform pasta sheets. Folding early on also helps build strength and elasticity, giving the dough structure and preventing tears as you move to thinner settings.
I fold the pasta and run it through the widest setting 3–4 times until the dough starts looking smooth and well combined. This helps both hydration and gluten development before reducing the roller setting.
It’s a small detail that makes a big difference when you want clean homemade pasta sheets for lasagna, cannelloni, or to cut into tagliatelle or fettuccine.
Rolling the pasta as thin as possible
Once the egg pasta dough has had a few folds and starts to feel smooth and strong, I begin reducing the roller setting one notch at a time. No skipping ahead—just steady rolling and light dusting as needed. The goal here is to get those pasta sheets as thin as possible without tearing. For lasagna and cannelloni, I usually stop at setting 6 on my KitchenAid pasta roller attachment. That gives me a silky finish that’s still strong enough to be rolled, layered, or pressed into shape in your pasta bake recipe.
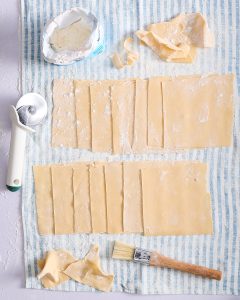
As you work with the finished sheets, keep the dough well-dusted. You can see in the featured image that I’ve generously floured the bench and the tea towel I’m using to rest the sheets on. That extra flour is key—it stops the dough from sticking and makes cutting the sheets to size a whole lot easier.
Whether you’re trimming them into rectangles for lasagna, rolling up a tray of cannelloni, or prepping them to cut into long noodles, this is the moment when all that silky texture and careful hydration pays off.
Try it out in some pasta bakes
Once you’ve rolled your egg pasta dough into thin, silky sheets, it’s time to put them to use. These homemade pasta sheets are sturdy enough to hold up in a baked dish, but soft enough to layer and roll without cracking. Here’s where that effort pays off.
Makes perfect lasagna sheets
If you’ve been chasing the dream of the perfect lasagna texture, this is your starting point. These homemade pasta sheets are rolled thin and supple, so there’s no need to precook them—just layer them straight into the pan. They absorb just enough sauce to soften without going soggy, and they bake up with a clean, delicate bite.
In my My Best Lasagna Yet recipe, I use this egg pasta dough to roll ultra-thin sheets—thin enough to squeeze in one extra layer without throwing off the balance. The result? A deeply saucy, flavour-packed lasagna with beautifully defined layers and no tough corners or chewy edges.
Super fine pasta dough for cannelloni
This super fine egg pasta dough rolls thin enough to wrap around any filling without tearing. That’s exactly what you want for cannelloni—a dough that’s tender enough to bite through but strong enough to hold together during baking.
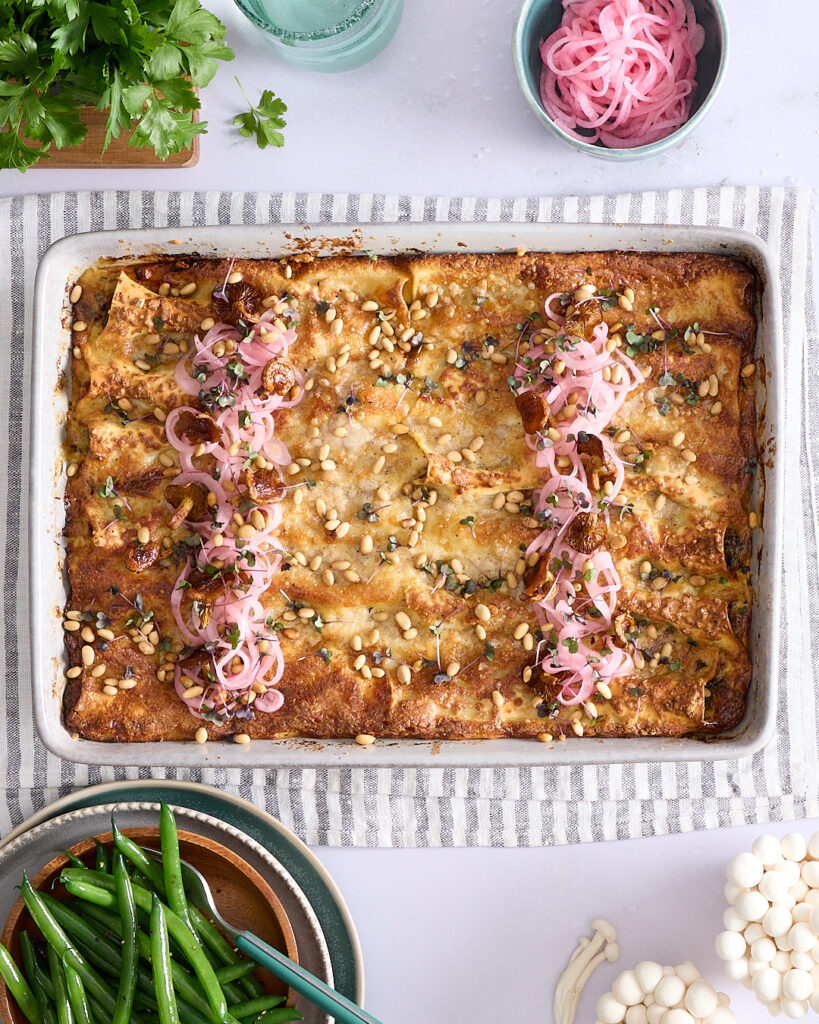
For the truffled mushroom cannelloni pictured here, boil the sheets for about one minute, then rinse under cold water. I cook a couple of sheets at a time to keep things manageable and spray them lightly with a flavourless oil to keep them from sticking to each other. Once cooled, they wrap around the filling like a soft robe, then puff just slightly as they bake under a creamy, brie-infused sauce. You wouldn’t get that same finish from a box of dried tubes.
Easy Homemade Egg Pasta
Equipment
- Food processor with dough blade
- Pasta roller (stand mixer attachment or hand roller)
- Bench scraper
- Plastic wrap or airtight container
- Tea towel
Ingredients
- 400 g ‘00’ flour
- 200 g whole eggs (approx. 5 large eggs)
- Pinch of salt
Instructions
- Assemble ingredients and equipment.
- Bring the dough together: Add the ‘00’ flour and eggs to a food processor with dough blade and pulse until the mixture resembles coarse crumbs. It may clump into a ball or stay crumbly—either is fine.
- Form and press: Tip the crumbly dough onto a floured bench. Use a bench scraper to gather and press the dough into a mound. Cut the mound in half, stack the halves, and press together again. Repeat until the dough looks more uniform. Don’t worry if it still looks rough—it will smooth out later.
- Rest the dough: Wrap the dough tightly in plastic wrap or place it in an airtight container. Let it rest at room temperature for at least 30 minutes to allow the gluten to relax and the dough to hydrate fully.
- Roll the dough: Cut the rested dough in half. Keep one half wrapped while you work with the other. Flatten into a slab and roll it through the widest setting of your pasta roller.
- Fold and repeat: Fold the sheet taking both short ends and to meet in the middle, making a ‘book fold,’ and run it through the widest setting again. Continue just folding the dough in half lengthwise. Repeat 3–4 times until the dough looks smooth and well combined. This step helps build strength and even out the sheet.
- Thin it out: Once smooth, reduce the roller setting one notch at a time, rolling the dough through after each adjustment. For lasagna and cannelloni, roll to setting 6 (on the KitchenAid pasta roller attachment) or until the sheet is very thin but still intact. It should be no more than 2-3mm thick.
- Cut or shape as needed: Cut the pasta into sheets or ribbons depending on how you’re using it. For lasagna, layer straight into your dish—no need to precook. For cannelloni, blanch the sheets for 1 minute and rinse under cold water before rolling the cannelloni.
Just before you cook with abandon…
- Lasagna: No precooking needed. Cut sheets to fit your baking dish and layer directly with sauce.
- Cannelloni: Blanch sheets briefly (about 1 minute), rinse, and spray with flavourless oil to prevent sticking before filling and rolling.
- Tagliatelle or fettuccine: Lightly flour and cut into ribbons. Toss with more flour to prevent sticking and cook within a few hours.
- Wrap unrolled dough tightly in plastic wrap and store in the fridge for up to 24 hours.
- Rolled and cut pasta can be floured and stored on a tray, covered with a tea towel, for several hours before use. It can also be stored in a sealed container in the fridge but should be used the next day.
- Pasta sheets can also be frozen between sheets of baking paper. Allow to thaw at room temp before using.