All-Butter Shortcrust Pastry (Pâte Brisée)
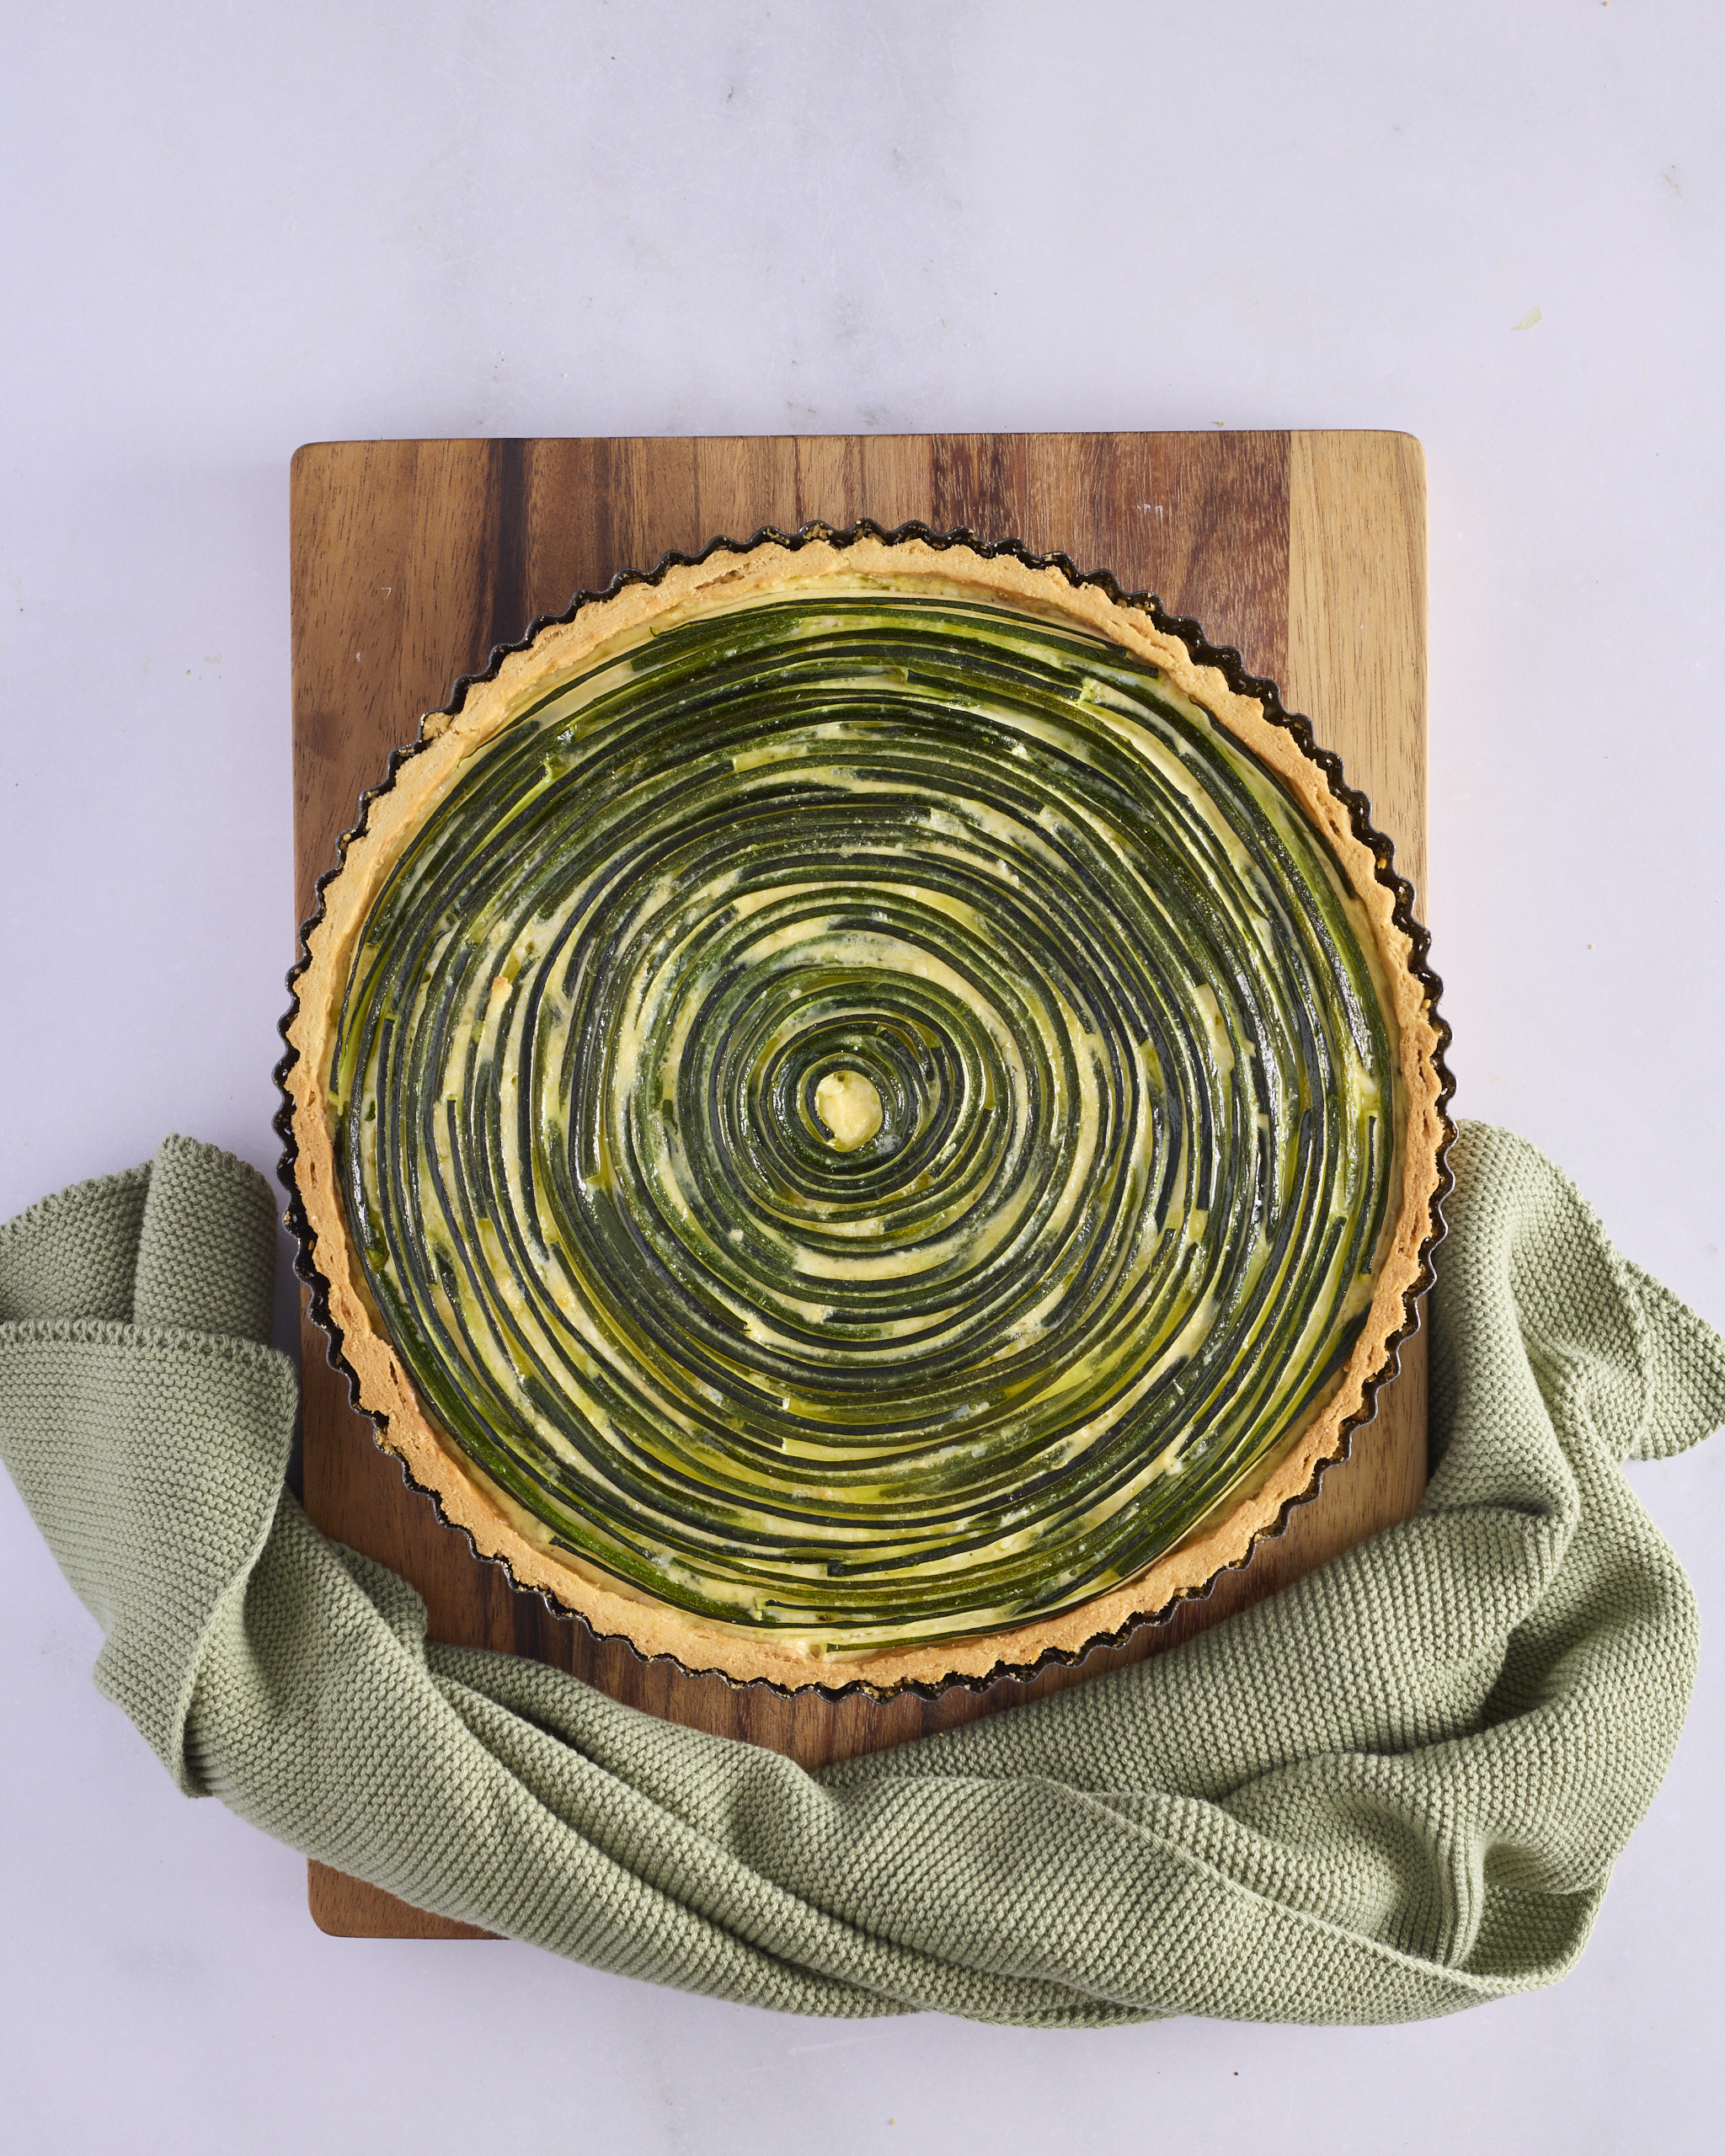
Despite my North American origins, I’m not a fan of flaky pastry when it comes to pie and tart shells, whether they be sweet or savoury. If I want to encase something delicious in flaky pastry, I’m going to use rough puff pastry. For pies and tarts I use my all-butter shortcrust pastry recipe. Whether you call it shortcrust, as the English do, or pâte brisée, as the French do, it’s essentially the same recipe. My recipe calls for egg yolks to enrich the dough, as do some of the French versions.
Equipment
- Digital kitchen scales
- Instant read thermometer
- Stand mixer with pastry beater or paddle attachment (or a food processor)
- Bench scraper
- 2 Silicone mats (or baking paper)
- 4.5mm rolling guides (optional)
- 30cm x 3.5cm fluted non-stick tart tin with a loose base
- Pastry wheel
- 27cm round template (card, a plate or a pot lid)
- Oven roasting bag (or baking paper)
- Pie weights (or dried beans and pearl couscous)
Ingredients
Pastry dough:
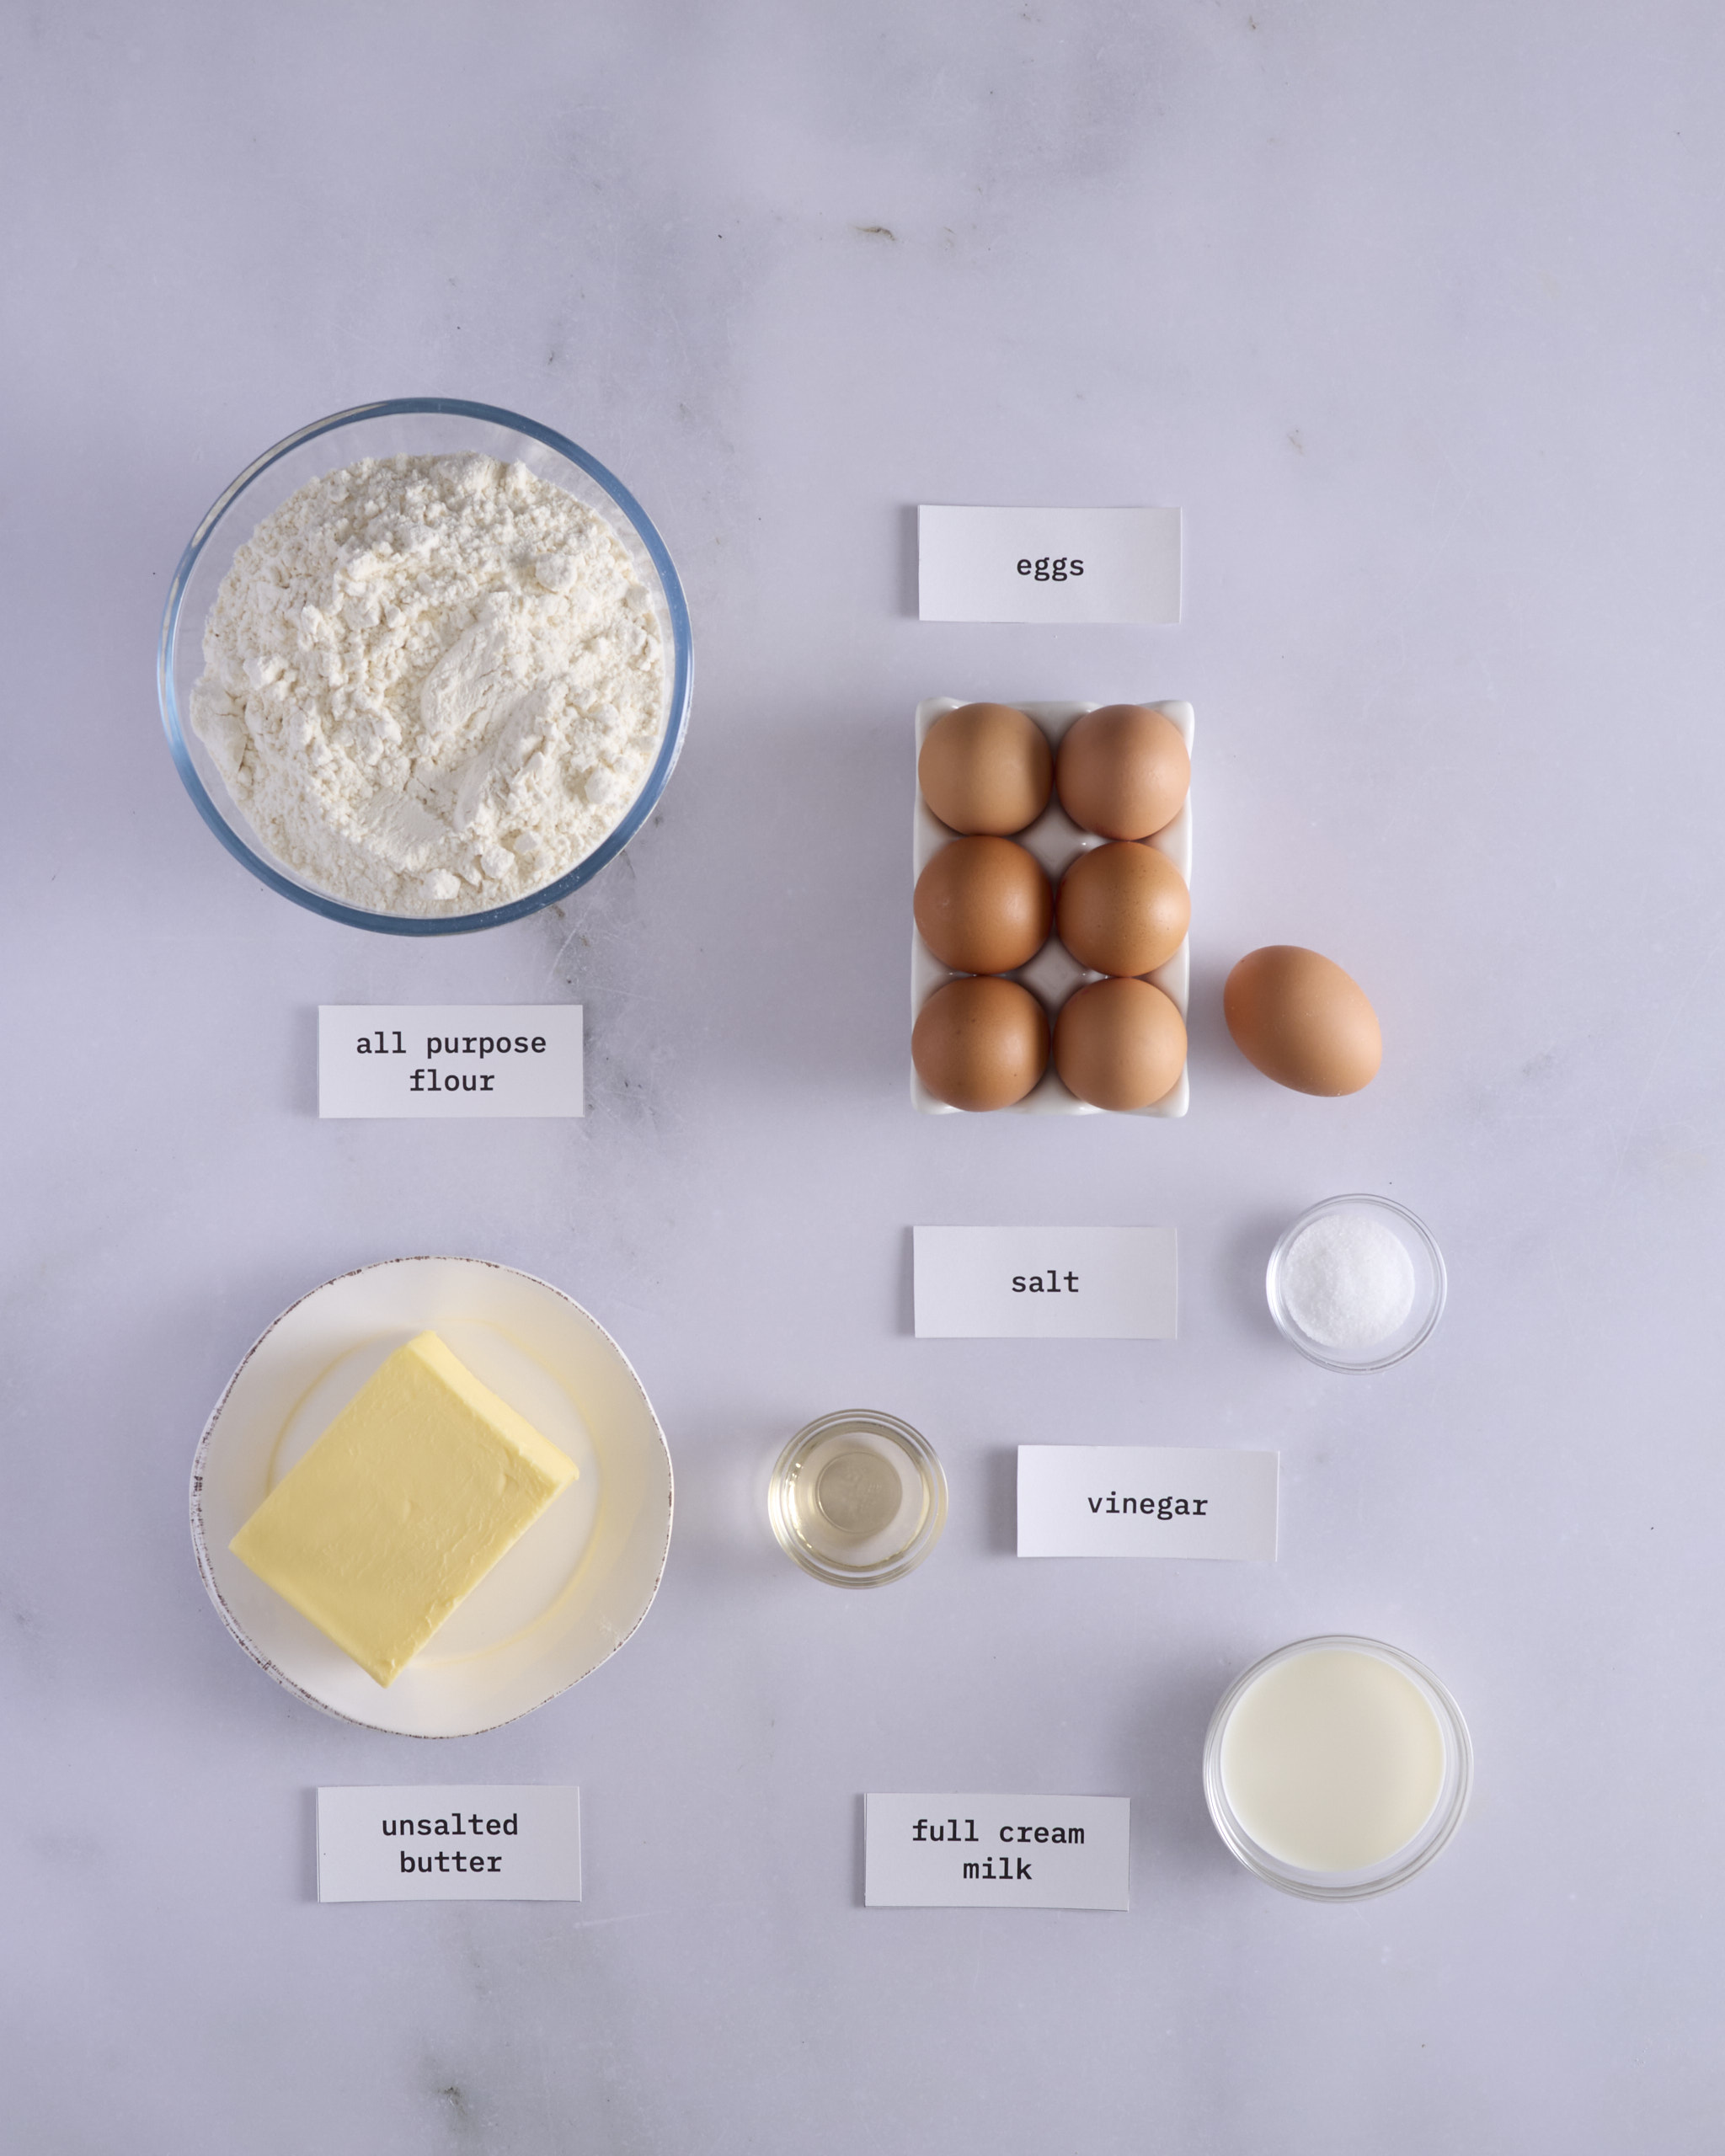
- 625 g all-purpose flour
- 315 g unsalted butter
- 90 g egg yolks
- 1 ½ teaspoons table salt
- 60 g iced water – inclusive of 1 teaspoon apple cider vinegar
Egg wash:
- 2 egg yolks
- 1-2 tablespoons of full cream milk
Instructions
Get organised:
- Clear space in your fridge or freezer to hold the measured ingredients, the rolled-out pastry dough and the lined tart tin.
- Weigh 315g chilled unsalted butter and cut it into 1.5cm cubes. Store in a sealed container in the fridge until needed.
- Weigh 625g all-purpose flour and 1½ teaspoons table salt into another sealed container and refrigerate.
- If you like, chill the stand mixer bowl and pastry beater (or the food processor bowl and blade) before you start.
Make the egg mix:
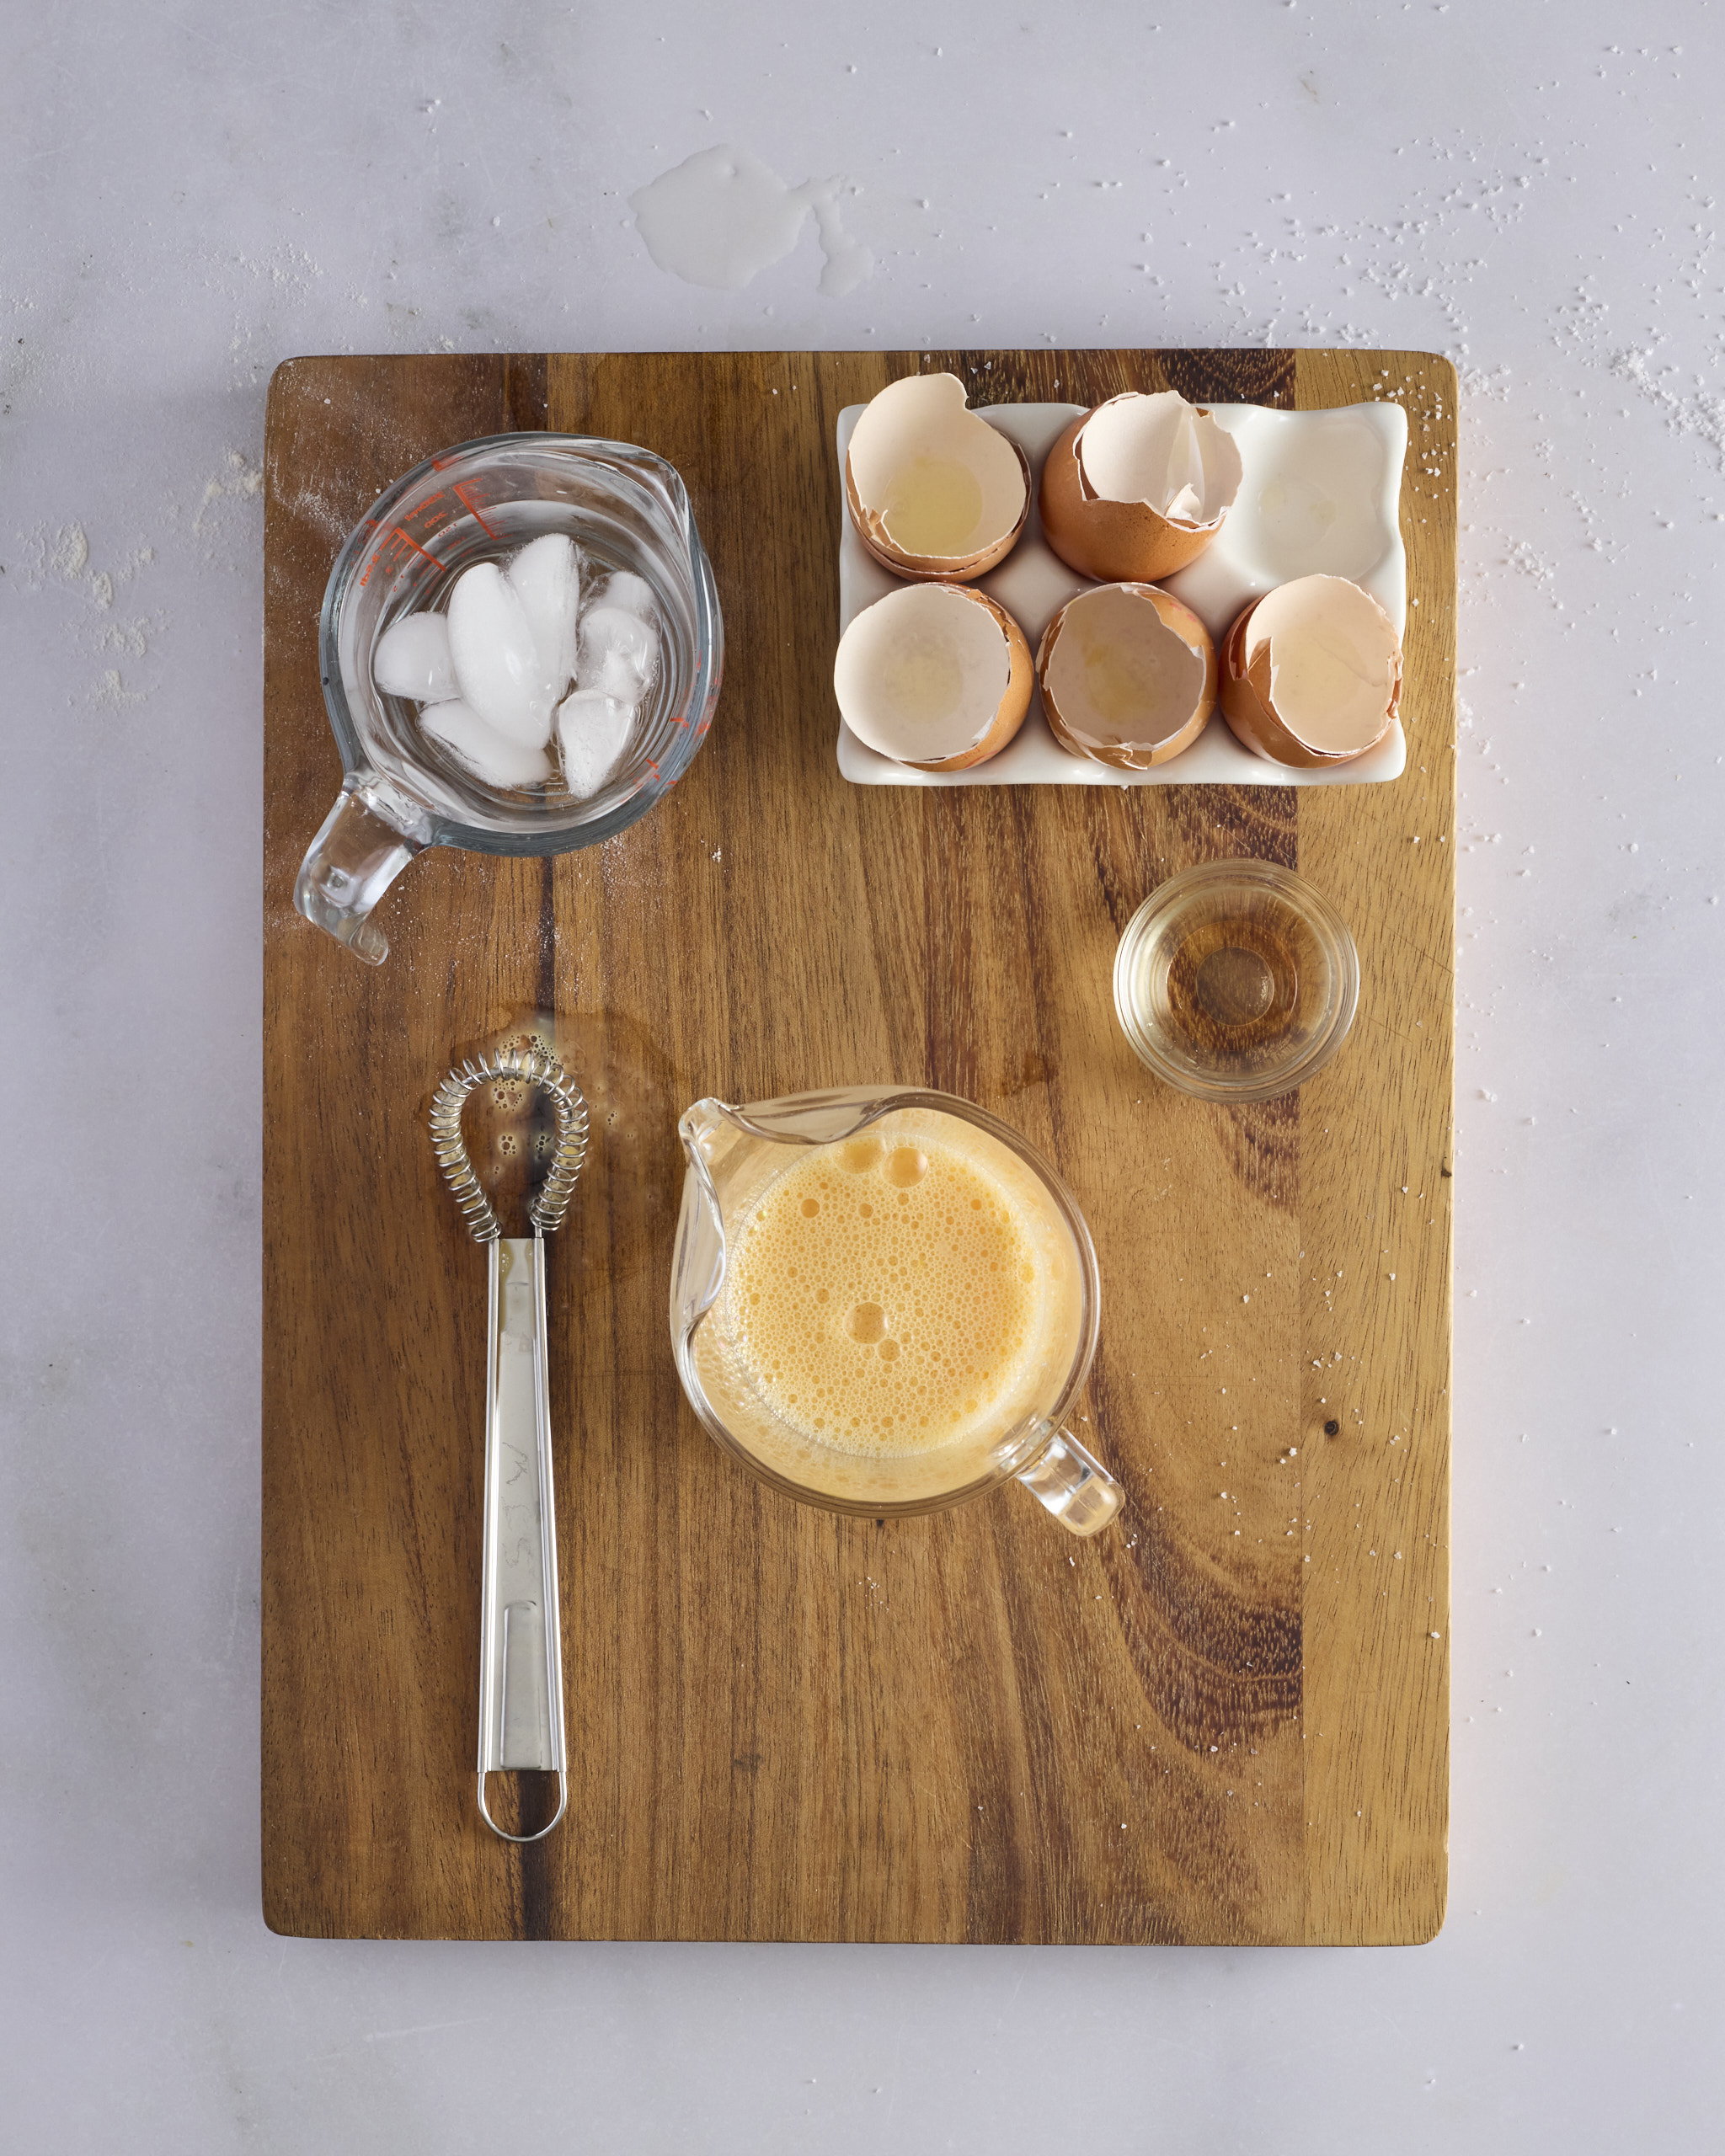
- Add a handful of ice cubes to a 250ml jug, top with cold water and set aside.
- Place a 500ml jug on your digital kitchen scales and zero the scales. Add 1 teaspoon apple cider vinegar, then iced water (without the ice cubes) to the weight of 60g.
- Zero the scales again. Separate 5 large eggs, adding the yolks to the jug one at a time until you have 90g of yolk. If you’re slightly short, make up the weight with a little of the leftover egg white.
- Whisk until well combined and refrigerate until required.
Make the pastry dough:
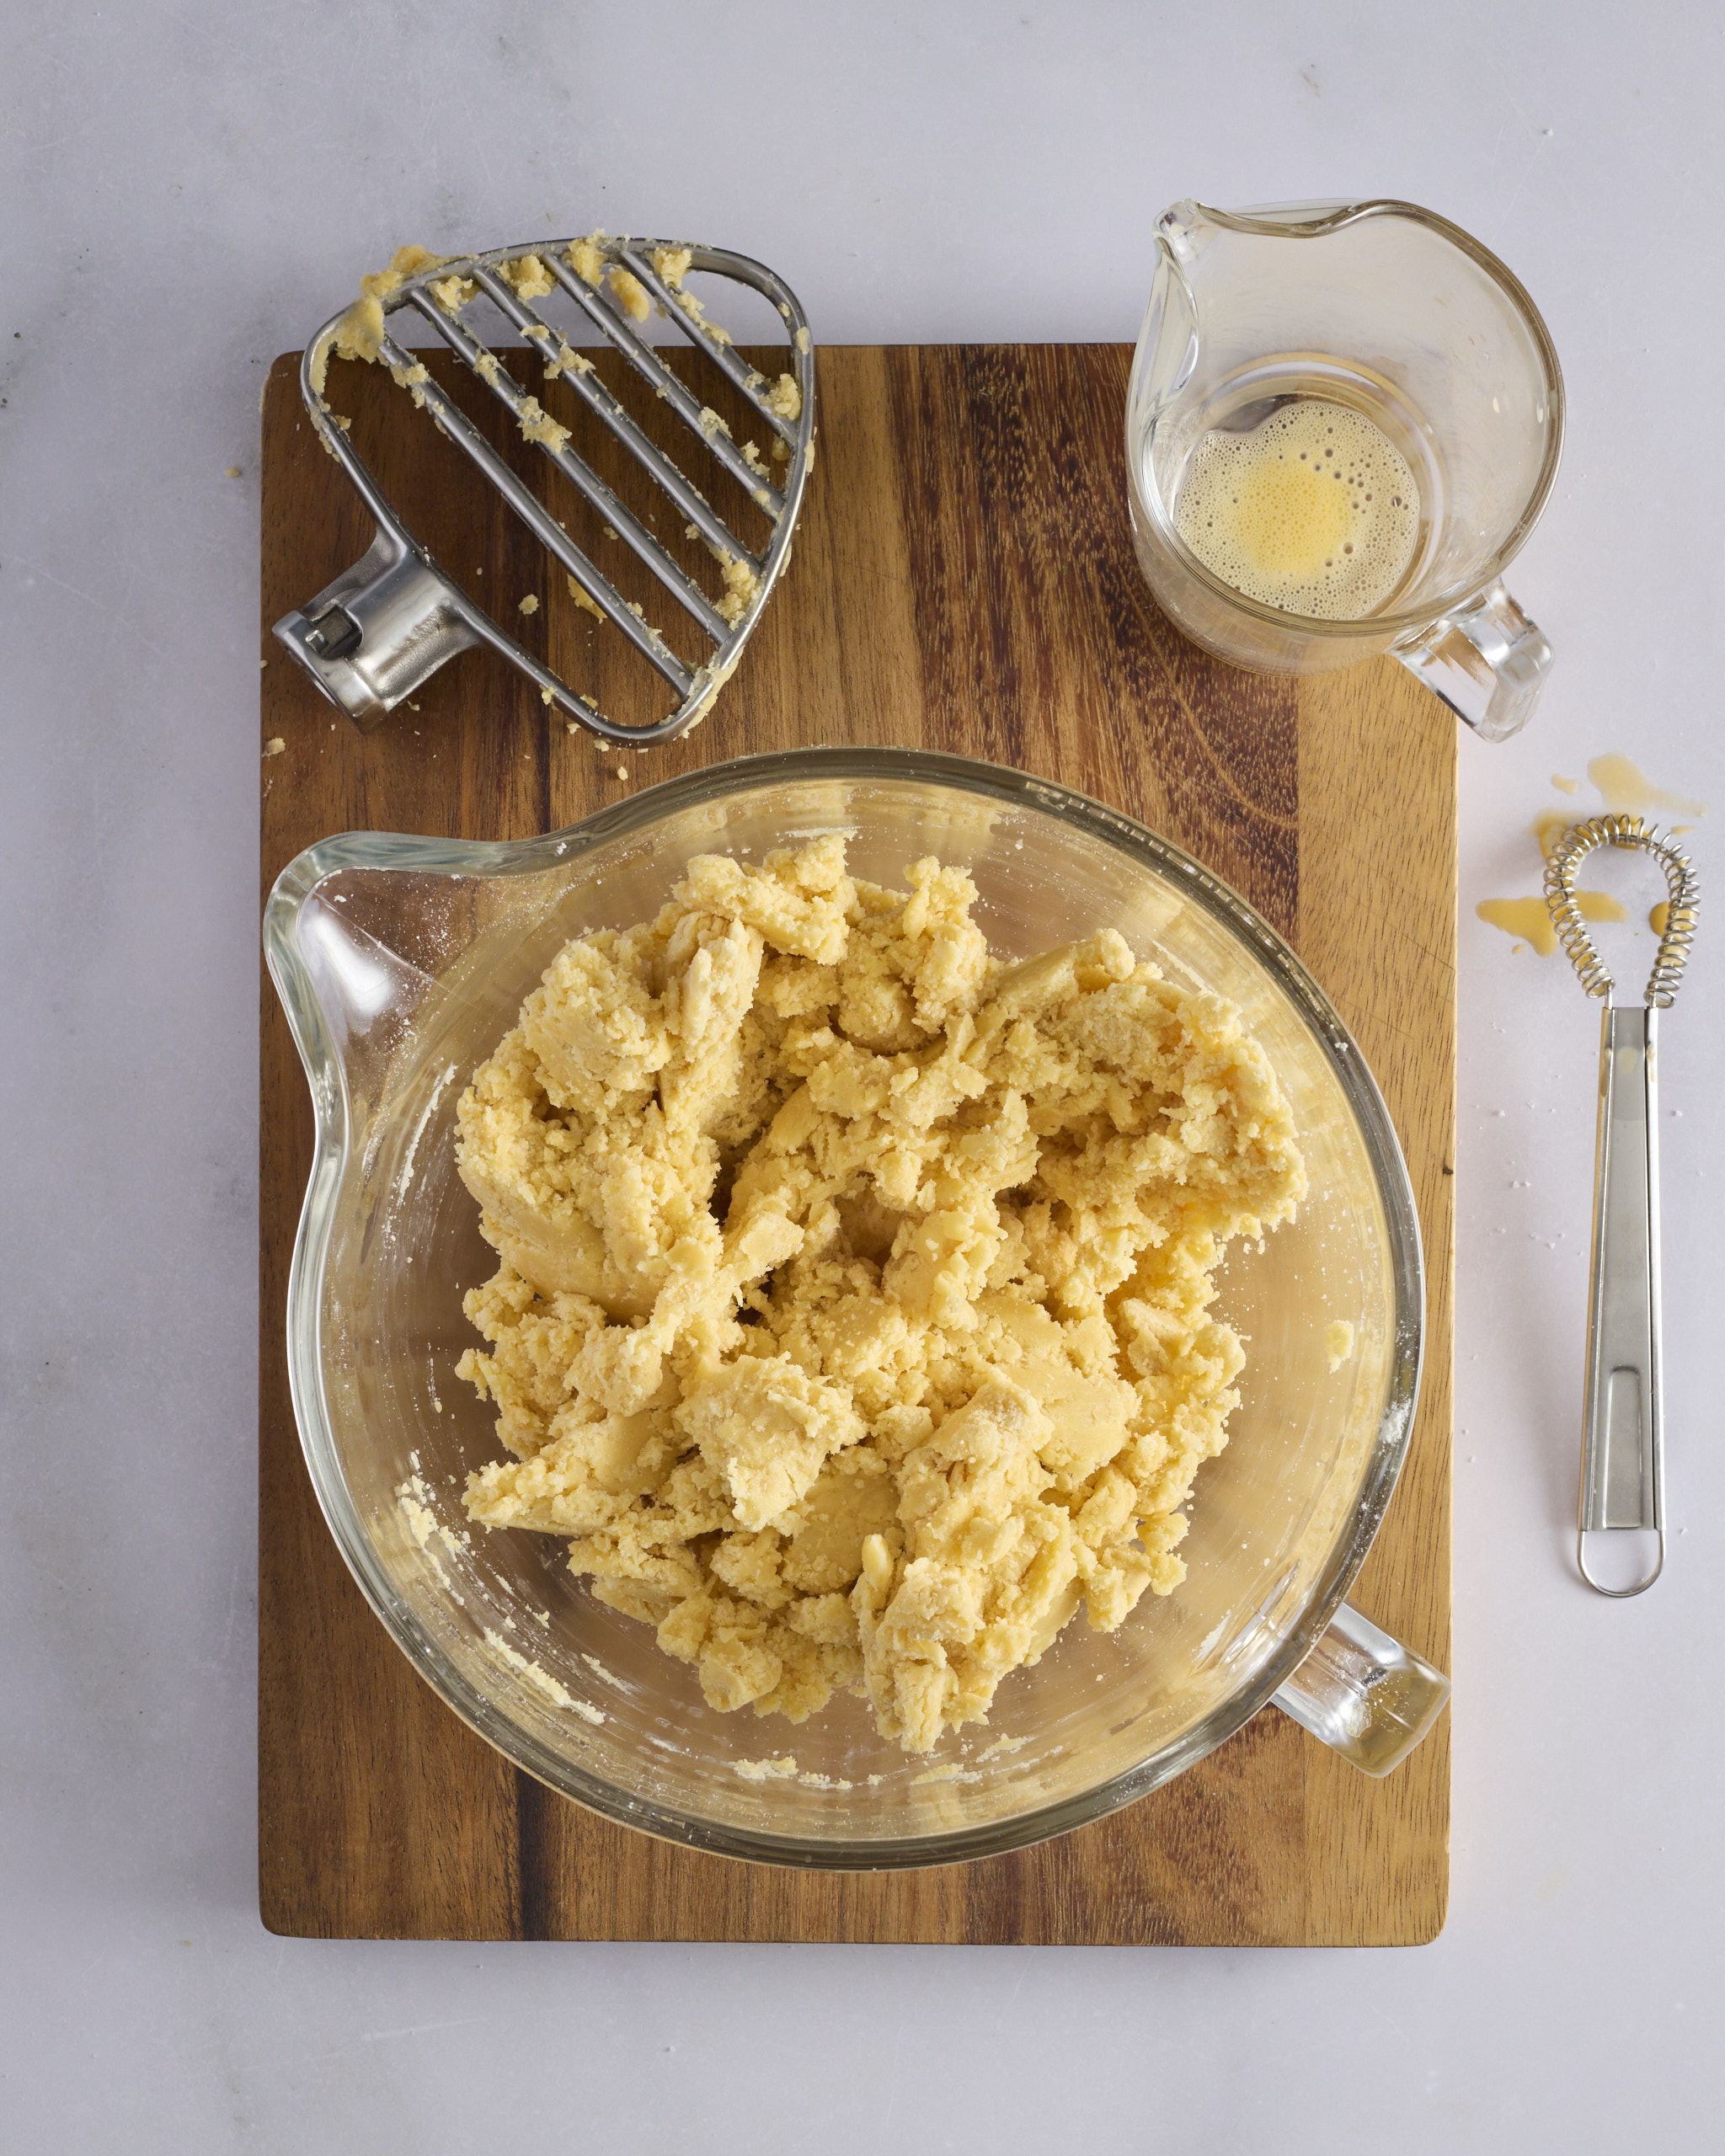
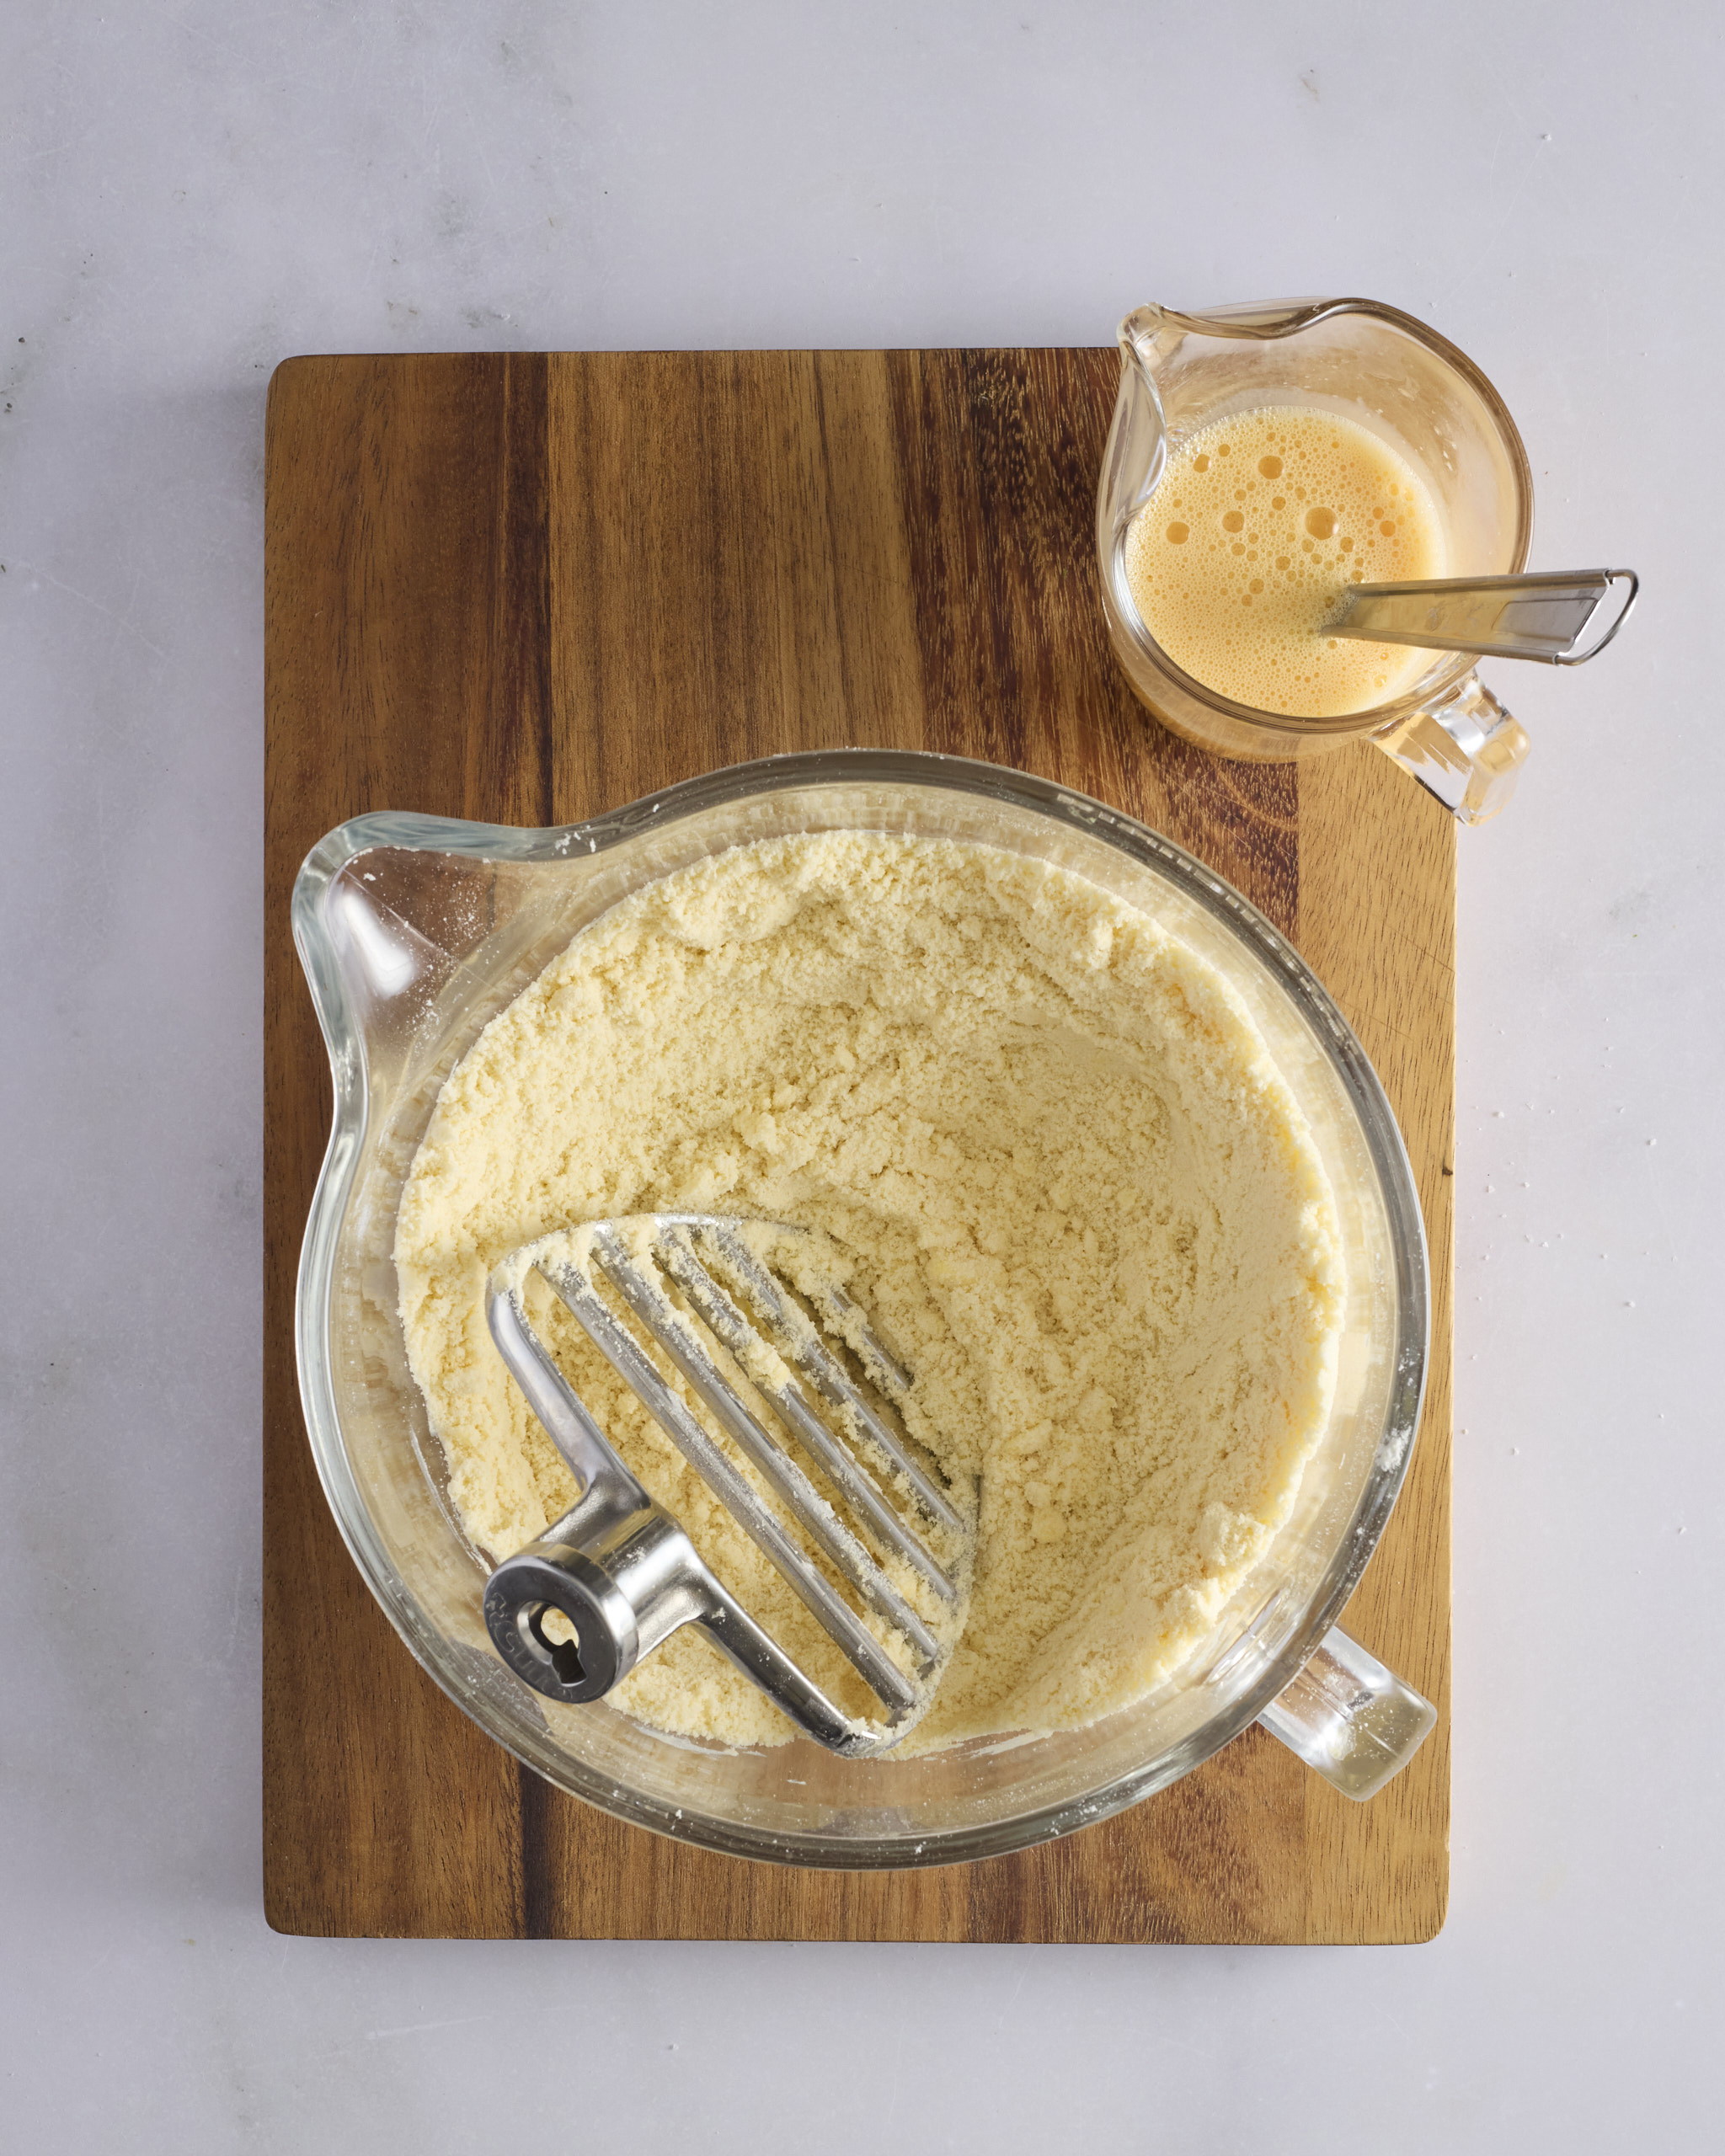
- Add the flour, salt and chilled butter cubes to the stand mixer bowl with the pastry beater attachment. Mix on low, up to a maximum of speed 2, until the mixture resembles coarse sand.
- With the mixer on low, gradually drizzle in the egg mix until the dough comes together and starts to form large lumps, then stop. Don’t overmix.
- If using a food processor, pulse the flour, salt and butter until the mixture resembles coarse sand. With the motor running, drizzle in the egg mix and stop when the dough starts to clump together.
Finish the dough on the bench:
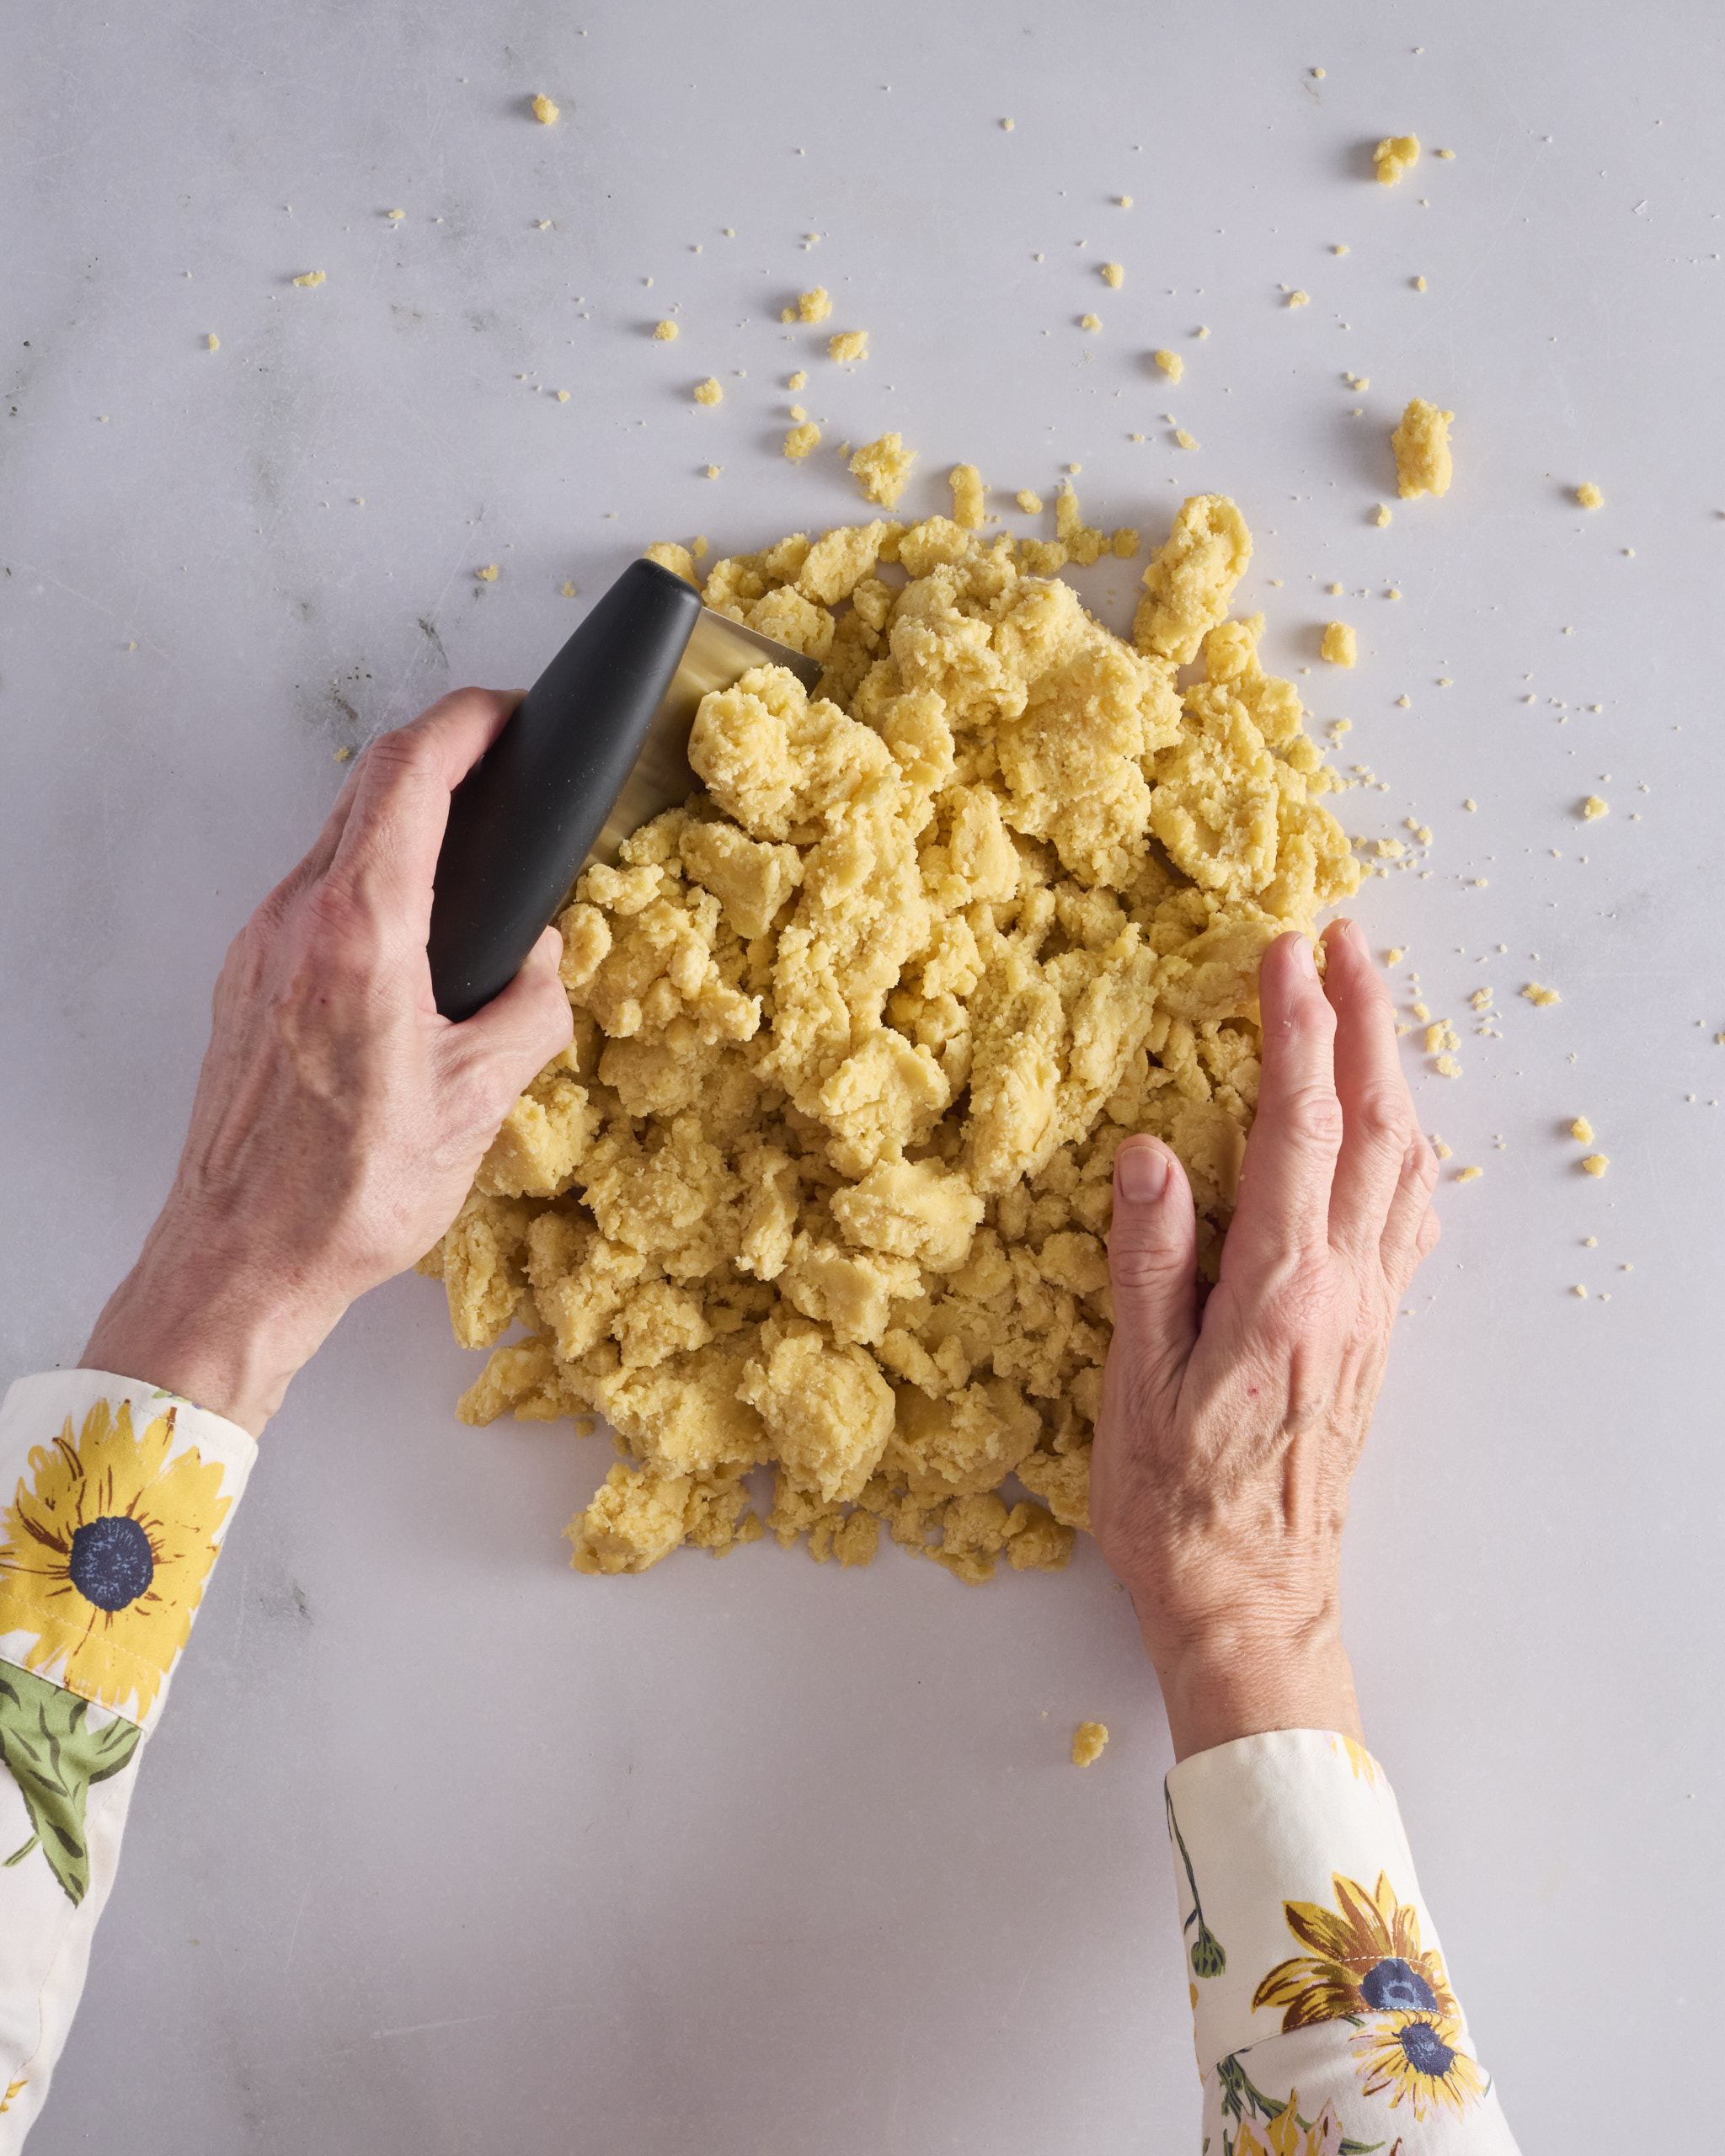
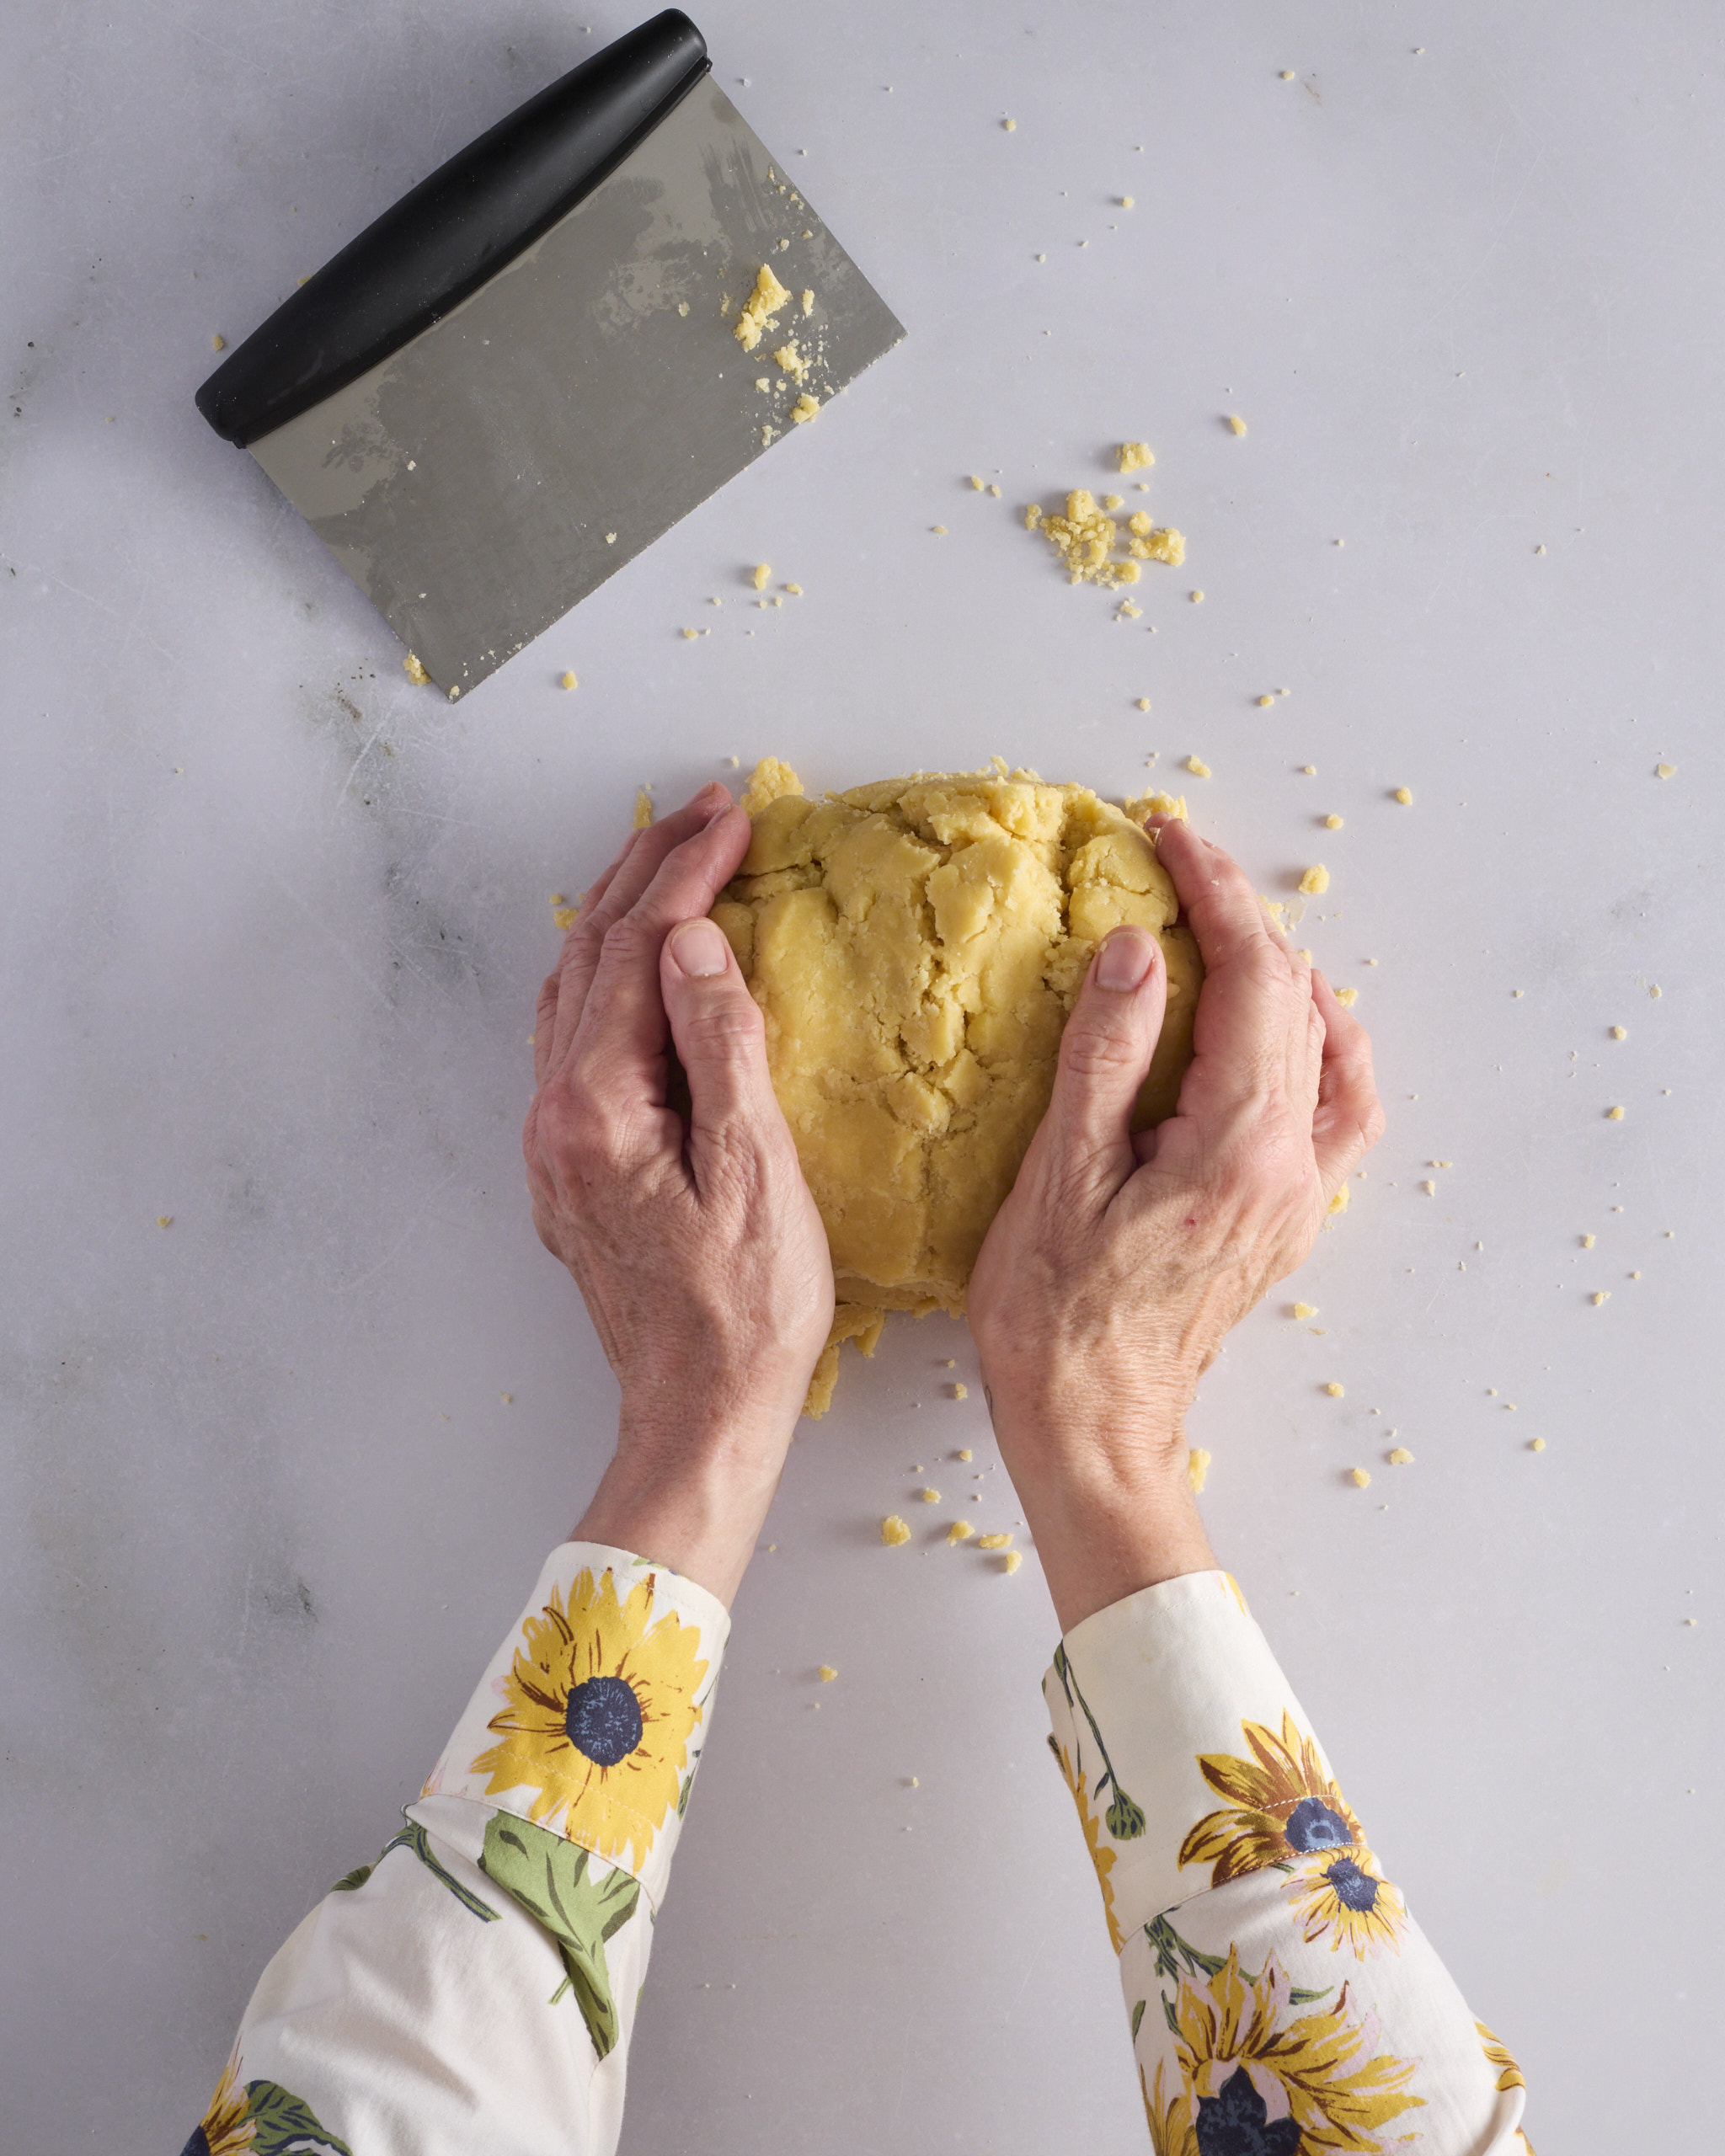
- Turn the dough out onto the bench. No flour is needed. Using a pastry scraper, gather the lumps together and press into a rough loaf shape.
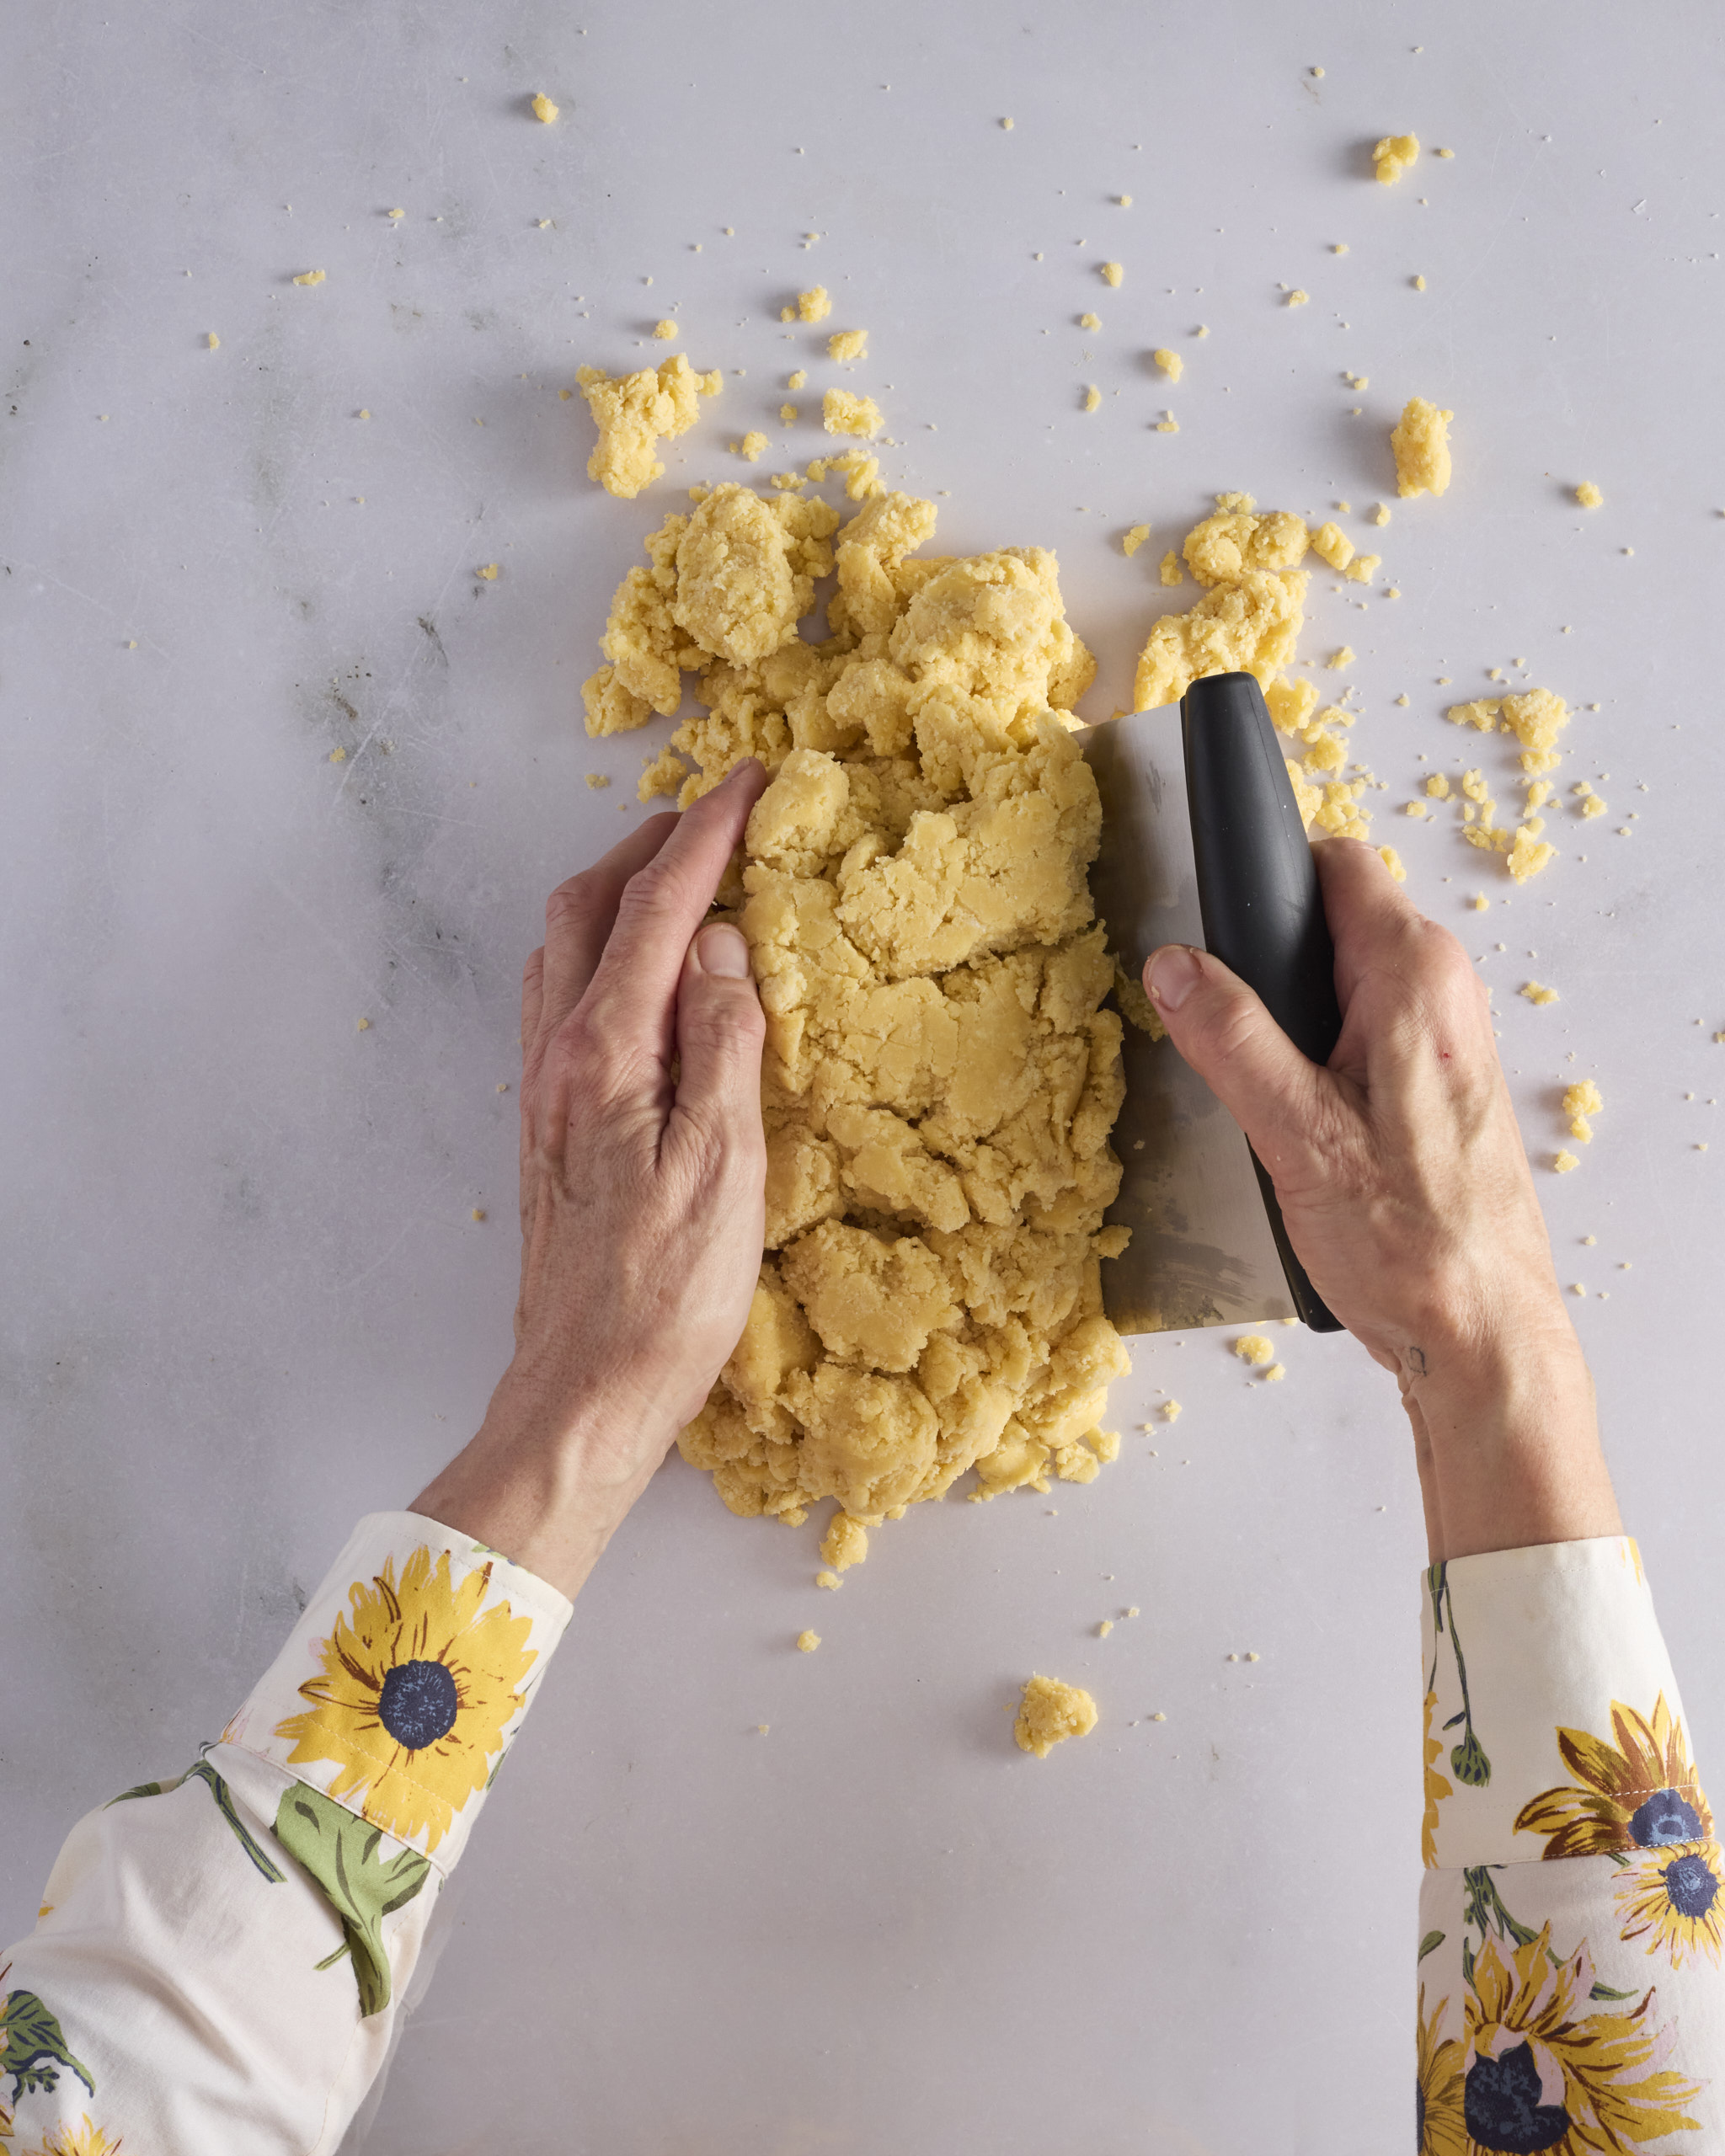
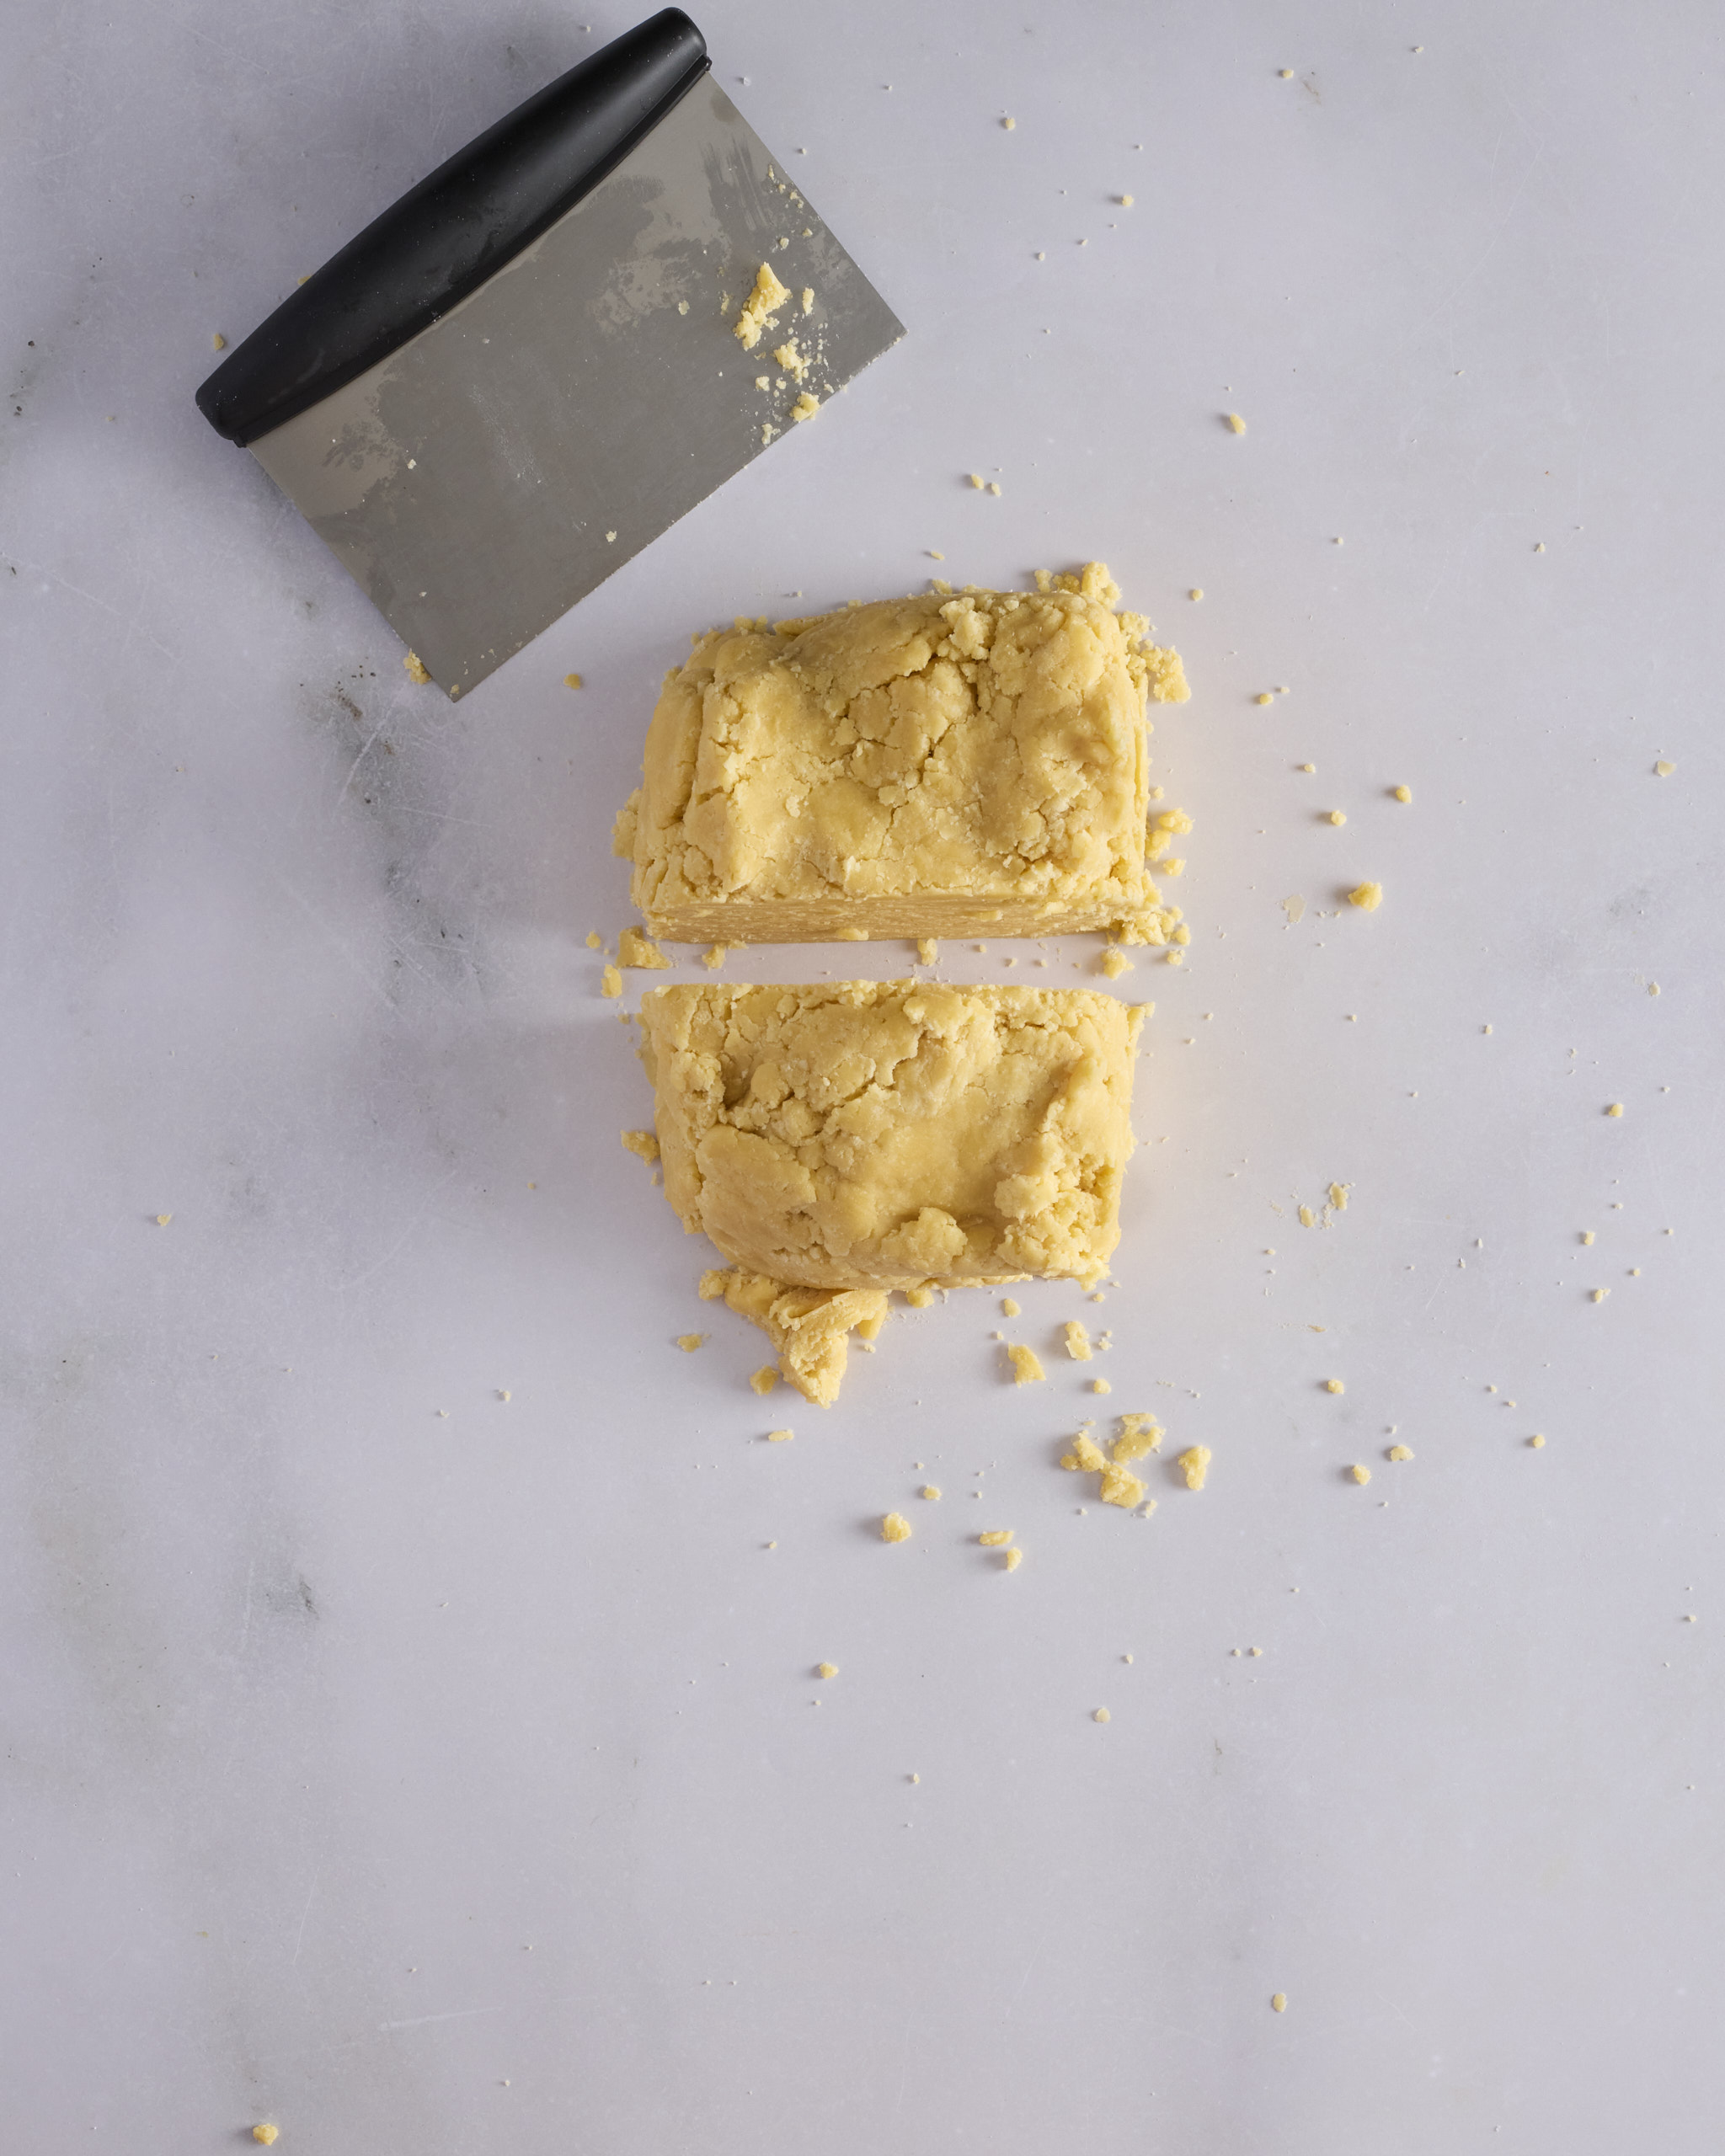
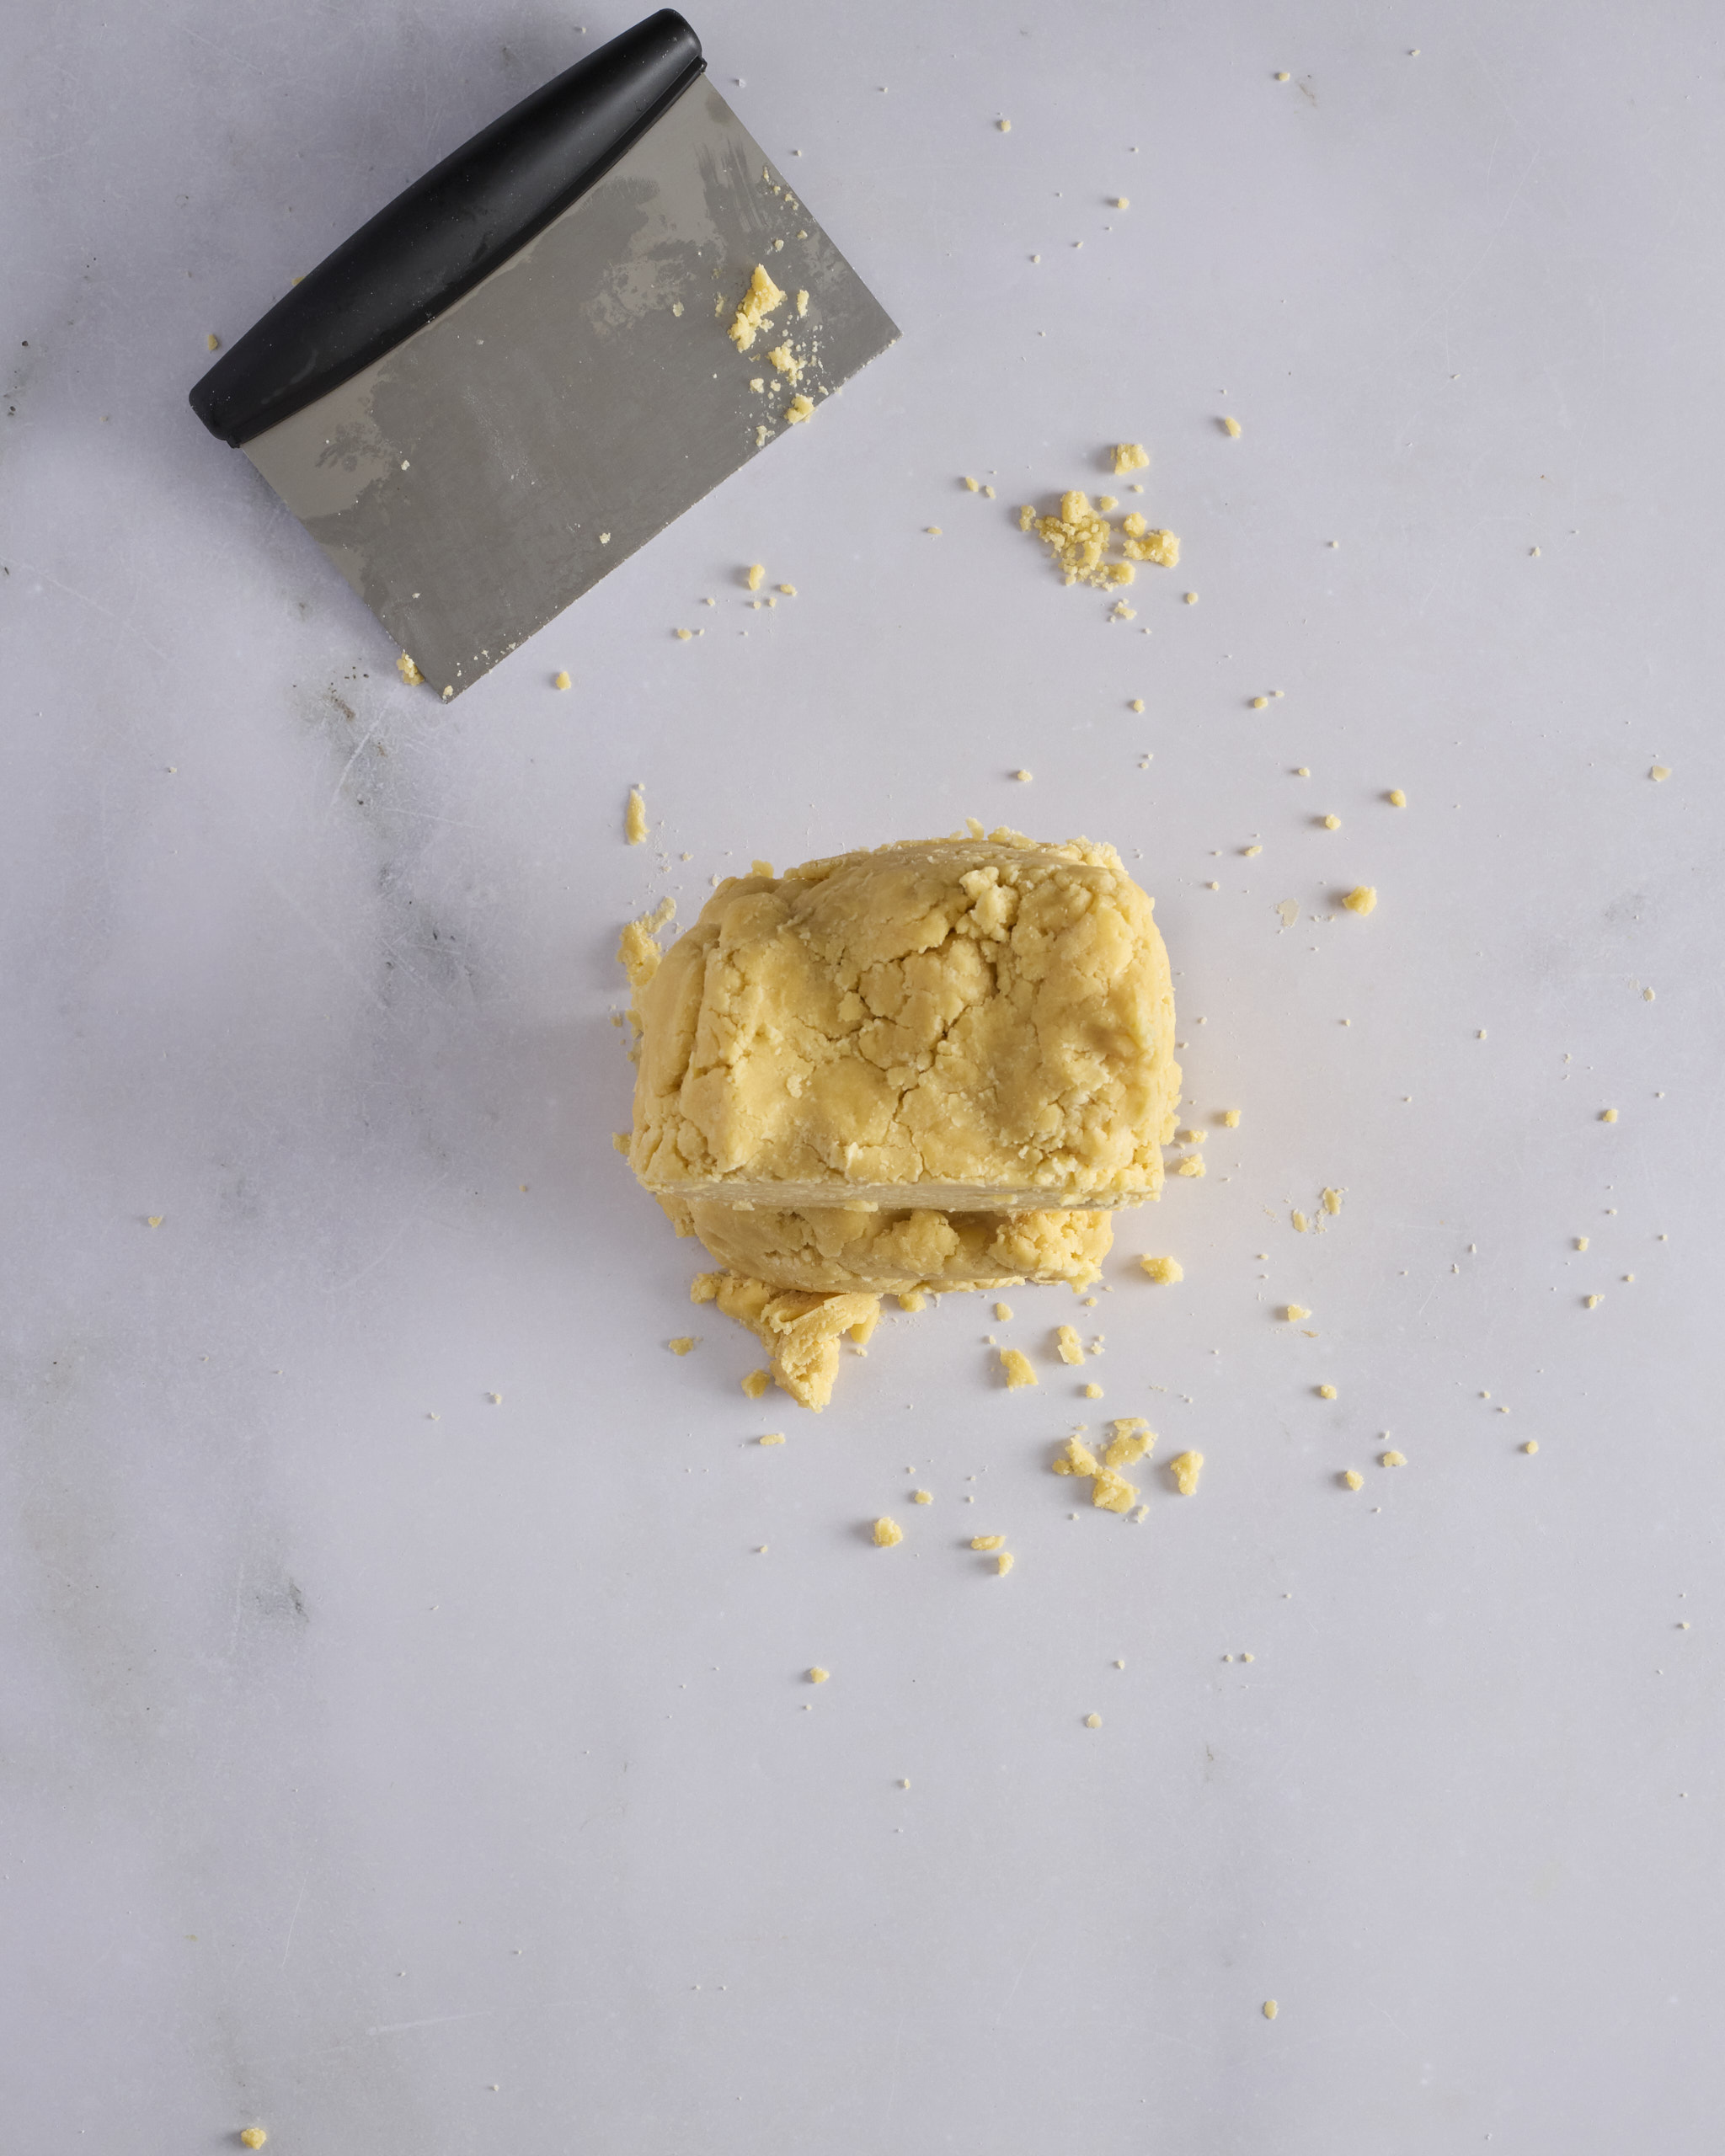
- Cut the dough in half with the pastry scraper, stack the two pieces, press down firmly and reshape into a rough loaf. Repeat 3 to 4 times. The dough doesn’t need to look perfectly cohesive.
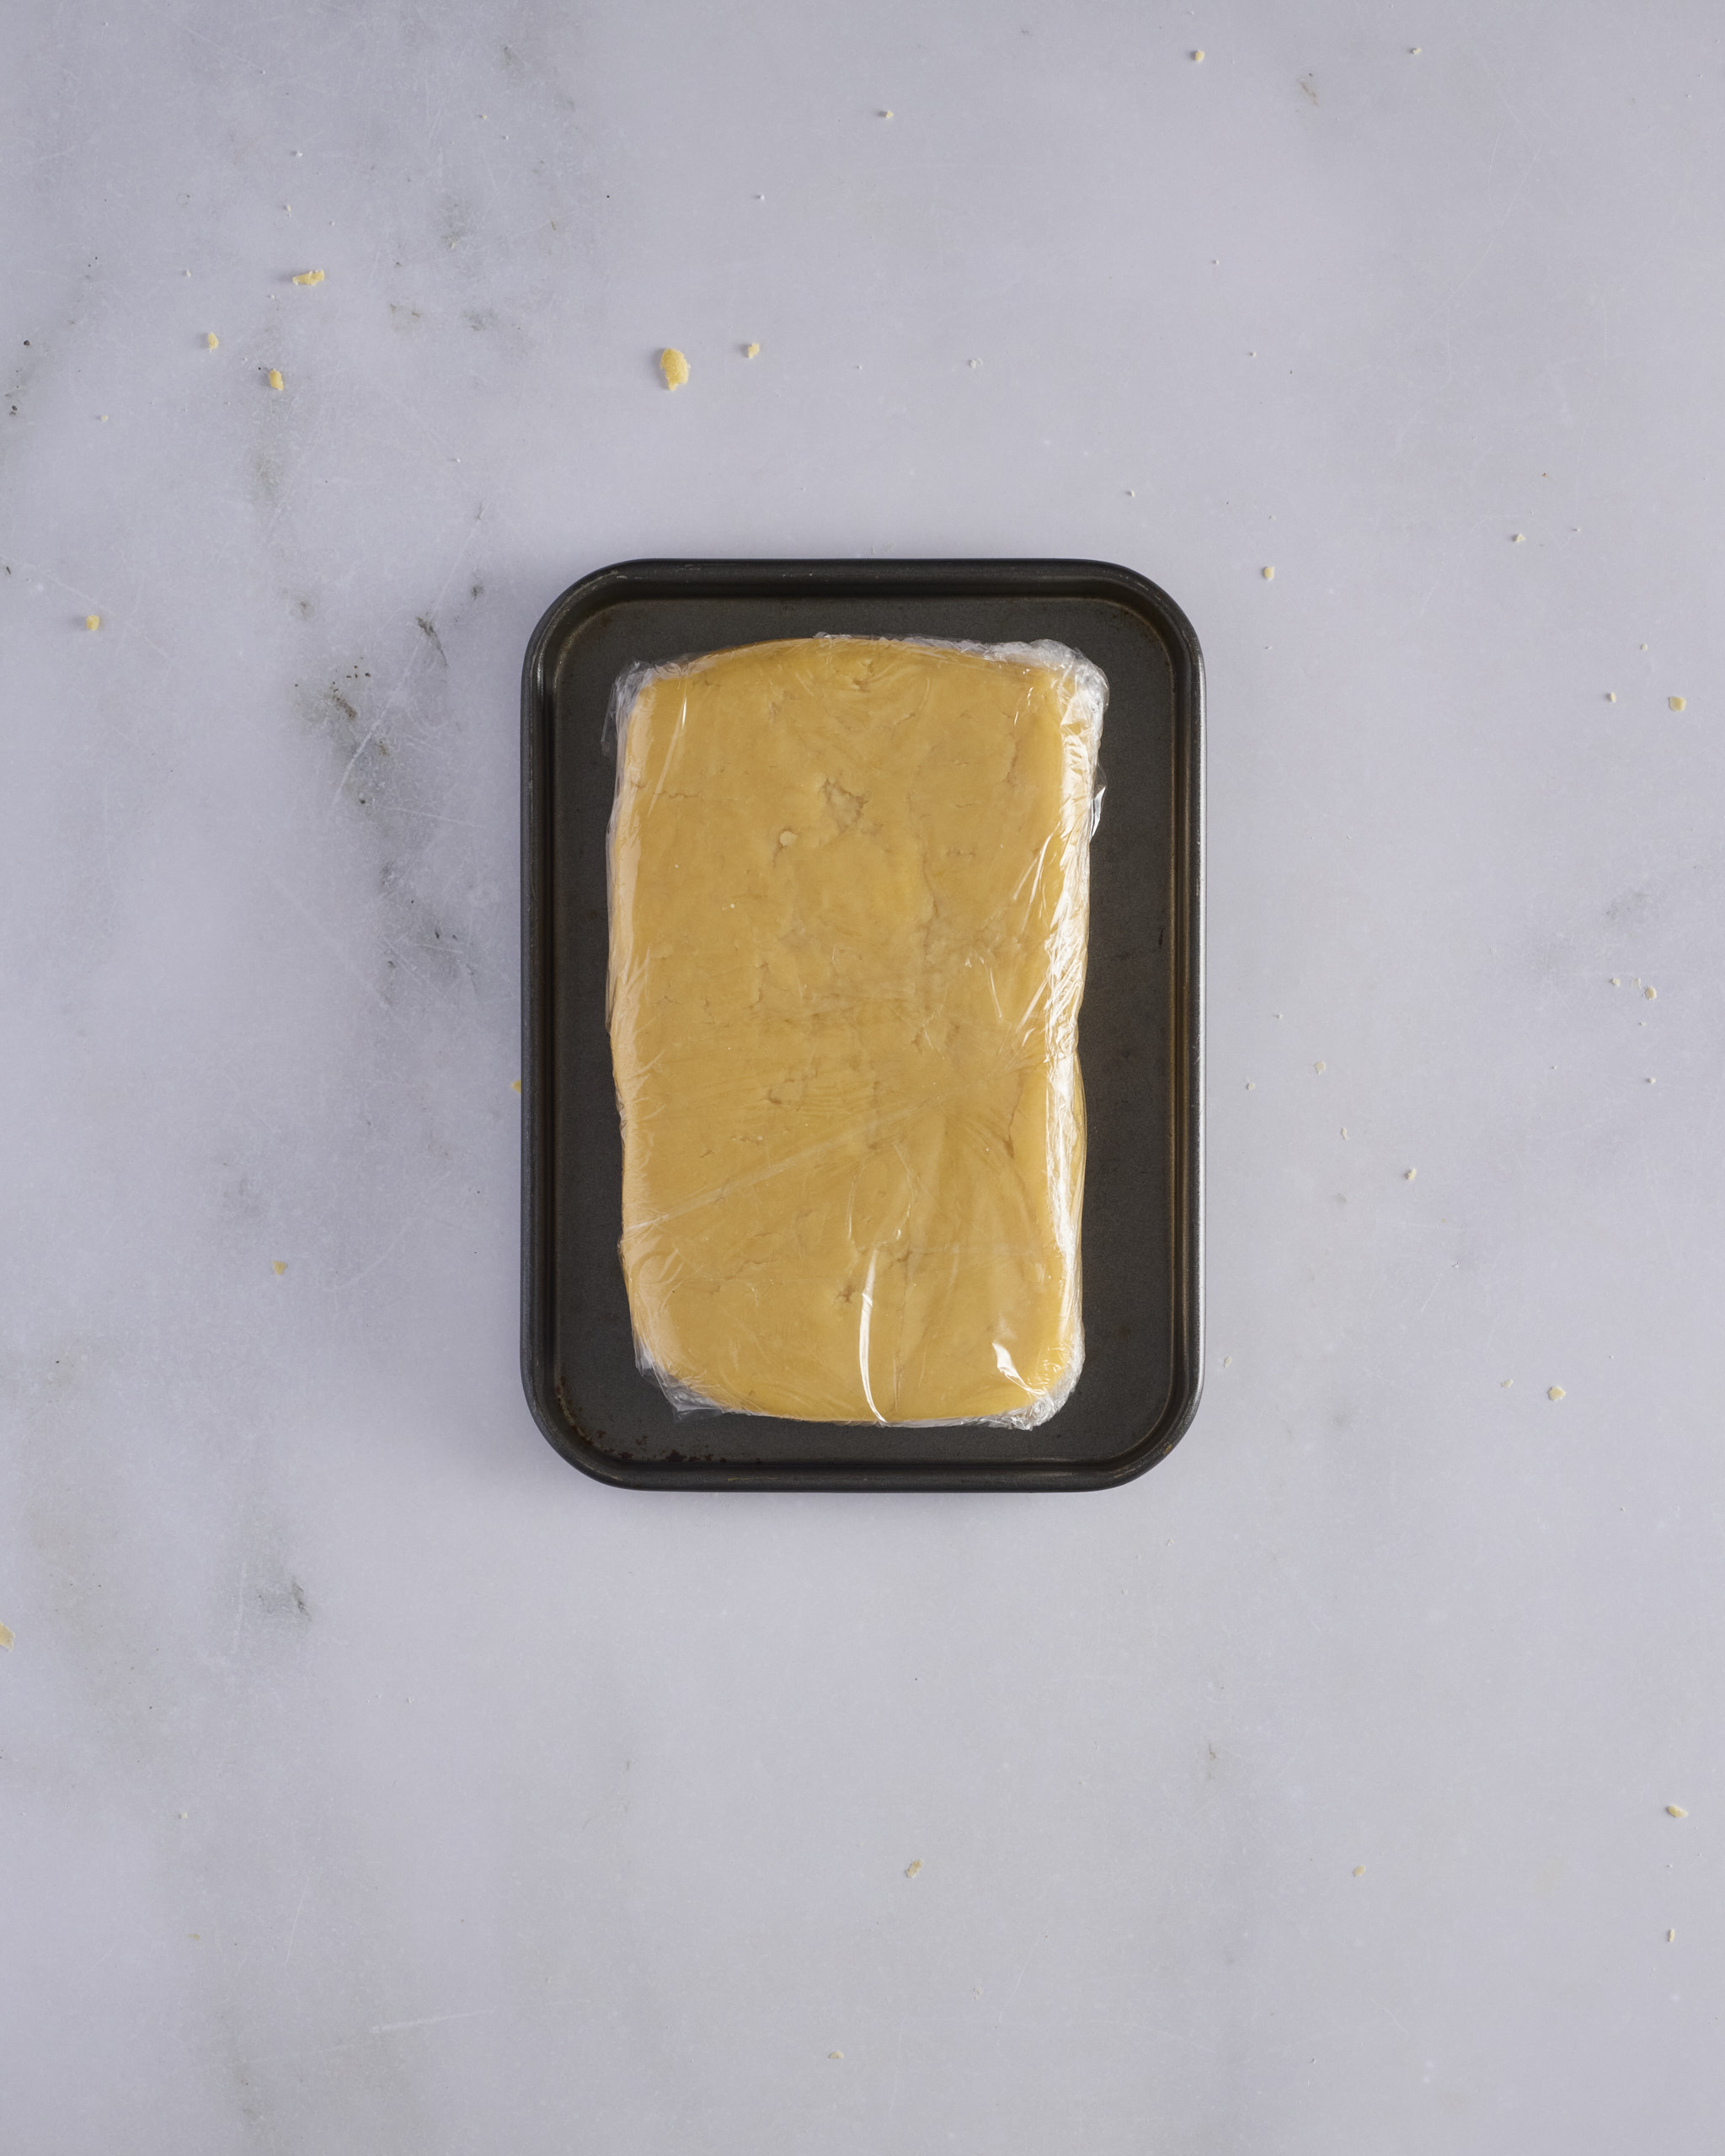
- Shape the dough into a rectangle with the pastry scraper, then wrap it in plastic wrap or place it in a sealed container. Rest in the fridge for at least 3 hours, or overnight.
Line the tart tin:
- Remove the dough from the fridge and let it soften until it’s around 15°C, which takes 30 minutes to a couple of hours, depending on the weather.
- Make the egg wash by mixing 2 egg yolks with 1-2 tablespoons full cream milk.
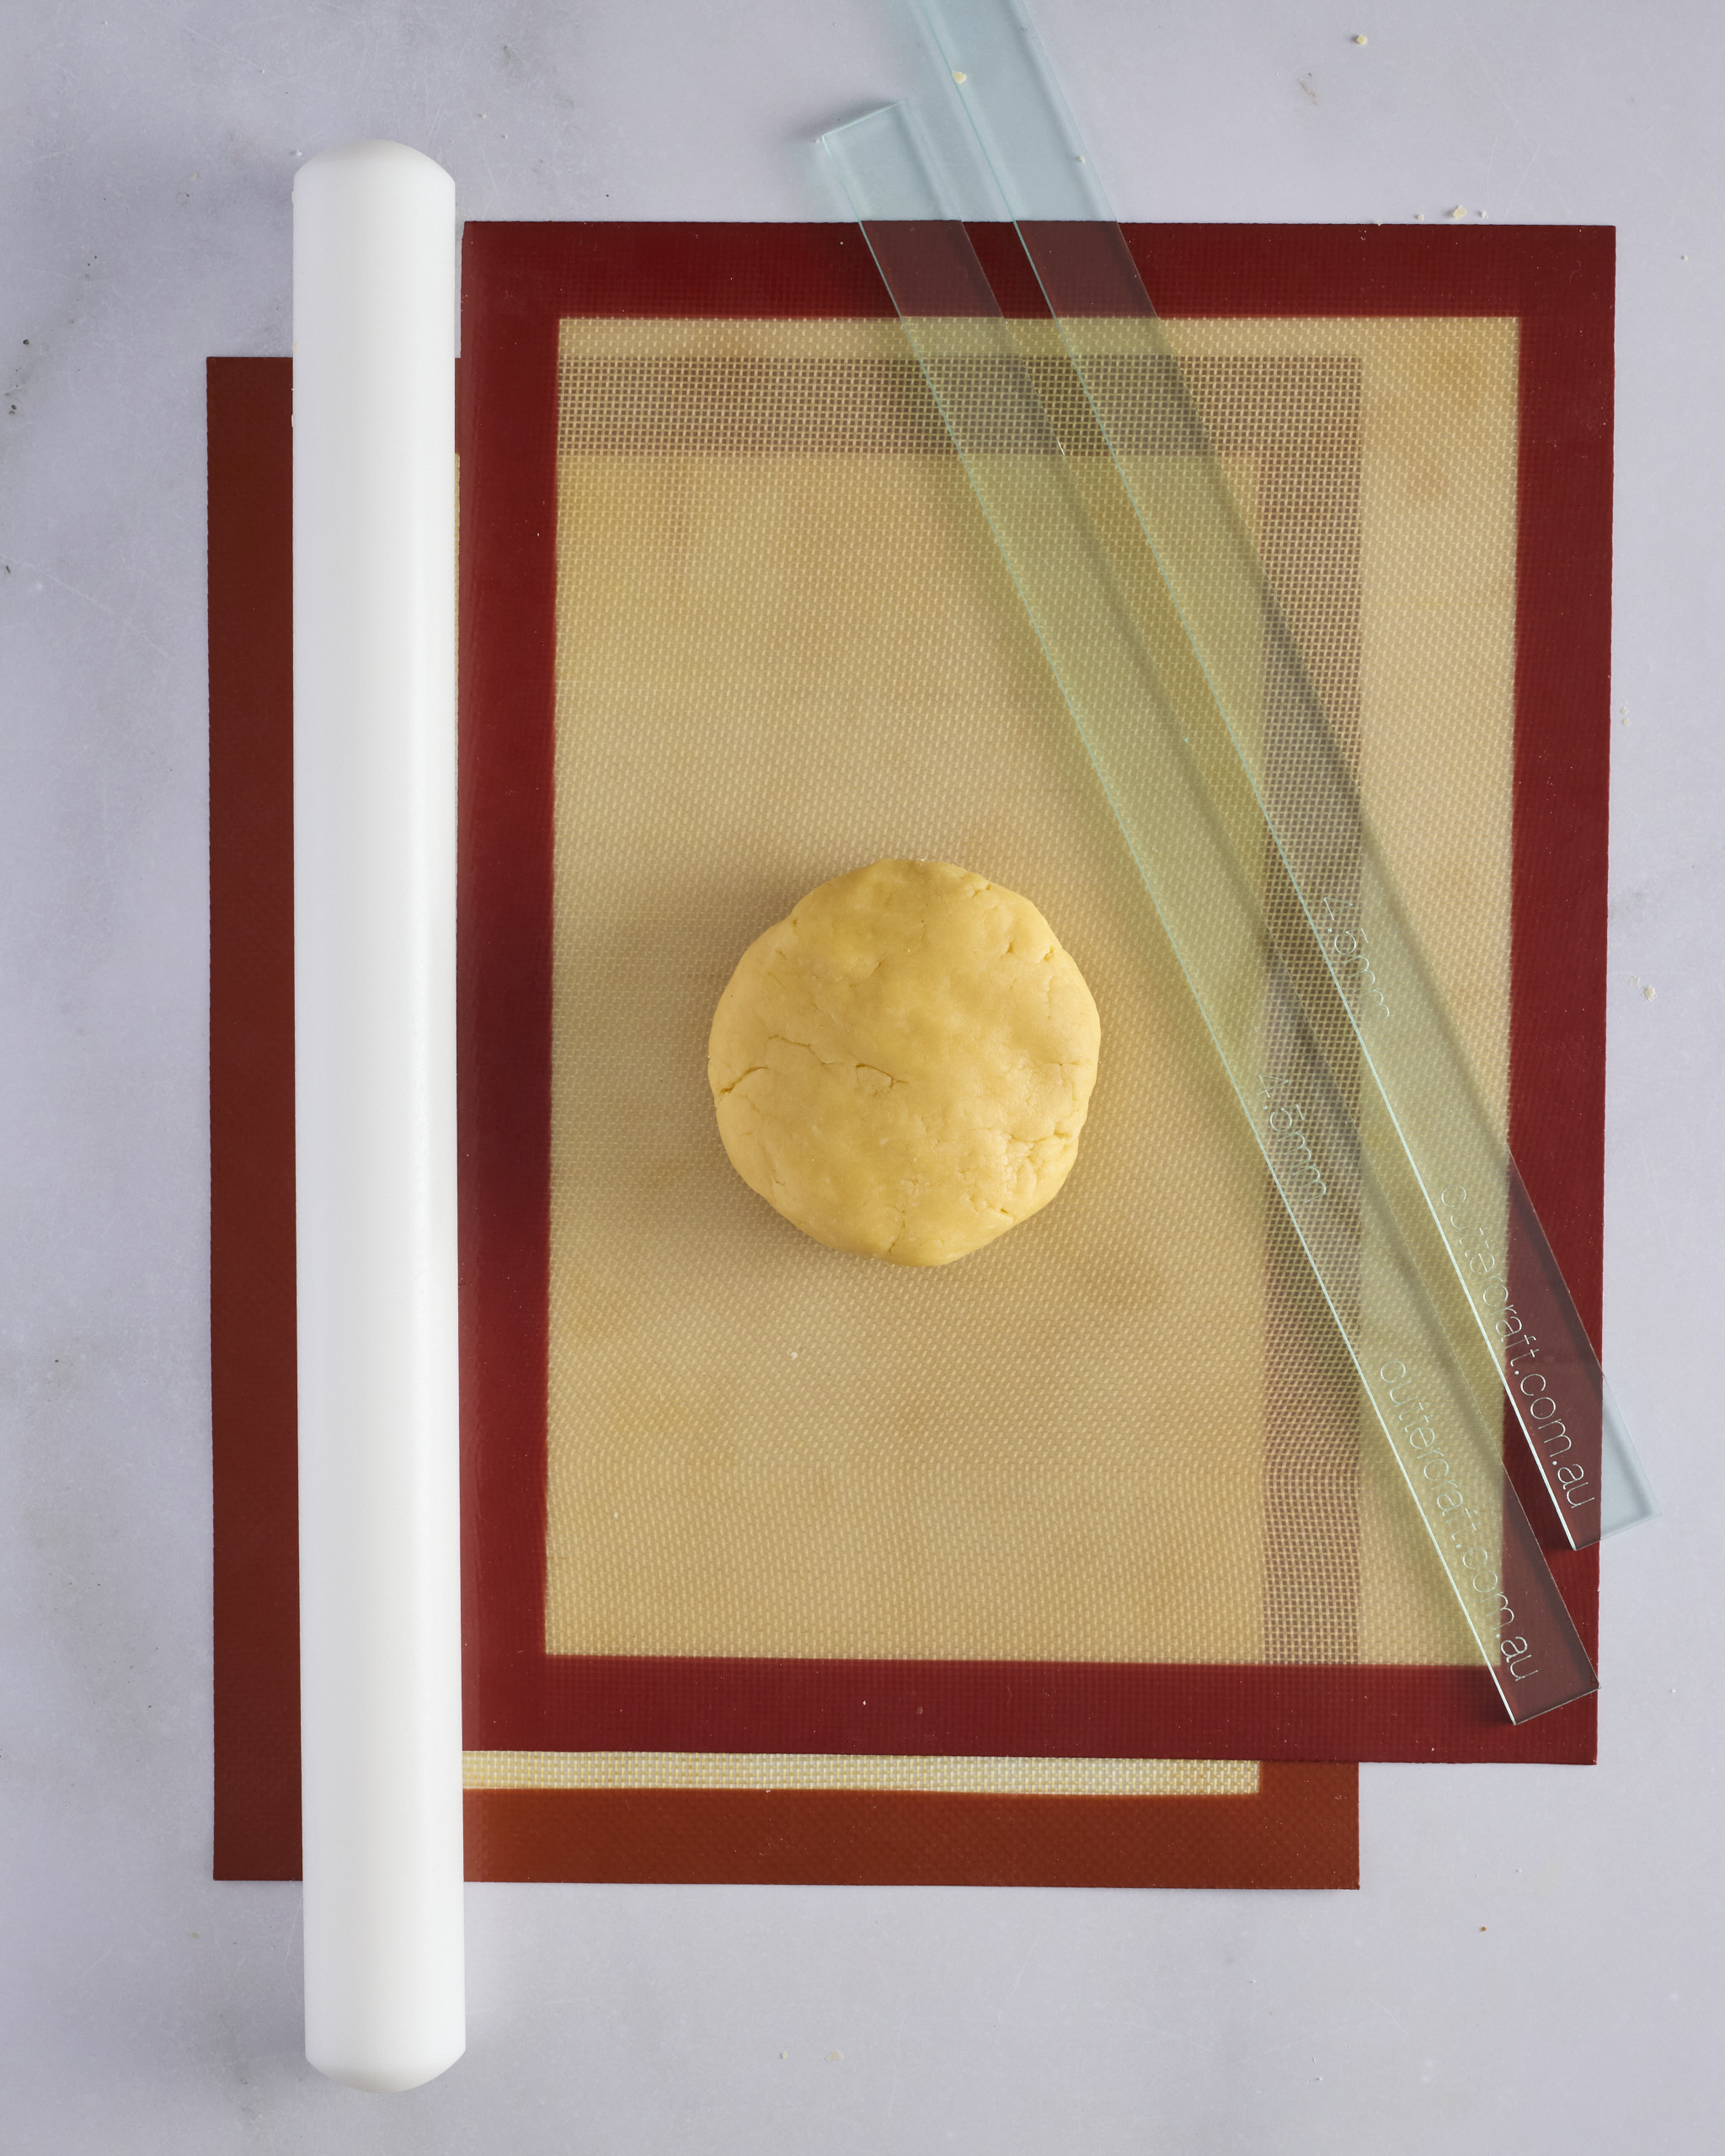
- Roll out two-thirds of the dough between two 30cm x 40cm silicone mats, using 4.5mm rolling guides. Chill until well chilled.
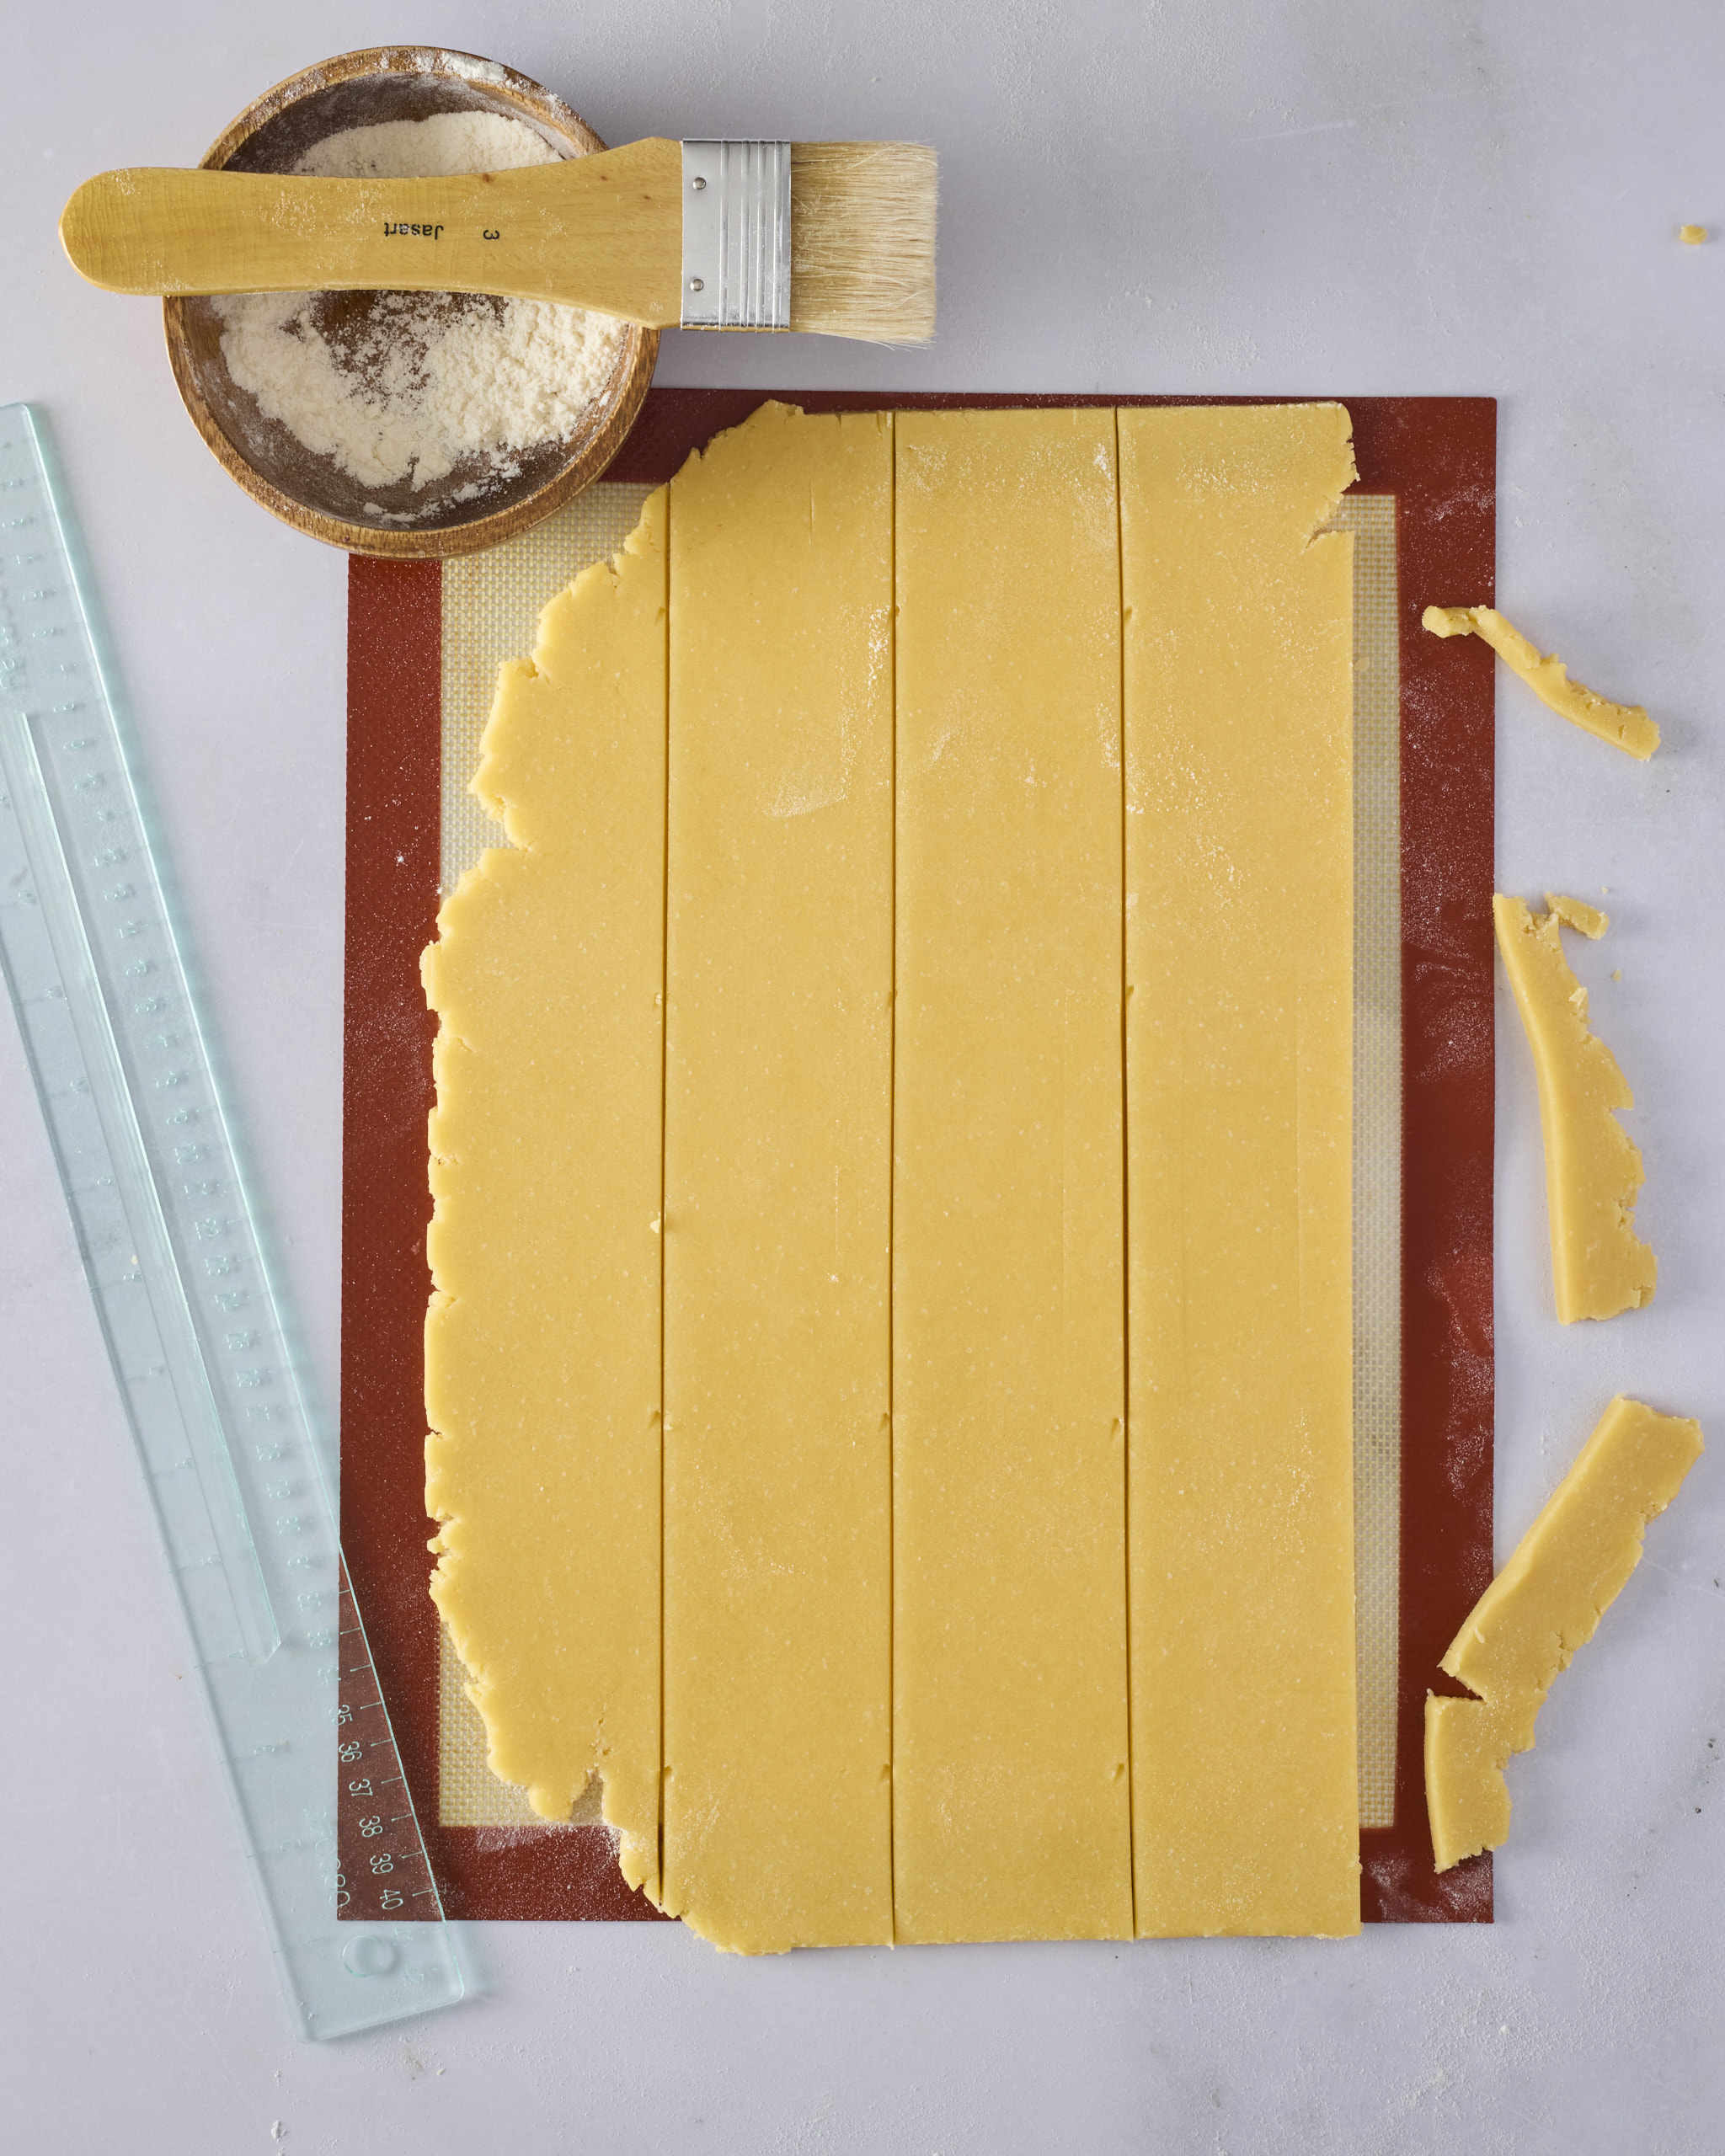
- Remove the top mat and lightly dust the pastry with flour. Using a ruler and pastry wheel, mark and cut 6cm wide strips. Return the strips on the mat to the fridge until firm.
- Butter the base of a 30cm x 3.5cm fluted non-stick tart tin.
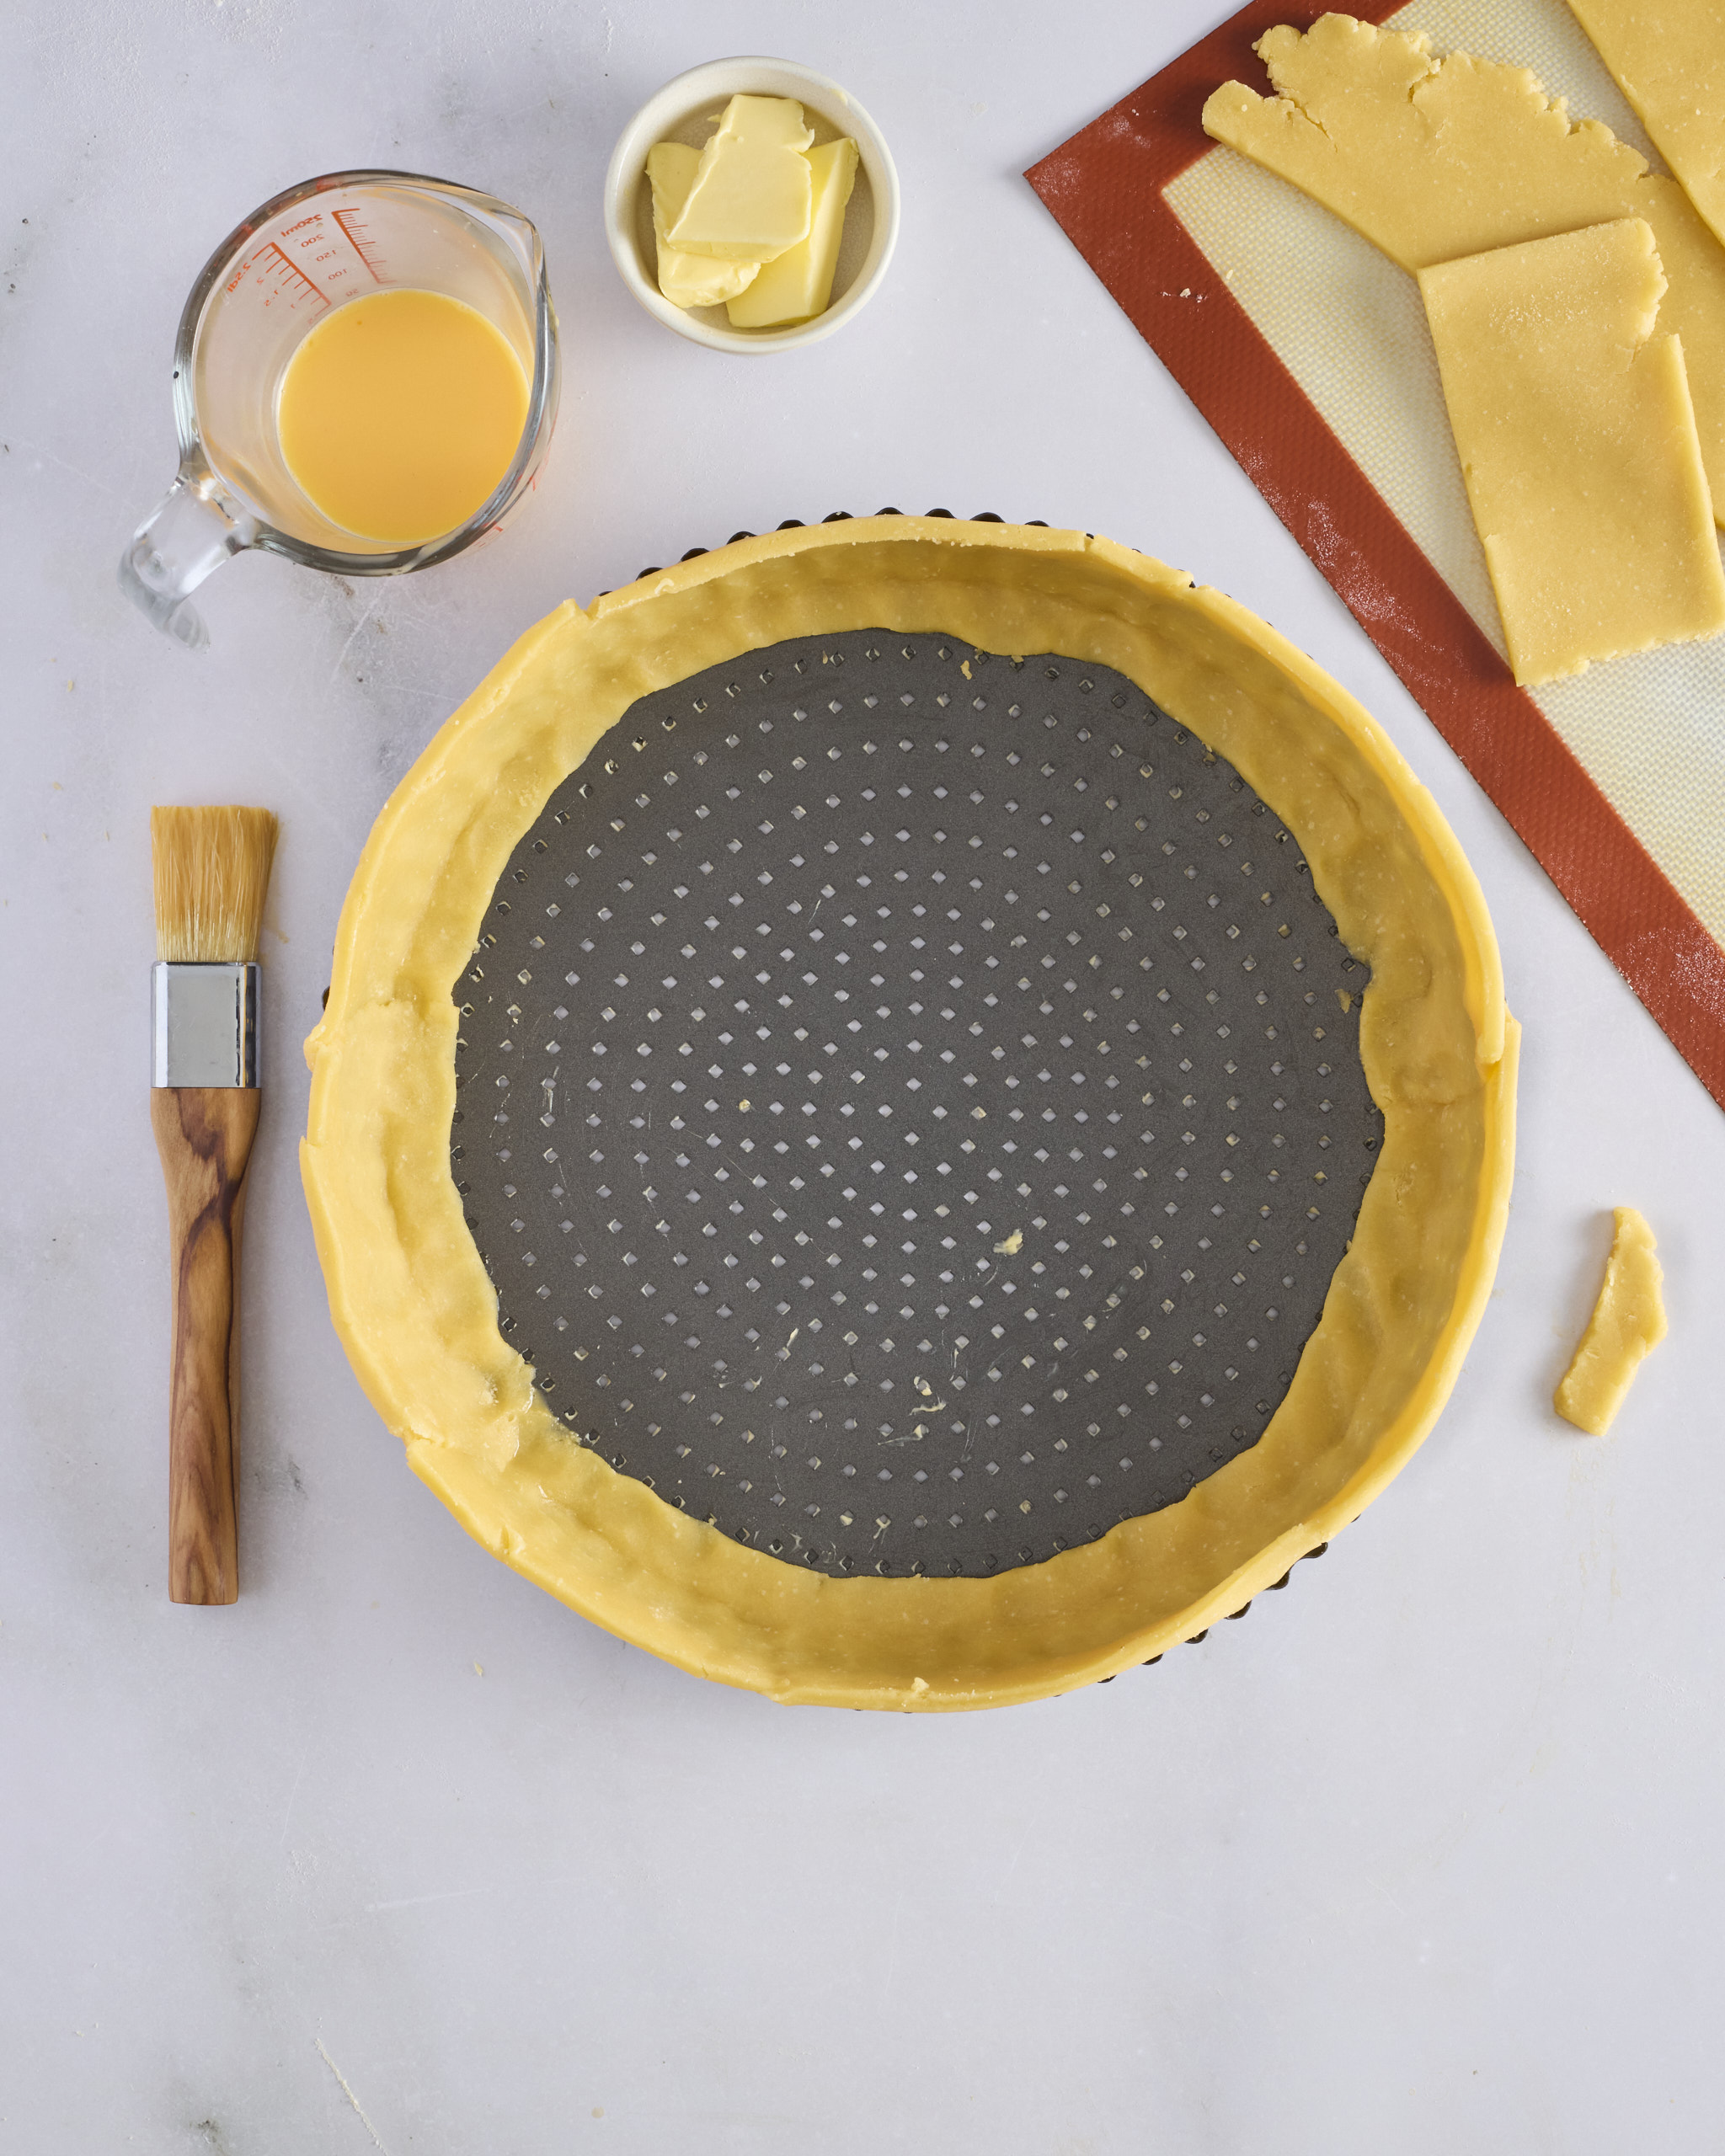
- Line the sides of the tin with the strips so the pastry covers about 1cm of the base, runs up the side and stands up to 2cm above the rim. Lightly press the strips to the side as you go. Where strips overlap, seal the join with egg wash and press gently. Once the tin is lined, press the pastry into the fluted sides.
- Working around the tin, fold the excess pastry back on itself towards the inside, so the fold sits just above the top edge of the tin. Press the two layers together and into the flutes.
- Press the pastry that overlaps the base down onto the base of the tin. Return the lined tin to the fridge to firm up.
- Roll the remaining dough (about 400g) between the silicone mats to 4.5mm thick. Chill until firm.
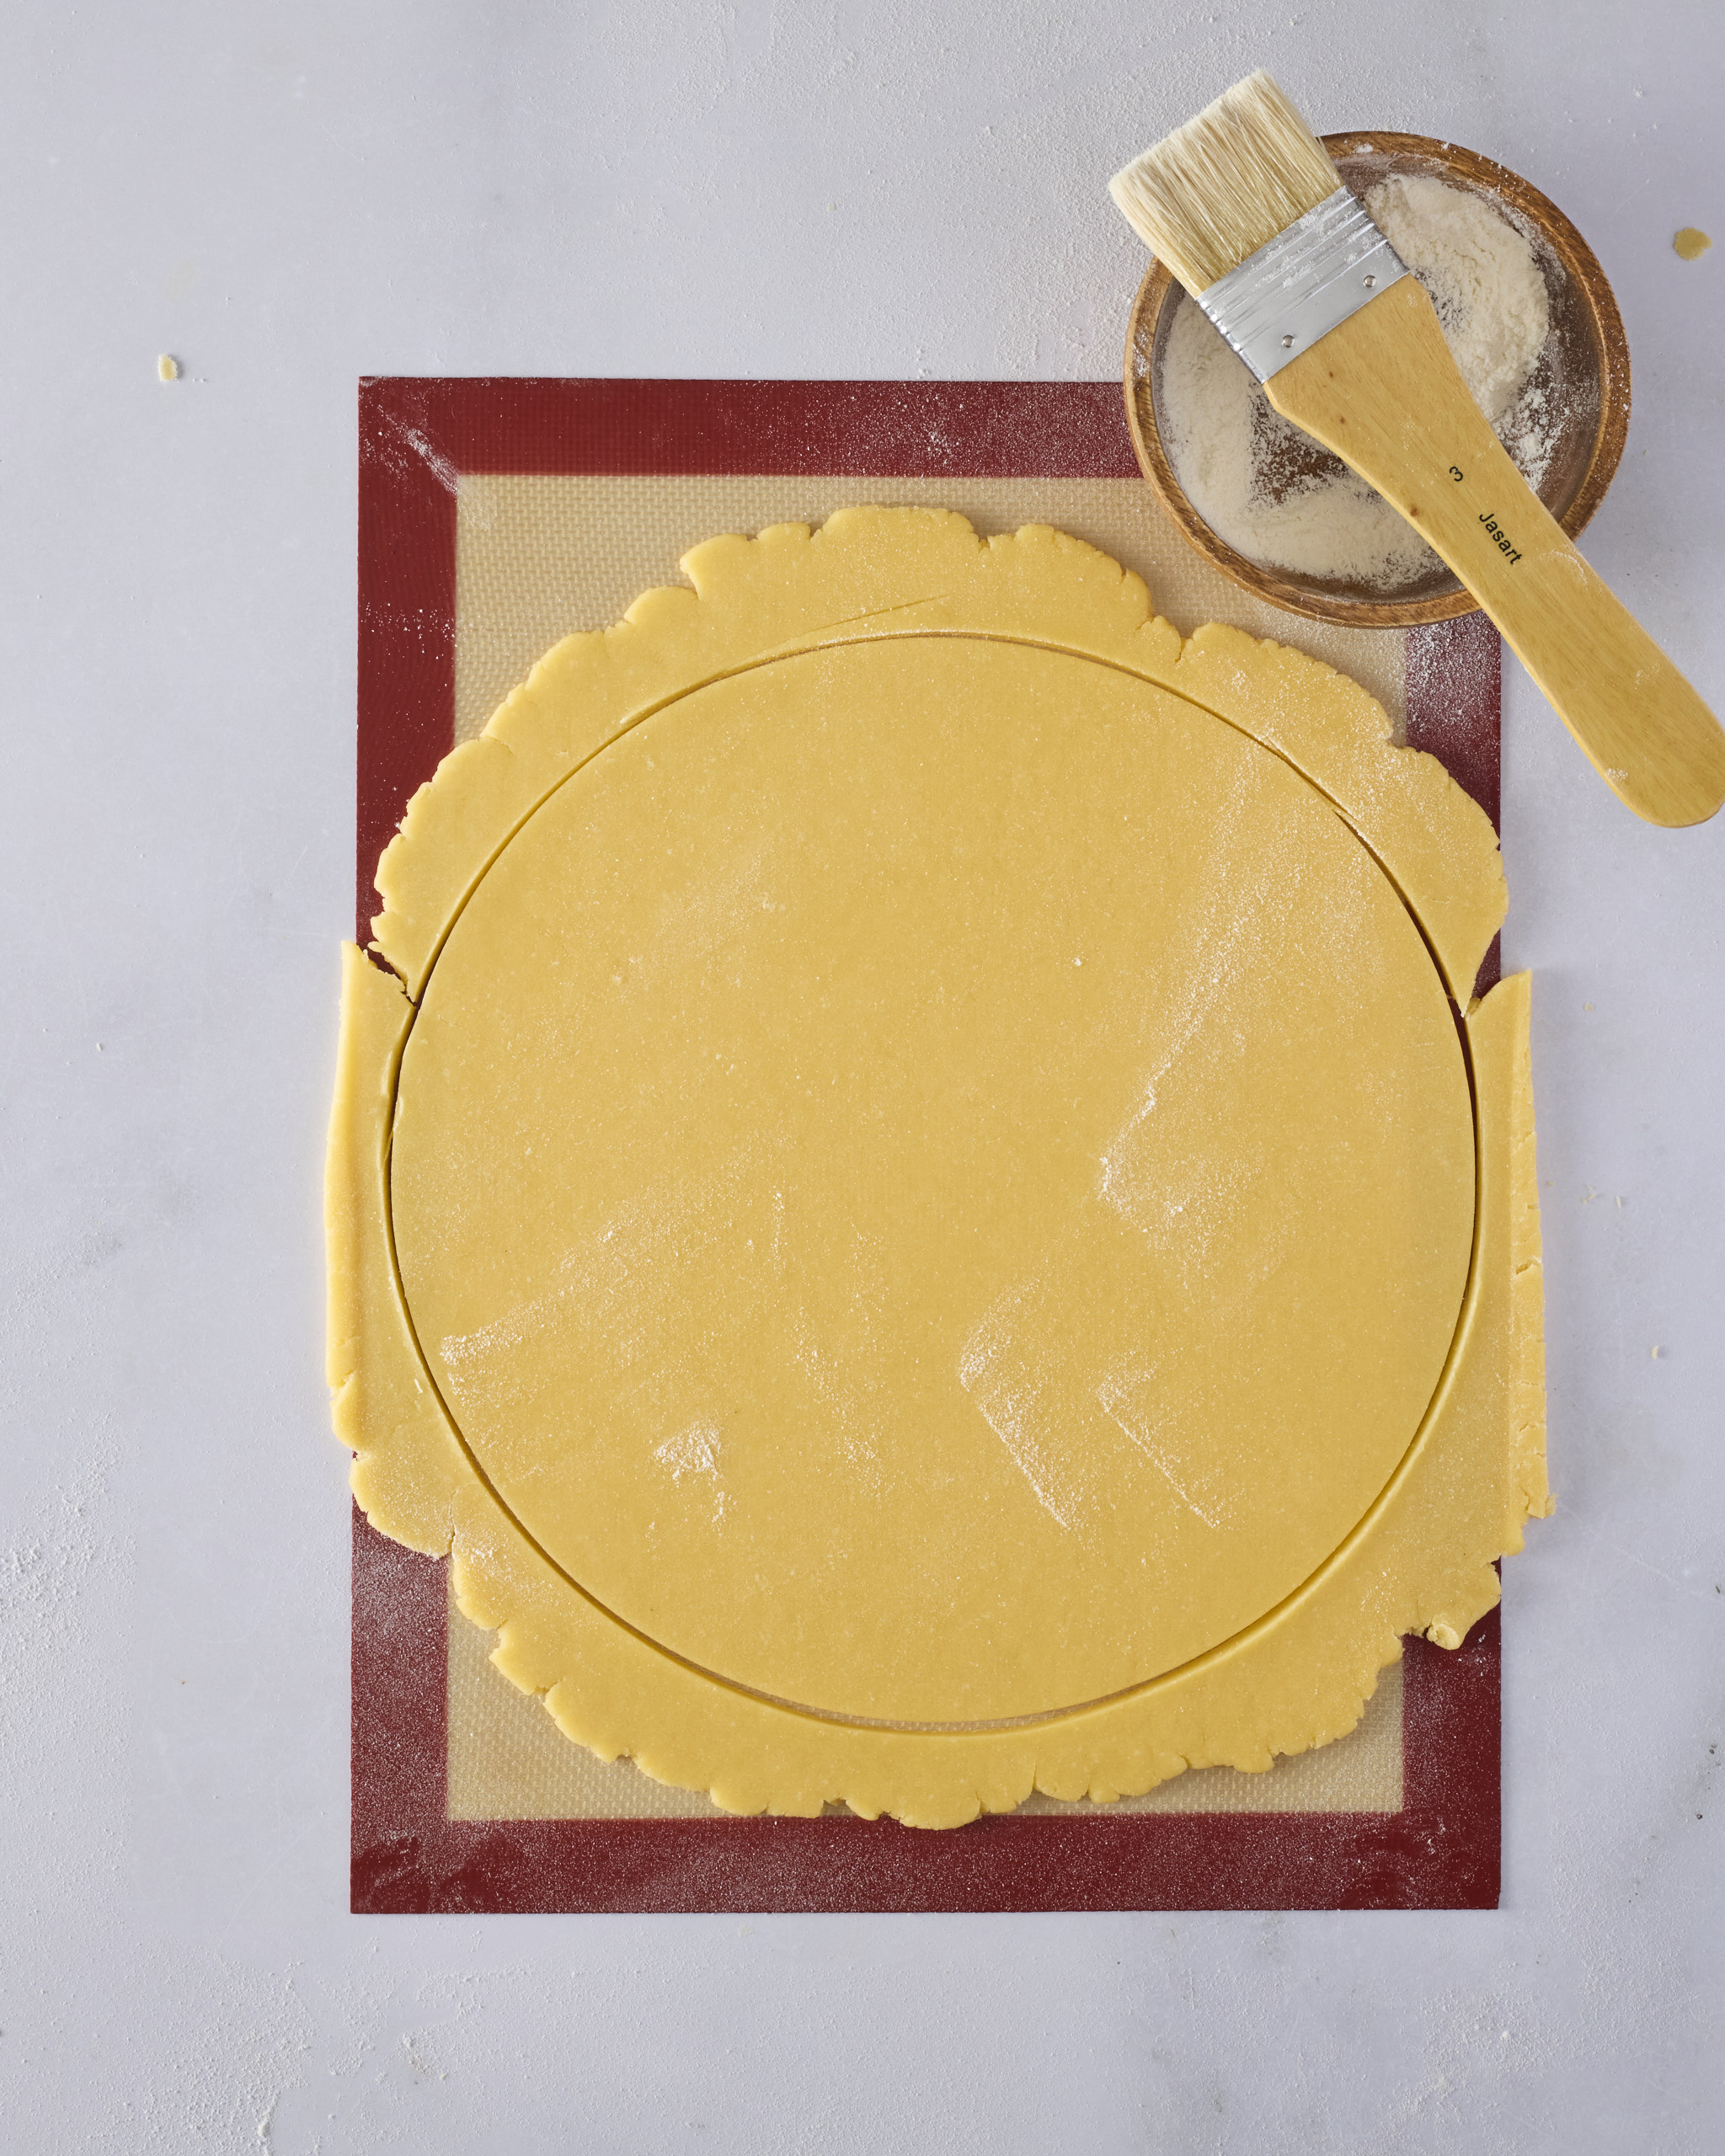
- Remove the top mat, lightly dust the dough with flour and brush away the excess. Using a 27cm round template, cut out a circle.
- Brush egg wash over the pastry that overlaps the base of the tin. Lay the pastry circle in the tin so its edge sits on the egg-washed overlap, and press the two layers together to seal.
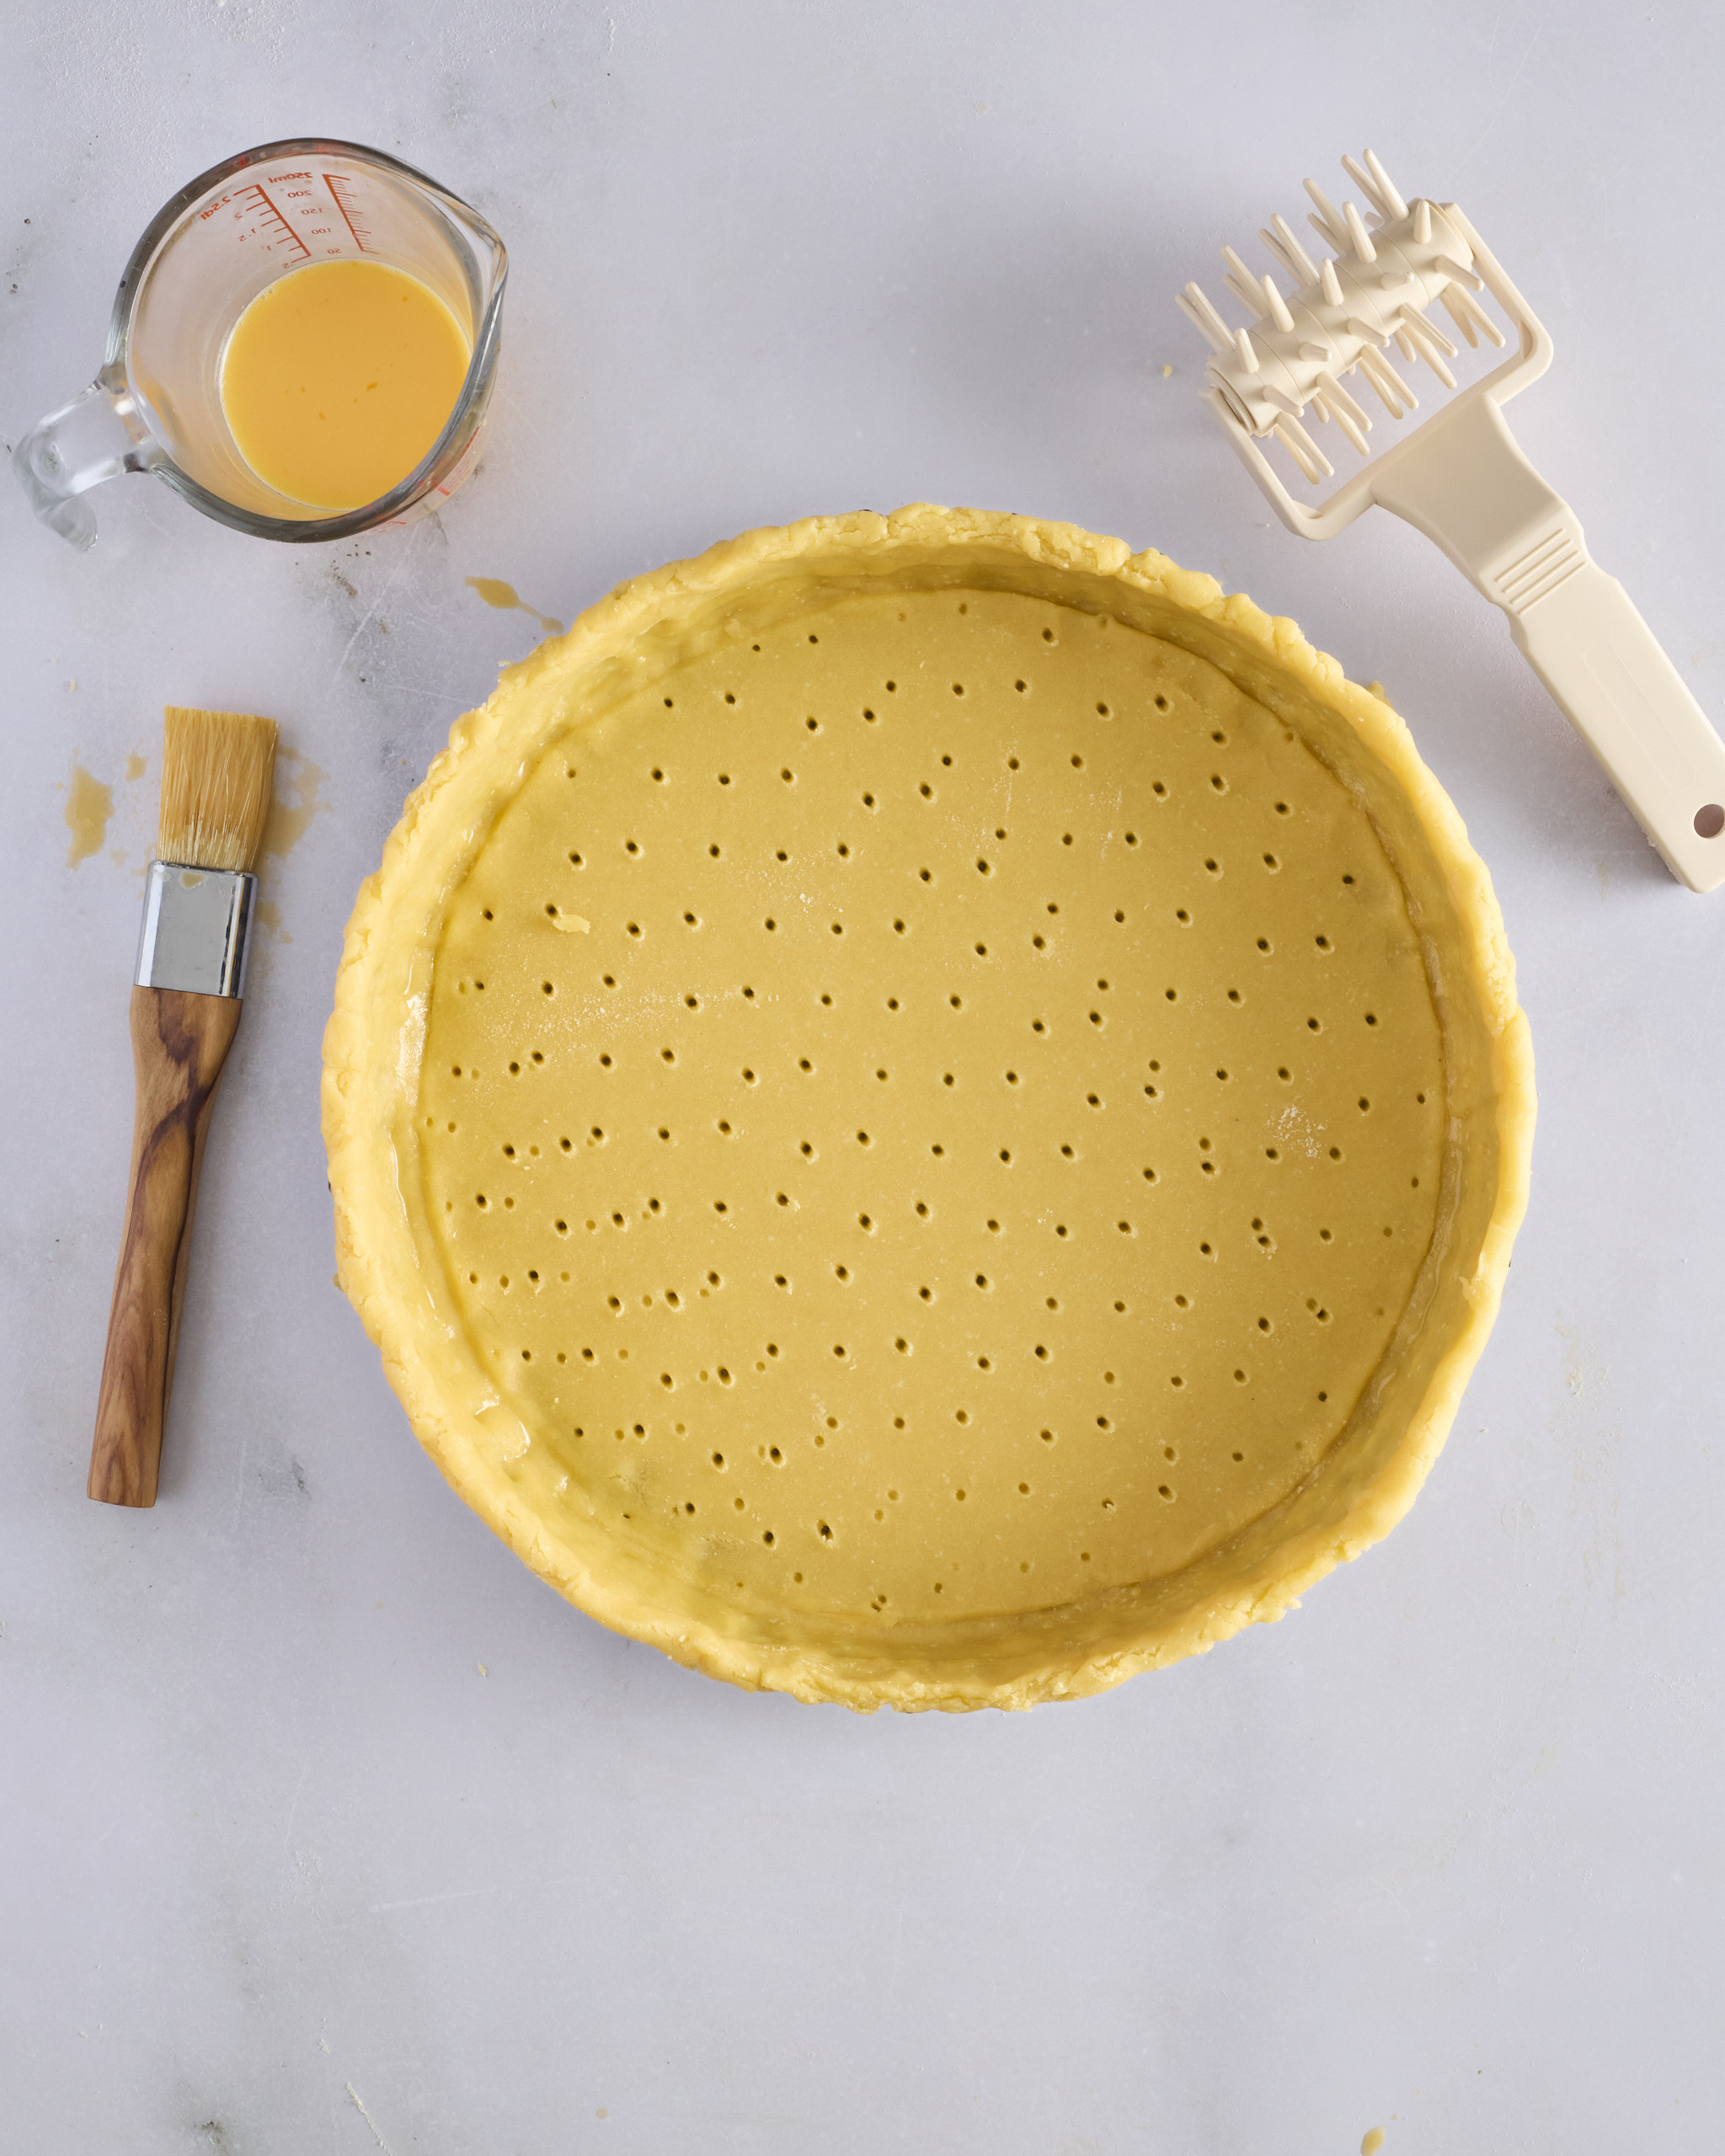
- Dock the base with a fork or pastry docker. Chill the lined tin for at least 3 hours. It can also be frozen at this stage and blind baked later.
Blind bake the tart shell:
- Preheat the oven to 180°C conventional or 160°C fan forced.
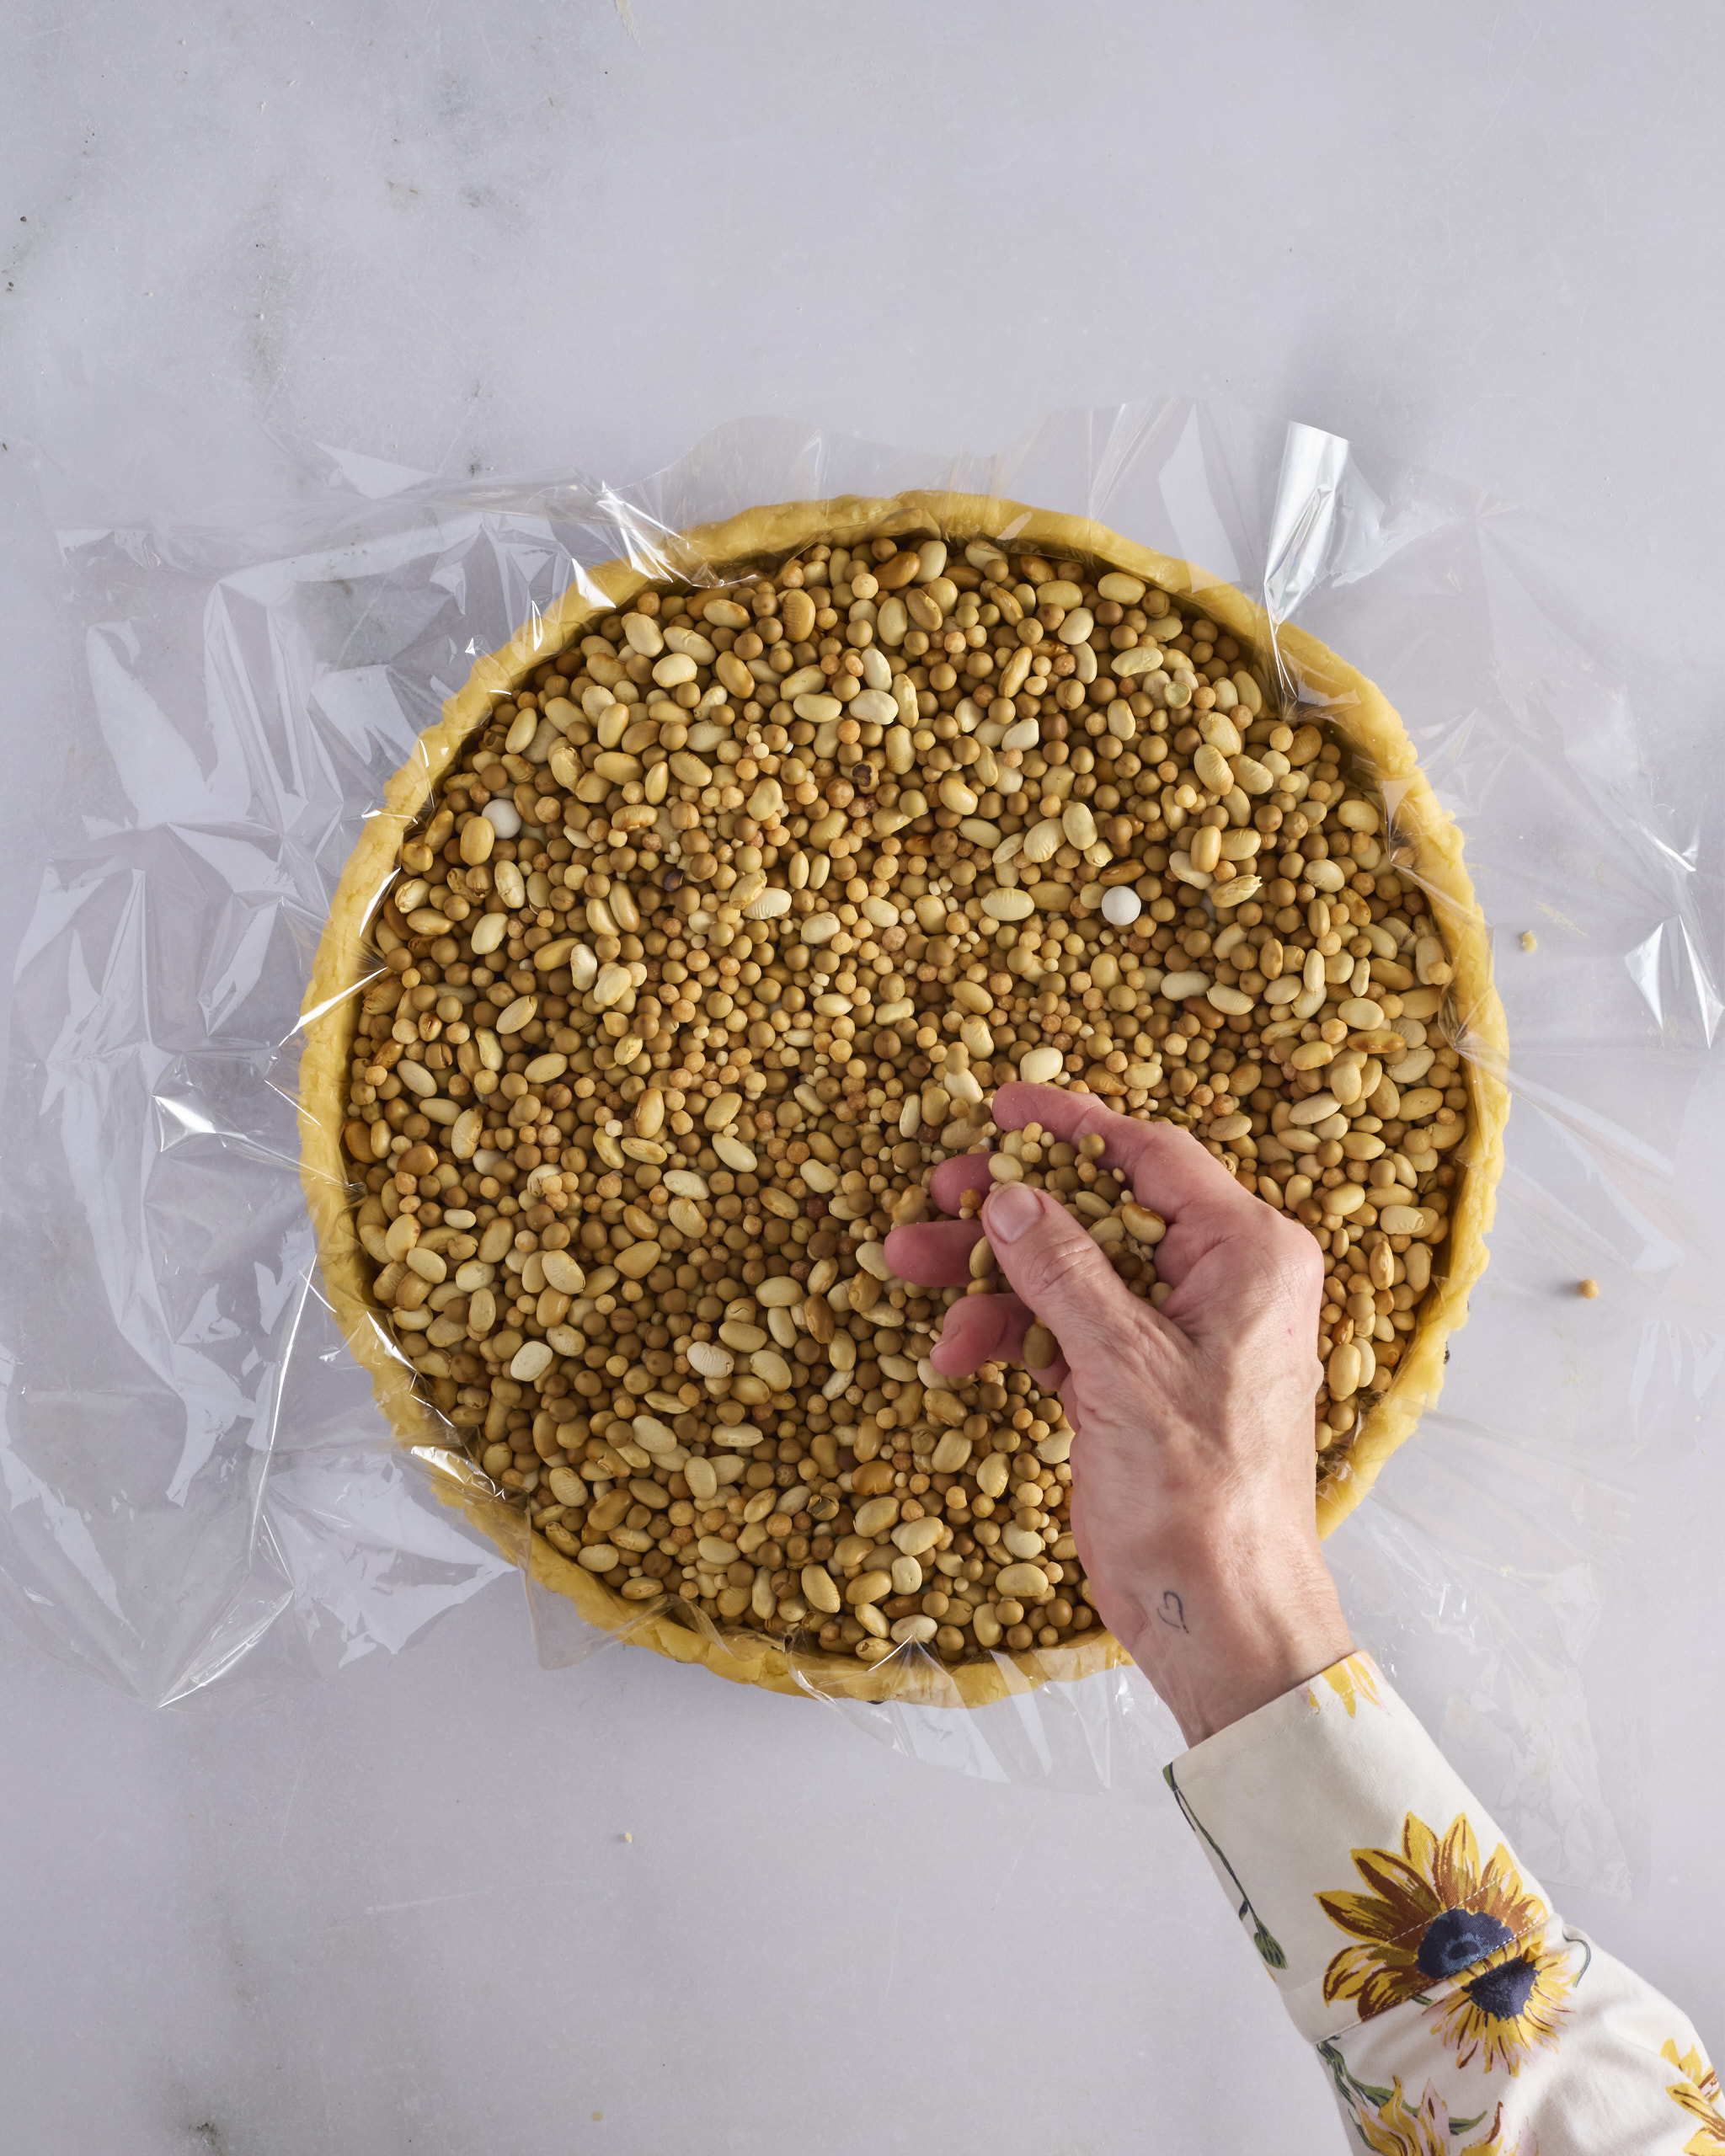
- Place the lined tart tin on a baking tray. Line the pastry shell with an oven roasting bag and fill it with pie weights, or a mix of dried beans and pearl couscous.
- Bake for 15 to 20 minutes.
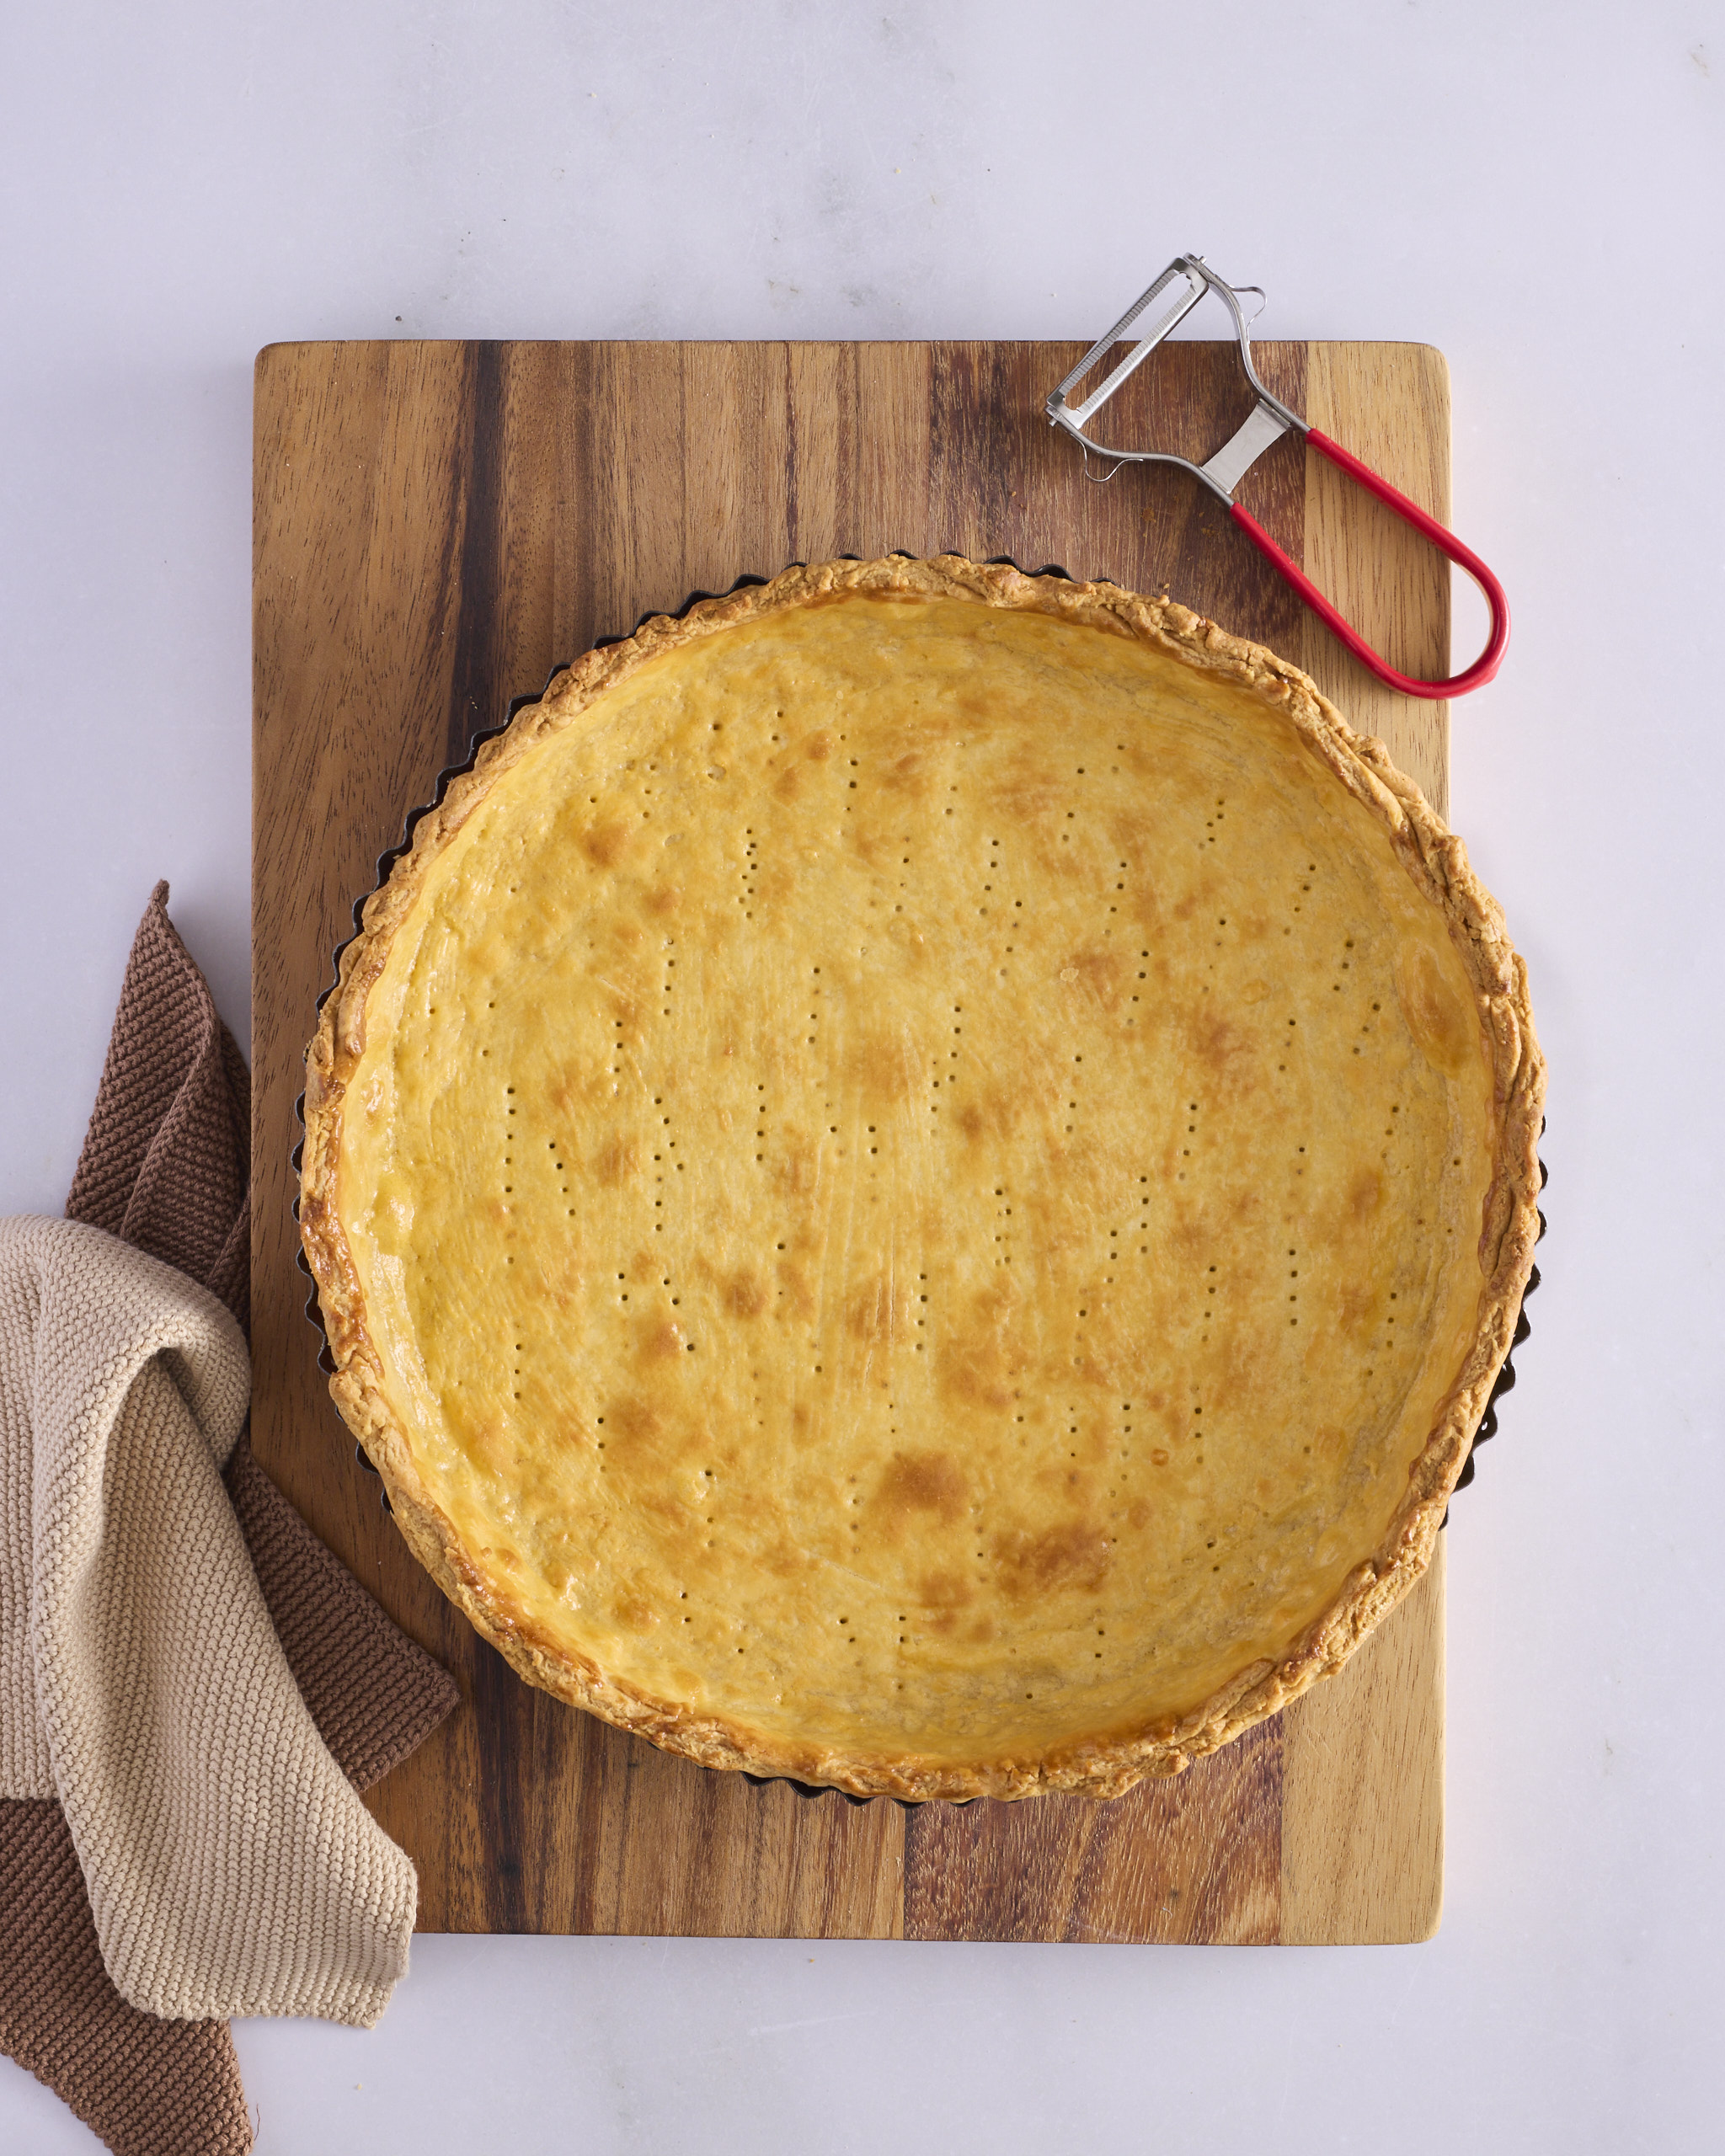
- Gather the edges of the bag into a parcel and carefully lift out the weights into a heatproof container. Brush the inside of the tart shell well with egg wash.
- Return to the oven for 5 to 10 minutes more, until the crust is light golden brown and looks almost fully baked.
- Cool the tart shell completely.
- Using a swivel vegetable peeler, gently scrape away the excess pastry along the top edge until it’s level with the tin. Brush out the crumbs.
- The tart shell is ready for your filling of choice.
Just before you cook with abandon…
Get organised: I follow the French cooking principle of mise en place, everything in its place. Having your ingredients and equipment ready before you start isn’t just for professional kitchens. It’s how you keep home baking calm and consistent. With pastry it matters even more, because the butter, the flour and the egg mix all need time in the fridge or freezer before the first step.
Digital scales: If you’re going to bake, you need a kitchen scale. It’s really in the necessity column, not the optional column. You don’t need to spend a fortune. Decent ones cost about $70, and I find the expensive ones break down just as quickly as the cheaper versions. I’d still go for a known brand from a reputable kitchen shop. For this recipe you’ll weigh everything, including the egg yolks and the iced water.
Tablespoons: I use 15ml tablespoons in my baking recipes.
Leftover egg whites: This pastry uses only the yolks, so you’ll have five or six egg whites left over. Don’t waste them. They freeze well in a sealed container, ready for my gluten free chocolate raspberry mini cakes, which use only egg whites.
Keep it cold: The keys to successful shortcrust pastry are having the ingredients super cold, even frozen, before you start, and returning the dough to the fridge or freezer at each stage. Clear some space first for the measured ingredients, the rested dough, the rolled pastry and the lined tart tin. After forming the dough, rest it in the fridge for at least 30 minutes, preferably overnight. The rest isn’t just for the gluten to relax. It lets the liquid hydrate the dough evenly and firms the butter up again.
Stand mixer or food processor: I make this pastry in my stand mixer with the flex edge beater, but a food processor works too. This is a generous batch, so check your processor bowl is big enough to hold it.
Do I always add all the water? Some recipes tell you to hold part of the water back, depending on the time of year and the weather on the day. That has never worked for me. I add all the fluid the recipe calls for, then give the dough plenty of time to absorb it. Once the dough is on the bench it will look crumbly, and you’ll be tempted to add more. Don’t add any more water or flour from this point. Cut, stack and press the dough 3 to 4 times and it will come together. Some days it’s a bit stickier than others, but that doesn’t stop me rolling it out, because it sits between two silicone mats or sheets of baking paper.
The right temperature to roll: Straight from the fridge, the dough is too firm to roll without cracking. Let it soften until it’s around 15°C. An instant read thermometer takes out the guesswork.
No silicone mats? Baking paper works just as well. Roll the dough between two sheets, giving it a quarter turn between rolls, and don’t use any extra flour. Check the width of your roll first. The standard 30cm roll is too narrow for a circle big enough to line the 30cm tart tin, so look for the extra-wide roll, or overlap two sheets. Chill the rolled dough on a tray with the paper still in place. It’s firm enough to work with when the paper peels away clean. If the paper pulls off any dough, it goes back in the fridge.
What’s a rolling guide? Rolling guides help you roll dough out to an even depth. Many rolling pins now come with guides that attach to each end of the pin. I prefer acrylic guides shaped like a ruler. They come in pairs and sit either side of the dough as you roll. I use 4.5mm guides for this pastry, but if you don’t have any, just do your best to keep the dough level.
How far does one batch go? One batch makes about 1.1kg of pastry dough. That’s enough for a 25cm double-crust pie. Lining the 30cm tart tin used about 400g in total, including the offcuts, which leaves enough for a second tart shell with some to spare.
Oven roasting bags: I blind bake with an oven roasting bag rather than baking paper. Before you do the same, check the maximum temperature on your brand’s packet. The brand I use is rated to 200°C conventional and 180°C fan forced, so blind baking at 180°C conventional or 160°C fan forced sits comfortably within it.
Freezing pastry dough: Wrap the dough tightly in a block, in several layers of plastic wrap, and it will keep in the freezer for up to three months. Defrost it overnight in the fridge before rolling it out.
Freezing a lined tart shell: You can also line the tart tin, wrap it well and freeze it. Blind bake it straight from the freezer, allowing a few extra minutes.